| • | As each module is implemented, the instructions for that particular module reference the Employee Form - generally requiring the entry of additional information. |
| • | For example, during the implementation of the Accounts Receivable System module, the instructions would concentrate only on accounting specific Employee information requirements. |
| ► | Note: The Employee Code "0" with the name of "Default Do Not Delete" is a system record and should not be modified or deleted. |
| □ | Employee - Defining the required Employee information: |
| • | To open the Employee Form, Select Maintenance from the Main Menu and Choose Employee to access this Form. |
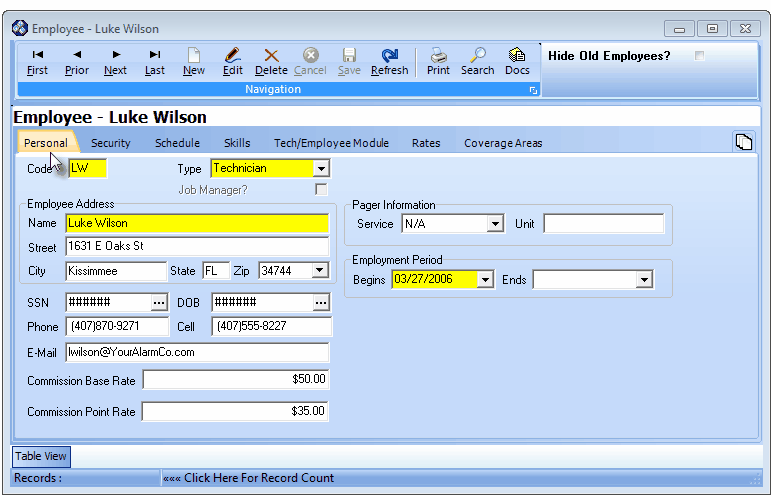
Employee Form - Personal tab
| • | This Employee Form may be Re-sized by Dragging the Top and/or Bottom up or down, and/or the Right side in or out. |
| • | Navigation Menu - The Navigation Menu is located at the top of the Employee Form. |

| • | This Navigation Menu provides the normal Record Movement, New, Edit, Delete, Cancel, Save, and Refresh options; as well as special Print, Search and Documents functions. |
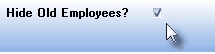
| • | Hide Old Employees? - At the top of the Employee Form next to the Navigation Menu is this Check box. |
| • | Every Employee ID that has been used as part of a Transaction (e.g., Employee who made a Sale) or Process (e.g., Employee who worked on a Service Request) can never be removed from the database. |
| ▪ | Because that Employee ID becomes part of the internal "History" of the Transaction or Process. |
| ▪ | So, once an Employee leaves the Company, rather than deleting that Employee's record, (s)he is assigned an Ends Date - indicating that (s)he is now an Old Employee (not an Active Employee). |
| ▪ | While viewing the Employee Form, to only view Active Employee records (those Employees who have not been assigned an Ends Date ), Check this Hide Old Employees? box. |
| ▪ | Or, if you are researching information relating to an Old (departed) Employee, be sure that the Hide Old Employees? box is not Checked. |
| • | Table View tab - Click the Table View tab at the bottom of the Employee Form to display a tabular (spreadsheet style) Record Listing of the currently defined Employee Groups. |

| • | There are least six columns of data (normally displayed) in this Employee Record Listing: |
| 1) | Employee Code - The unique Code assigned to this Employee. |
| 2) | Street - The Address of this Employee. |
| 3) | City - The City in which this Employee resides. |
| 4) | State - The State in which this Employee resides. |
| 5) | Zip - The Zip Code of the Employee Address. |
| 6) | Phone - The Employee Phone number. |

| ▪ | Additional columns of data are viewable by Dragging the bottom Slide Bar to the right. |
| • | Each column's Header Name describes the data contained in that column. |
| ▪ | Clicking on a Header Name will set the order in which the Employees will be listed. |
| ▪ | Clicking on the same Header Name will set the order in the opposite direction (ascending vs. descending). |
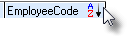
| ▪ | The Header Name that is determining the Order of the list will have an Icon indicating the Order displayed next to that Header Name. |
| • | This Table View tab may be Pinned in Place by Clicking the Pin Icon on the right. |
| ▪ | Additional columns of data have been Dragged into view and some columns have been Re-sized. |

Table View Pinned Open
| ▪ | You may Un-Pin this Table View by Clicking the Pin Icon again. |
| • | Click the  Icon to start an Employee entry in the Record Editing section. Icon to start an Employee entry in the Record Editing section. |
| ► | Note: Fields highlighted in yellow are mandatory. |
The record can not be saved unless the mandatory information is entered.
Although the yellow highlighted fields constitute a valid record, enter - as appropriate - all of the Personal tab information at a minimum.
| ▪ | Code - Enter a Code - think of it as their Employee Identification Code - to represent this Employee. |
| o | Up to four alpha characters plus dashes, underlines and spaces are allowed. |
| o | Typically, you should use their initials. Do Not Use Numbers in the Employee Code. |
| o | If a duplicate would result, add another character at the end (ABC, ABCZ, ABCY, ABCX, ETC.). |
| ▪ | Type - Using the Drop-Down Selection List provided, select a Type classification. |
| o | Administration - for key staff such as those Employees responsible for accounting operations, are a job manager, and/or perform other management level functions |
| o | All - for Employees who may be involved in any/all phases of the business |
| o | Operator - for Employees who primarily perform Central Station Monitoring functions |
| o | Sales - for Employees who are classified as Salespersons. |
| ► | Note: When assigning a Salesperson to a Subscriber, Prospect, Invoice or Proposal: only those Employees whose Employee Type is identified as either Sales or All will be available (in the Drop-Down Selection List) for populating the Salesman (or Commission To) fields. |
| o | Technician - for Employees who are Service Technicians. |
| ▪ | Job Manager? - Check this box if the Employee has been assigned the Type classification of All or Administration, and is an individual who may be assigned the duties of a Job Manager within the Inventory Tracking & Job Costing System, |
> However, the Lead Technician is not considered a Job Manager
> Therefore, a Technician Employee Type may not be identified as a Job Manager in the Inventory Tracking & Job Costing System,
| o | A Job Manager must be assigned a Type of either All or Administration. |
> Employees should only be identified as a Job Manager if they actually Manage a Job in the Inventory Tracking & Job Costing System,
| ▪ | Name - Enter the Name of the Employee |
| ▪ | Begins - Click the Drop-Down Date Selection Box provided, select the Date of Hire in the Begins field. |
| ► | Note: This is the absolute minimum amount of information that may be entered to establish an Employee record. |
| • | Click the  Icon to to record this Employee. Icon to to record this Employee. |
| • | Any number of additional Employee records may be defined, as required. |
| □ | Tabs - The Tabs that are available are displayed on the Edit View Form. |

| • | Depending on the Type code assigned to the Employee, the Tabs are: |
| ► | Note: Not all Tabs will be displayed for every Employee. |
The Tabs that are displayed will be determined by the Type entered for the Employee currently being viewed.
| • | Personal - for information such as name, address, and telephone. This is the primary Data Entry Form and is where Employee records are originated. |
| ◆ | This is a mandatory Second Edition UL® 1981 Standard requirement. |
| • | Operator Skills - allows you to record the alarm processing Skills attained by each Employee who is an Operator. |
| □ | Using the Special Functions on the Navigation Menu at the top of the Employee Form: |
| • | Print Icon - Click the Print Icon to open the Employee Codes report dialog which provides a list of the Codes, and the associated Name, Type and Phone Number of each Employee. |
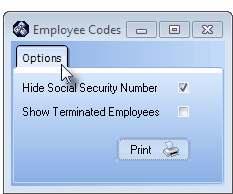
Employee Codes - Option tab
| • | Search Icon - Click the Search Icon to look up a specific Employee record. |
| • | Use the Search button to locate a specific Employee record when you have too many Employees to be listed on the Table View tab. |
| • | Click the Search button to open the Search Employee dialog. |
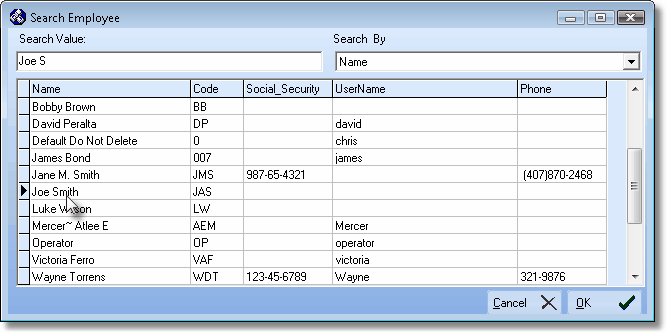
Search Employee dialog
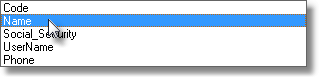
| • | Search By - Use the Drop-Down Selection List to Choose the field (the available fields are shown below) that you want to Search By. |
| • | Search Value - Enter the first few characters of the desired Employee record (based on the Search By method you've chosen) |
| ▪ | This is an incremental Search starting from the first character in the chosen field. |
| ▪ | As you type in characters, the system seeks the Employee record that most closely matches the characters you've entered so far. |
| • | Select - Once you see the desired Employee record, Click on that Employee's Name to Select that record. |
| • | Close - Then Click OK to Close the Search Employee dialog. |
| ▪ | The selected Employee record will be displayed in the Employee Form's Edit View. |
| • | Documents Icon - Use the Docs Icon on the Navigation Menu on the Employees Form to attach various types of Documents to the selected Employee record. |
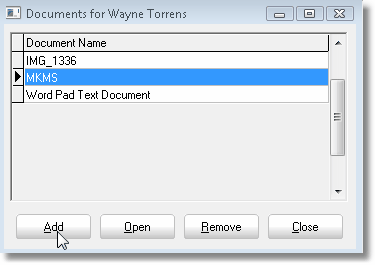
Documents Form
| • | Employees often have printed or electronic Documents that relate to their file and must be saved for future reference. |
| ▪ | To save these electronically (if you do not already have an electronic copy such as a Word® document), Scan the printed Document and save it to your Hard Disk (or your File Server) in either the ".jpg" or ".pdf" file format. |
| ▪ | Add a Document using the Windows © Explore interface presented. |
| ▪ | See the Documents chapter for detailed instructions |
Personal Information
| □ | To enter an Employee record, select Maintenance from the Main Menu and choose Employee. |
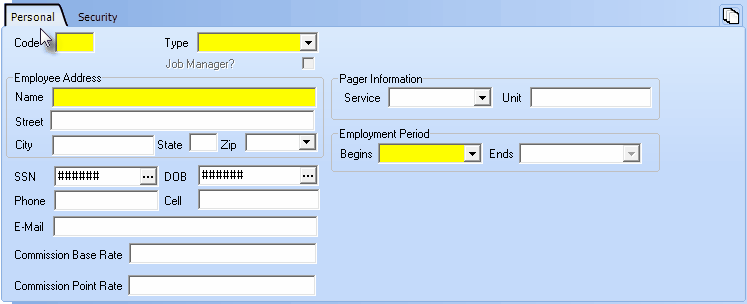
Blank Employee Form showing the Personal tab
Establishing an Employee's Access Rights
| □ | The Security Tab is used to establish specific Access Rights for the Employee. |
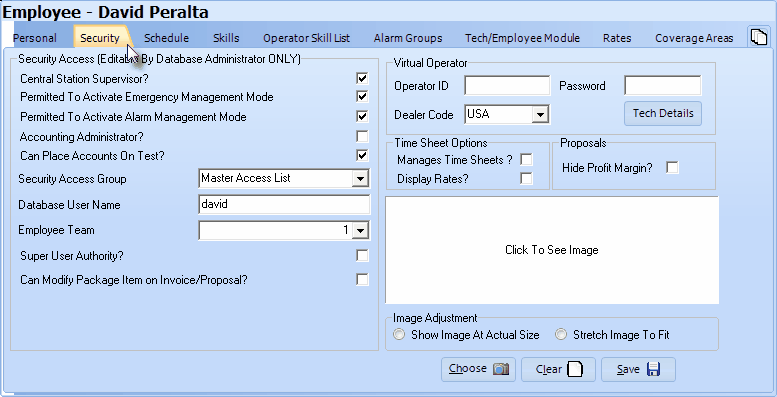
Security tab on the Employee Form
| • | Your System Administrator is the person with top level access rights to the program's Sybase SQL Anywhere Client Server Database System. |
| • | The System Administrator, using the Main Menu selection Employee Groups Form, is able to design an individual set of Access Rights for each User. |
| • | Once the Employee Groups are established and the Employee information - including assignment of their Employee Group - is entered on the Employee Form, the System Administrator can add Users thereby setting their User Name and Password for Login. |
| • | If you are not logged in as a System Administrator, you will not be able to add, delete or modify the Security information nor assign access and functionality permissions. |
| • | Assigning Access Rights establishes the User's ability to Create, Read, Update, and/or Delete information on any data entry Form that accesses information in the database |
| • | A Form is any screen within the program that allows for data entry, retrieval or reporting. |
| • | These rights may be established on a Form by Form basis. |
Schedule Tab
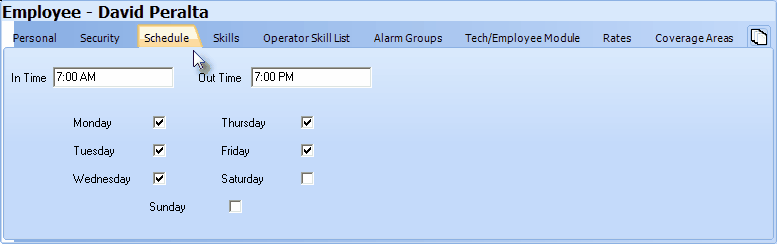
Employee Form - Schedule tab
| • | The Employee must be assigned the Type of Technician (or All) before you enter their Schedule. |
| • | Enter the normal Schedule for this Technician (Employee). |
| • | In Time - Enter their normal Starting Time. |
| • | Out Time - Enter their normal Quitting Time. |
| • | Days - Check the Days of the Week they normally work. |
(Technician's) Skills Tab
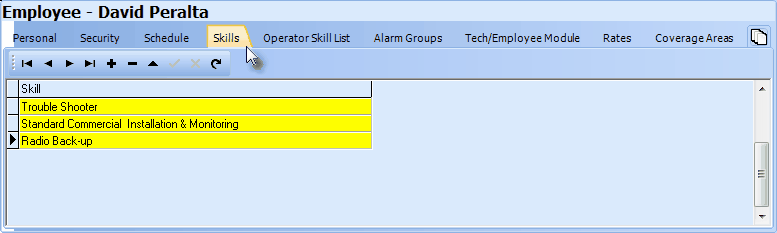
Employee Form - Technician Skills tab
Operator Skills List Tab
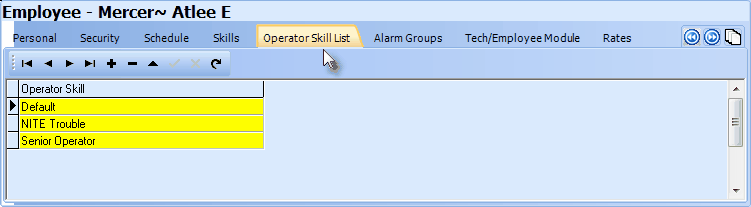
Employee Form - Operator Skill List
Alarm (Processing) Groups Tab
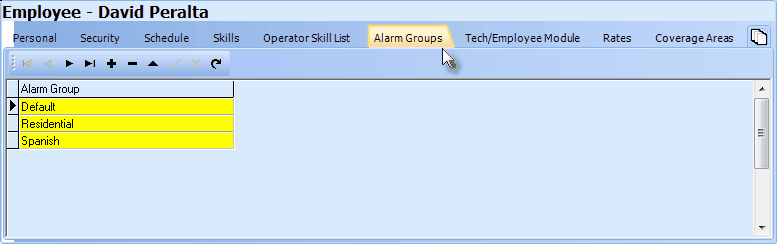
Employee Form - Alarm Groups tab
Tech Module
| □ | The Employee Form Tech Module tab allows you to define the Persons who will have access and how that access is to be managed. |
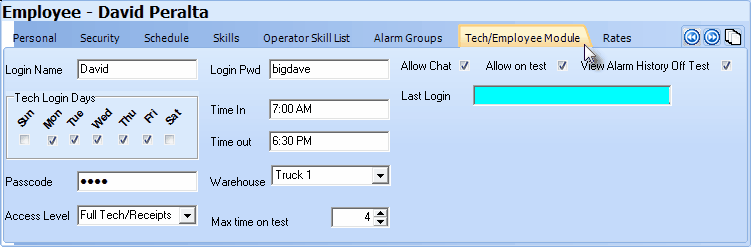
Employee Form - Tech Module tab
Rates Tab
| • | The Employee must be assigned the Type of Technician (or All) before you enter their Rates. |
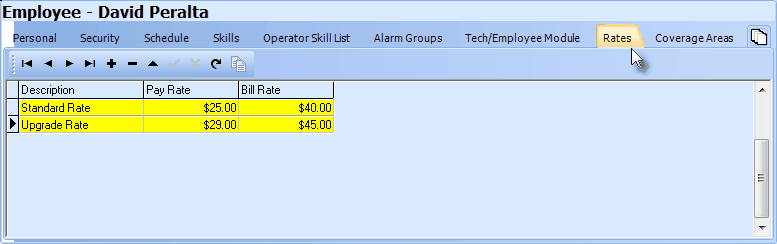
Employee Form - Rates tab
Coverage Areas
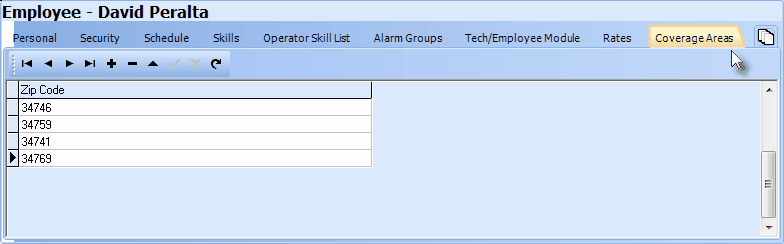
Employee Form - Coverage Areas tab

