
| □ | Create a Windows® Desktop Shortcuts folder to meet the needs of each of the User(s) actually running those workstations. |
| • | Because you will probably be using multiple applications - all relating to your Management and/or Monitoring processes - consider creating a folder on your Windows® Desktop with Shortcuts to all the Micro Key Millennium Series programs that each individual workstation will be needing. |
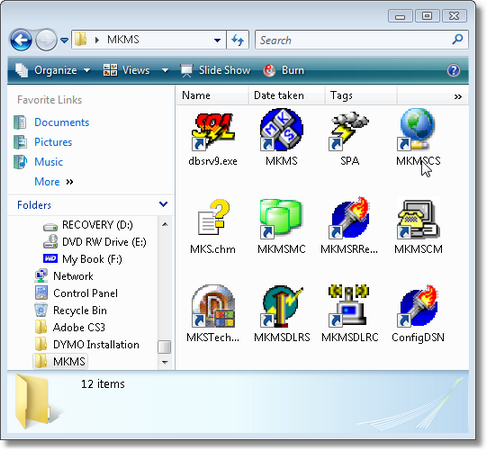
User created MKMS Desktop folder with Application Shortcuts
| • | Not all workstations will need access to all of these applications. |
| • | For Monitoring Module Users, SPA need only be running on the computer(s) to which your Receiver(s) - or multi-port devices for your Receivers - are actually connected. |
| □ | Start the Micro Key Millennium Series (MKMS) program. |
| ◆ | Be certain that your Sybase Adaptive Server Anywhere (dbsrv9 application) SQL Server is running. |
| • | If you are using Windows® XP, the SQL Server will be enabled as an Automatic Service when the MKMS CD was installed. |
| • | This means that when your Server is initially started, or restarted, the Adaptive Server Anywhere (dbsrv9 application) SQL Server will start automatically. |
| • | You may Confirm that the SQL Server is running as an Automatic Service as follows: |
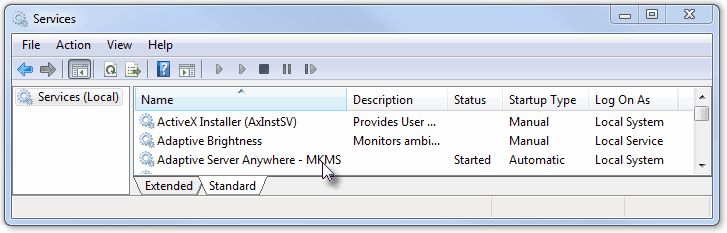
| ▪ | The Services dialog will be displayed. |
| ▪ | If not already selected, Click the Extended tab. |
| ▪ | Locate and Click on the Adaptive Server Anywhere - MKMS listing. |
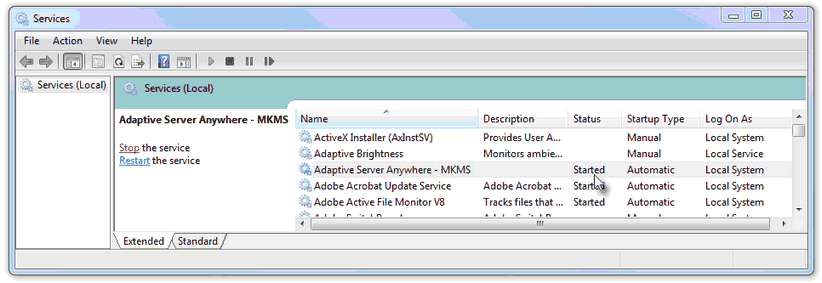
| ▪ | The Status should be Started. |
| ▪ | If not, you may Click the Start option on the left to start it now, but report to the System Administrator that it was not automatically started. |
| • | To start the MKMS application, Double-Click the MKMS Icon on your desktop to start the program. |
| • | The Micro Key Solutions logo and splash screen will appear momentarily followed by the login screen. |
| ► | Note: If you are using the Multiple Company feature, select the desired Company Database name that you wish to access. |
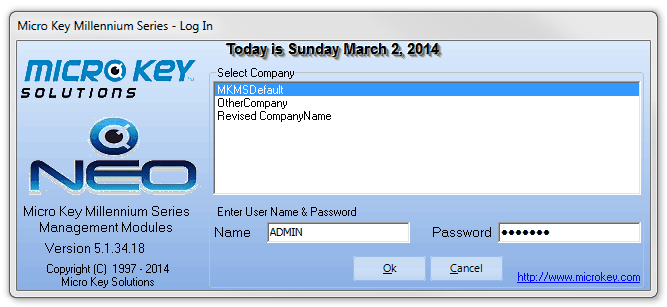
Micro Key Millennium Series - Log In
| • | Press tab (After Selecting the appropriate database name) and enter your Login Name and Password in the boxes provided. |
| • | Read the daily tip, Click OK and the main application screen will be displayed. |

