| □ | Taking Requests for Service (creating a Work Order) is an integral part of your Service Department's - and perhaps the entire office's - daily routine. |
| ◆ | Note: Within these Help Files, the terms "Work Order" and "Service Request" mean the same thing and so either may be used to reference a record of (or the printed document stating) what task(s) are to be performed at a Subscriber's premises - whether requested by the Subscribers themselves, or created by the system as part of an automatic Work Order (i.e., Service Request) creation process. |
| 3. | On the Subscribers Form's Service Quick Access menu, Click Service Request (which is the method described below). |
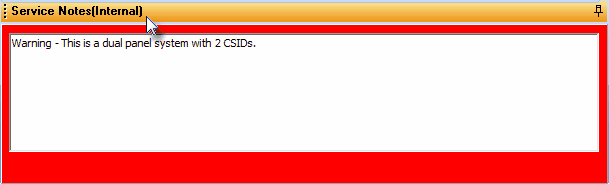
| • | Service Notes (Internal) tab at the bottom of the Service Request Form - If internal service related comments have been entered in the Service Notes (Internal Only) sub-tab on the Service Information tab on the Subscribers Form, these comments are displayed automatically when a User attempts to create a Service Request. |
| • | These are Comments that would be useful to Users interacting with this Subscriber. |
| ▪ | These special - internal use only - comments are only displayed on this special the Service Notes (Internal) sub-tab when a Service Request Form is opened, and only if they have been entered in the Service Notes (Internal Only) sub-tab on the Service Information tab of the Subscribers Form. |
| ▪ | These - internal use only - comments are not printed on a Work Order. |

| • | The Lock/Unlock Panel Pin is initially set facing down which is the Locked Position. |
| • | Once this important information is reviewed, Click this Pin to Unlock the Service Notes (Internal) Panel. |

| • | This section may be reopened by Clicking the Service Notes (Internal) option. |
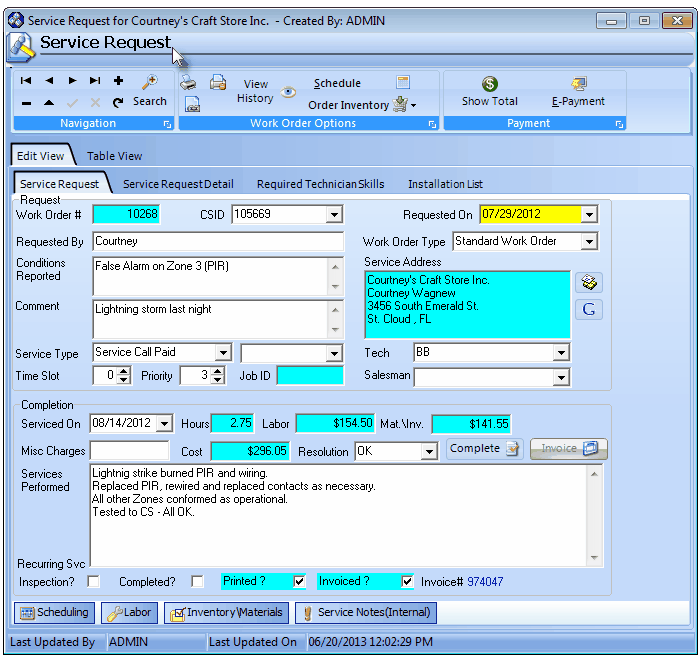
Service Request Form - Invoiced and Completed
| • | This Service Request Form may be used to create Work Orders for one of several different purposes, identified by assigning the appropriate Work Order Type to the Service Request Form: |

Work Order Types
| 1. | Standard Work Order - The most common Work Order Type that is used to specify the service related work that is to be performed at a Subscriber's premises. |
| 2. | Fire Alarm Test - When this Work Order Type is selected, it creates a specific Work Order Format that is designed to facilitate a system wide Fire Alarm Testing procedure. |
| 3. | Fire Extinguisher Inspection - When this Work Order Type is selected, it provides a specific Work Order Formatted to perform a Fire Extinguisher Inspection procedure. |
| 4. | Installation Order - When this Work Order Type is selected and the Installation List tab is properly populated, it enables the User to create a specific Work Order Format designed to identify all of the Inventory Components required for a new (or add-on) type of installation. |
| □ | The Service Request Form (the default version is shown below) provides these processes: |
| □ | Accessing the Service Request Form: |
| • | Click the Service Quick Access menu |
| • | Select the Service Request Icon. |
| • | The most recently entered Service Request will be displayed in the default Edit View tab (if there were any previously entered Work Orders). |
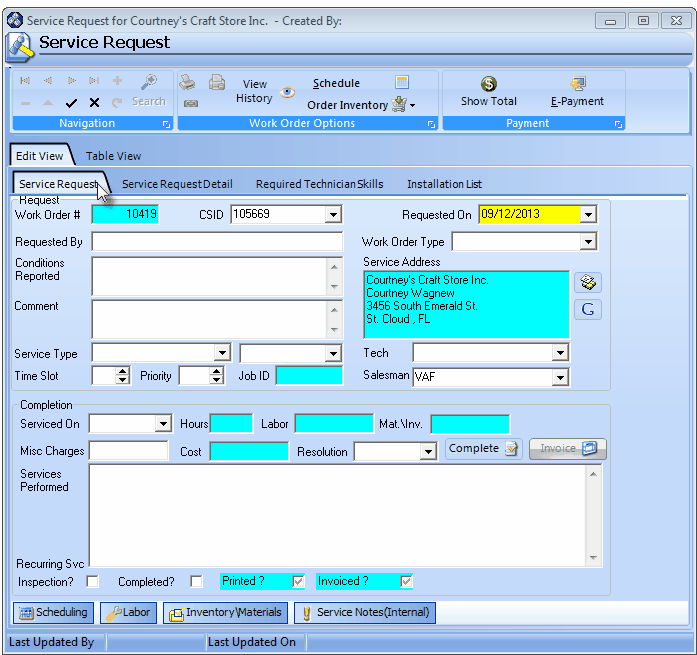
Service Request Form - Defaults
This tab will be activated and framed in Red (as illustrated above).
| • | You may retrieve a different existing Work Order by Choosing the Table View tab to locate and Click on the desired Work Order Number. |
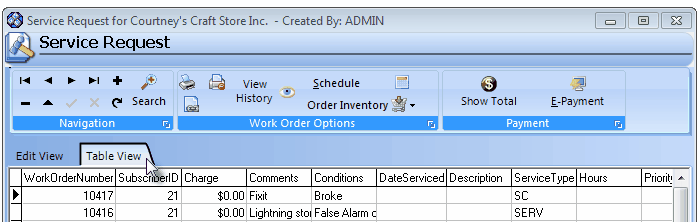
Service Request Form - Table View tab
| • | There are four sub-tabs below the Edit View tab at the top of the Service Request Form |
| 1. | Service Request - (the default) - This is where you enter the information required to activate a new Work Order. (see example below). |

Service Request tab on the Service Request Form
| ▪ | As the Technician Status changes for this Service Request, the previously completed Status is inserted automatically. |
| ▪ | Click the Update Icon to get their most up-to-the-minute Status. |
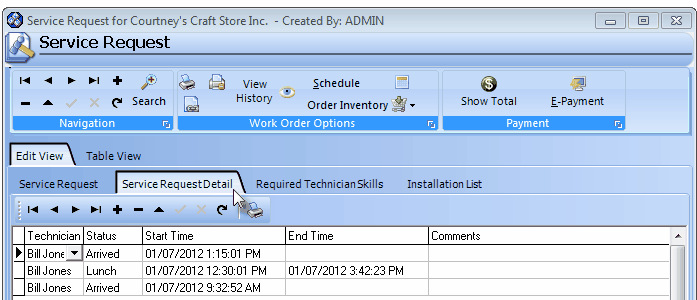
Service Request Detail tab on the Service Request Form
| ▪ | This Service Request Details tab allows the User to build a chronological record of Technician's Time that is spent on this Service Request. |
| ▪ | The Current Technician's Status should be assigned through the Tech Status Form. |
| ▪ | If not using the Tech Status Form, each Technician's Time maybe directly recorded on this Service Request using this Service Request Details tab. |
| ▪ | Additional Comments as needed - regardless of the source of the entry may be added as appropriate. |
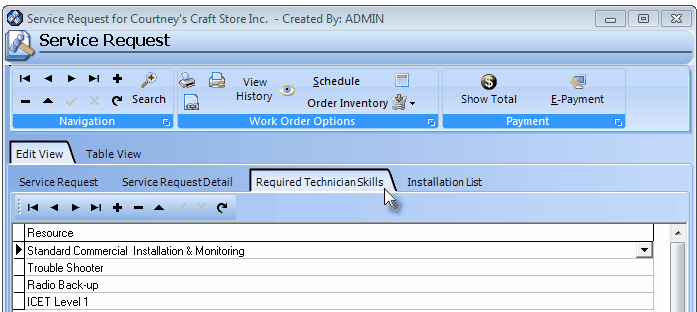
Service Request - Required Technician Skills tab
| ▪ | Use the Drop-Down Selection List provided, to add the Technician Skill Resource needed. |
| o | Any number of required Resources may be defined. |
| o | If you have already assigned a Technician to the Service Request, and that Technician does not have the selected Employee Skill, you will be prompted with a message to either continue with the assigned Technician, or to abandon the entry. |
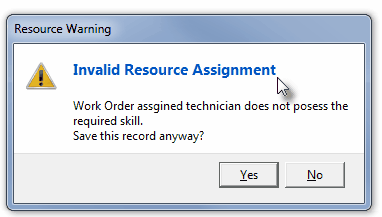
| o | Either change the required Skill, or change the Lead Technician. |
| ▪ | Any Technician may be assigned to a Work Order subsequently, as needed. |
| ▪ | Only the Technician assigned first (the Lead Technician) needs to have all of the Skills defined here. |
| 4. | Installation List - The Installation List tab allows the Service Department to itemize the Inventory that will be required to perform an installation or major upgrade/addition. |
| ▪ | An Installation List may be created for any Work Order, regardless of the assigned Work Order Type. |
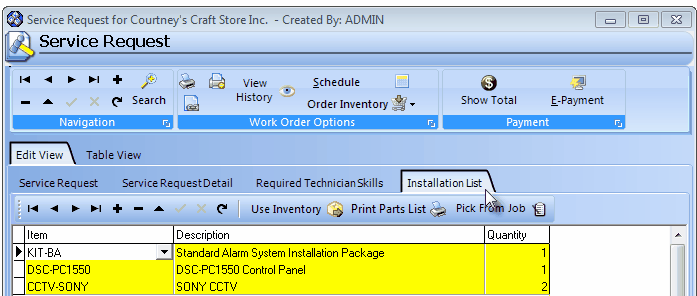
Installation List tab on the Service Request Form
Special Icons on the Service Request Form:
| □ | The three sets of Special Icons on the top of the Service Request Form are listed below along with the purpose of the Icons in each set. |
Special Icons and Options on the Service Request Form
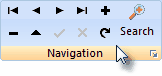
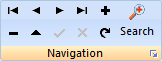
| • | Navigation related Icons: |
| 1. | Move from record to record manually (Beginning, Previous, Next, Last) |
| 2. | Add, Modify, Save and/or Delete a Service Request (Work Order) |
| 3. | Search for a specific Work Order record |
| 4. | Refresh the currently displayed Work Order data. |
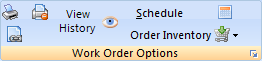
| 2. | Print a Service History |
| 4. | Chain a previously entered Service Request with new Work Order |
| 5. | Order Inventory for a new, or existing Work Order using the available Purchase Order Form |
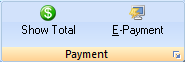
| 1. | Show the Total Balance Due for this Work Order |
| 2. | Get Paid for the Total Balance Due by E-Payment. |

