| □ | Using the Schedule Button to assign a Technician to a Work Order and then to Schedule it |
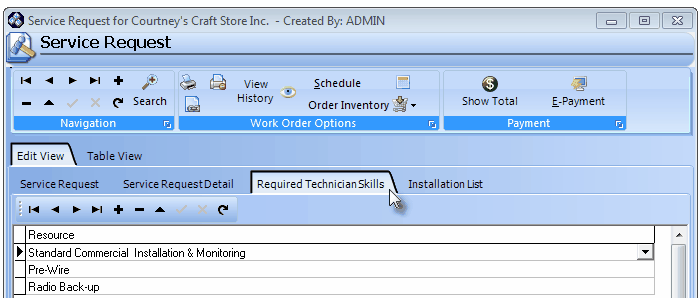
Technician Skills tab on the Service Request Form
| 1. | Before using the Schedule Button or working within the Scheduling section, if this Work Order requires any specialized Technician Skills, identify those required Skills within the Technician Skills tab (as illustrated above). |
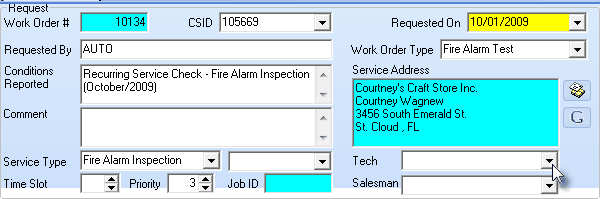
Service Request tab - Technician field
| 2. | Tech - When ready to assign this Work Order to a Lead Technician, use the Drop-Down Selection List in the Tech field on the Service Request Form and Choose the appropriate Technician (as illustrated above). |
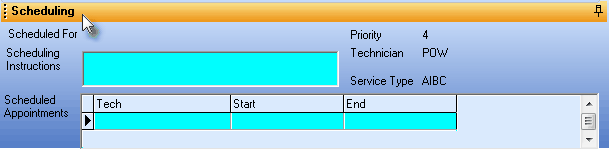
Work Order Not Scheduled
| • | If no Scheduling Information is shown (as illustrated above), one of two cases exist: |
| 1. | It has not been scheduled (be sure to do so!). |
| • | Schedule - Before accessing the Schedule Icon, be sure to assign a Technician to this Service Request. |
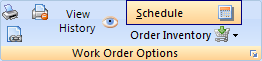
Schedule Icon on the Service Request Form
| • | The Technician Scheduling Form will now be displayed for the Selected Technician and show that Technician's schedule for Today. |
| □ | Enter the appropriate Scheduling Information |
| • | The assigned Lead Technician's Schedule for Today will be displayed. |
| ▪ | This selection of Today may be changed to a different Date by accessing the Drop-Down Date Selection Box in the Calendar field to the right. |
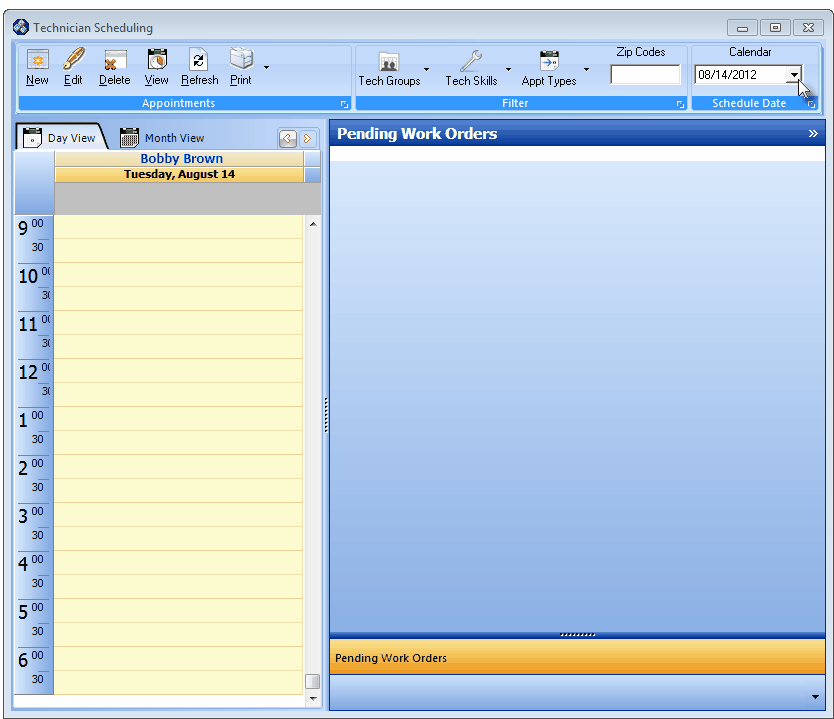
Tech Scheduling Form accessed from Service Request Form's Schedule button
| • | Once the desired schedule Date is selected: |
| • | Click on the available Time Slot that is closest to the one requested by the Subscriber. |
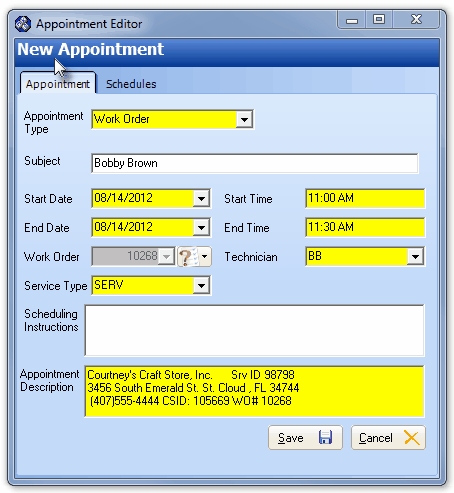
Appointment Editor Form
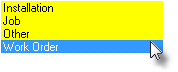
| ▪ | Appointment Type - The Type of Work Order being scheduled. |
| o | The four possible Appointment Types are listed below: |
| ▪ | Subject - The Subject (in this case it will be the name of the Technician) |
| ▪ | Start Date/End Date Start Time/End Time - Starting and Ending Dates and Times |
| ▪ | Work Order - The Work Order Number |
| ▪ | Technician - The Employee (LW) code of the Technician |
| ▪ | Service Type - The Service Type (in this case ADDS representing an Addition to an existing system) that was assigned to the Work Order, |
| ▪ | Priority - The #3 (default) Priority which may be changed, if needed., |
| ▪ | Scheduling Instructions - A place to enter any special Scheduling Instructions, |
| • | Scheduling section on the Service Request Form - The Service Appointment Information that was entered using the Appointment Editor Form will be inserted in the Service Request Form's Scheduling section (see mouse pointer in illustration below) including the Tech name, the scheduled Start and End times, and any special Scheduling Instructions that were provided. |

| • | Click the Scheduling option on the Service Request Form to the Technician(s) that have been scheduled for this Work Order. |

| • | The Lock/Unlock Panel Pin is initially set facing down which is the Locked Position. |
| • | When the required information is entered and saved, Click this Pin to Unlock the Scheduling Panel. |
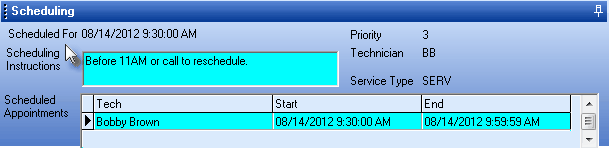
Scheduling information on the Service Request Form
| • | It is not uncommon to have more than just a Lead Technician assigned to a Service Request - |
| • | This is usually because the Work Order is for a complete system installation, a complex repair, or a major system upgrade. |
| • | To accommodate this Multiple Technicians requirement, any number of Technicians may be Scheduled for each Work Order. |
| • | To add an additional Technician to an existing (already) scheduled Work Order, open the Technicians Scheduling Form. |
| • | Make sure that the you make the Schedule visible for the desired new Technician and it is being displayed. |
| • | Using the Calendar display, Select the Schedule Date of the Work Order. |
| • | Select the Time Slot that matches the previously set appointment for the Work Order that needs another Technician assigned, or select a different Time Slot (and even a different Day, if appropriate), based on when that Technician is actually required to be working on-site. |
| • | There are two ways to add an additional Technician to a Service Request that has previously been Scheduled but has not been Completed: |
| 1. | Click New on the Technicians Scheduling Form to create an Appointment for another Technician for the Work Order Number that has already been assigned its Lead Technician. |
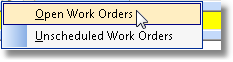
| ▪ | Click the Drop-Down Selection List to the right of the Work Order Number field's Question Mark ? |
| ▪ | Set the Work Order Number field for for Open Work Orders |
| ▪ | By doing so, any Work Order that has not been Completed is available in the actual Work Order Number field's Drop-Down Selection List - whether or not it was previously Scheduled. |
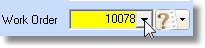
| ▪ | Work Order - Select the Work Order Number that was previously scheduled and to which you want an additional Technician assigned. |
| ▪ | Complete the Appointment entry as needed. |
| ▪ | Complete the Appointment entry as needed. |
| • | Return to the Service Request Form and Click the Scheduling option to Confirm that this additional Technician was Scheduled. |
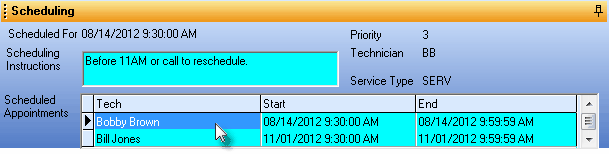
Scheduling tab located on Service request Form with multiple Technicians shown
| • | If the Service Request Form was still open, Click the Refresh Icon to get the latest information displayed on the Scheduling section. |
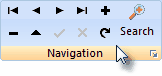
Service Request Form - Refresh Icon

