| ◆ | Do not confuse Dealer Billing setup with the actual monitoring related setup required for those Dealers (and those Dealer's Subscribers) who are being monitored by your Company. |
| • | Once created, these Division Codes will be assigned to Subscribers for future sorting, billing and reporting purposes. |
| • | In addition, internal Company Divisions may be defined and they too may each have individualized Company Return Address Information printed on their Subscriber's Recurring Revenue Invoices. |
| • | This provides the ability to Print individualized (Division based) return addresses and so eliminates the need to have multiple sets of Invoice forms - one set for each different Division's (and/or outside Alarm Company's) return address. |
| • | This capability allows you to easily bill the Recurring Revenue for those Alarm Companies which have contracted with your Company for monitoring and recurring billing services, because each Alarm Company and their Subscribers will have defined (assigned as a Division code), their own individualized Return Address information. |
| □ | However, regardless of whether or not you are doing Recurring Billing for those Alarm Companies which have contracted with your Company for monitoring and recurring billing services, if you are providing actual Contract Monitoring Services for any (non-company) Alarm Dealer, specific, monitoring related information must also be defined for each of those Alarm Dealer's . |
| • | This Dealer Form serves that purpose: |
| 2. | Sets the Signal Volume maximums for Active and Passive Accounts for each Dealer. |
| 4. | Identifies any Action Plan(s) that are to be applied specifically for Alarm Signals received from each Dealer. |
| 5. | Stores all pertinent Documents related to each Dealer. |
| □ | To enter Dealer information, from the Main Menu, Choose Maintenance and Select Central Station, then Click Dealer. |
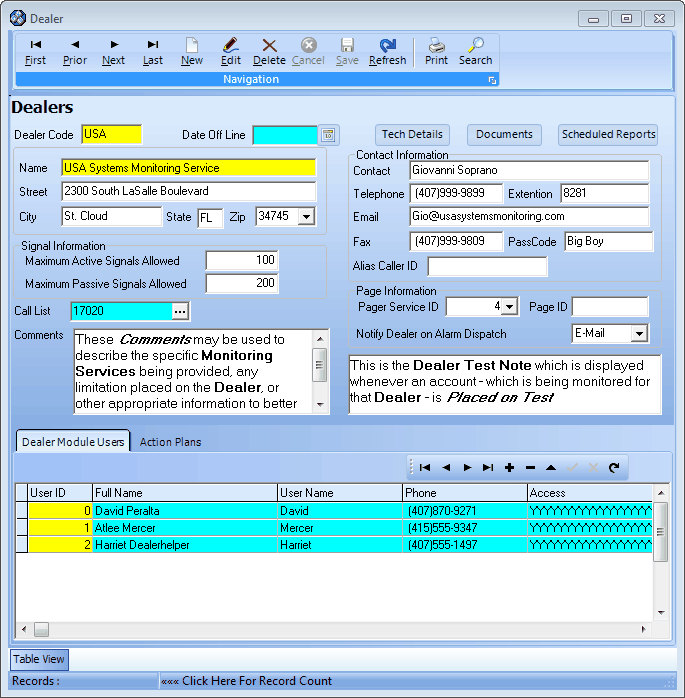
Dealers Form
| • | This Dealers Form may be Re-sized by Dragging the Top and/or Bottom up or down, and/or the Right side in or out. |
| • | Navigation Menu - The Navigation Menu is located at the top of the Dealers Form. |

| • | This Navigation Menu provides the normal Record Movement, New, Edit, Delete, Cancel, Save, and Refresh options; as well as special Print and Search functions. |
| • | Record Editing section - The details of the currently selected record are displayed below the Navigation Menu at the center (Main Body) of the Dealers Form. |
| • | Table View tab - A tabular (spreadsheet style) Table View of the currently defined Dealers is accessible by Clicking the Table View tab at the bottom of the Dealers Form. |

| • | To display a specific Dealer record in the Record Editing section, Click on that record within the Table View section, or use the Search Icon (see the "Using the Special Functions" section later in this chapter). |
| • | This Table View information may be Pinned in Place by Clicking the Pin Icon on the right. |
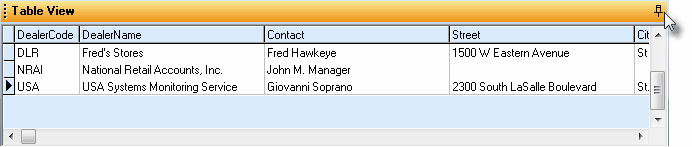
Dealers Form - with Table View tab Pinned Open
| ▪ | You may Un-Pin this Table View by Clicking the Pin Icon again. |
| ▪ | Click on any listed record to display that information in the center (Main Body) of the Form. |
| • | There are many columns of data in this Dealers Record Listing: |
| • | Each column's Header Name describes the data contained in that column. |
| ▪ | Clicking on a Header Name will set the order in which the Dealers will be listed. |
| ▪ | Clicking on the same Header Name will set the order in the opposite direction (ascending vs. descending). |

| ▪ | The Header Name that is determining the Order of the list will have an Icon indicating the Order displayed next to that Header Name. |
| □ | Defining the Dealers for whom your Company is providing Central Station Monitoring services: |
| • | Click the  Icon to start the Dealer entry in the Record Editing section. Icon to start the Dealer entry in the Record Editing section. |
| • | Dealer Code - You may enter up to ten (10) characters - Capital letters, spaces, and numbers (punctuation marks are not accepted) - to identify a "CODE" for this Dealer. |
| • | Date Off Line - See the "Taking All of a Dealer's Accounts Off Line" section below. |
| • | Name - Enter their Company Name |
| • | Street - Enter their Street Address. |
| • | State - Enter their 2 character State (or Province) code. |
| • | Zip - Enter their Zip Code. |
| • | Contact Information - Enter all (available) Contact Information: |
| • | Contact - Enter your primary contact at this Company. |
| • | Telephone - Enter the primary contact's Telephone Number at this Company. |
| • | Extension - If required, enter their extension. |
| • | Email - Enter the Email address for Alarm Dispatch Notification. |
| • | Pass Code - Enter a Pass Code for identification purposes. |
| • | Alias Called ID - This field will be used for a feature that is still Under Development. |
| • | Signal Information - Enter the Maximums number of Signals for each Active and Passive Account. |
| • | The time frame for these allowances is determined when the Excessive Signals Report is selected and the Report From and.Report To dates are entered. |
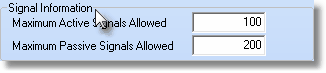
Signal Information section
| • | Maximum Active Signals Allowed - Enter the number of Active Signals per Account that are allowed. |
| • | Maximum Passive Signals Allowed - Enter the number of Passive Signals per Account that are allowed. |
| • | Page ID - Enter the Alarm Dealer's Pager ID Number. |
| • | Notify Alarm Dealer on Alarm Dispatch - By default, this will be None. |
| ▪ | You may Select Pager, Email, or None, as appropriate, using the Drop-Down Selection List provided. |
| • | Call List - Click the Ellipse  button to open the Search dialog to Choose the Dealer's special Subscriber record that contains the People To Call information for this Dealer, or optionally Select any other Account that has the Contacts that are to be assigned to, and used by this Dealer. button to open the Search dialog to Choose the Dealer's special Subscriber record that contains the People To Call information for this Dealer, or optionally Select any other Account that has the Contacts that are to be assigned to, and used by this Dealer. |
| • | Using this Search dialog: |
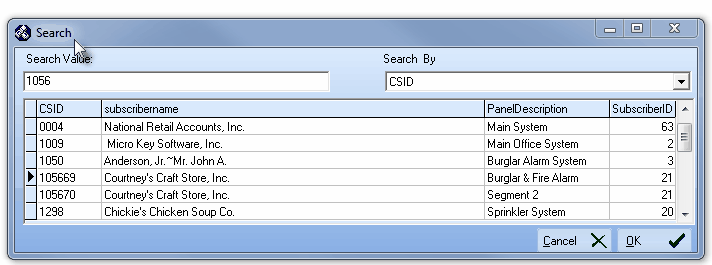
Search dialog with CSID selected for the Search By field, and a Search Value of '1056' entered
| ▪ | Search By - Using the Drop-Down Selections Box provided, Choose the appropriate Search By field (Subscriber Name, CSID, Panel Description, or Subscriber ID). |
| ▪ | Search Value - Type the appropriate characters which will locate the required Subscriber. |
| ▪ | OK - Click the OK ü button to Select the desired Subscriber. |
| • | Understanding this Call List field and How it is Used: |
| ▪ | A Subscriber record must be entered for each of your Alarm Dealers. |
| ▪ | Once those People To Call are defined in the Subscriber record for this Dealer, and the CSID for that record is Selected in this Call List field: |
| o | Whenever an Alarm Signal is received from one of this Dealer's Accounts, the Dealer's Call List Names will be included and labeled as Dealer Contacts, as will the Names in any Alternate Call List assigned in Subscriber Panels for that Subscriber which will be included and labeled as Alternate Contacts, thereby providing the Operator who is processing the alarm, access to this Dealer's contact information (labeled as Dealer), an Alternate Call List (labeled as Alternate), as well as the Subscriber's own list of People To Call (which are labeled as Standard). |
| o | When an Operator uses the Sub Info (F2) screen to reference Subscriber Information, in addition to the Subscriber's People To Call list shown on the General tab of the Call List section of that form, the Dealer's Contact List will be provided on a separate Dealer tab, and any Alternate Call List assigned in Subscriber Panels will be provided on an Alternate tab, thereby giving the Operator access to this Dealer's Call List, an Alternate Call List (if assigned), as well as the Subscriber's regular Call List. |
| ▪ | If a previously assigned Dealer Call List CSID needs to be replaced (or simply removed): |
| o | Place the cursor within the Call List field. |
| o | Right-Click within the field to open the Clear Call List query shown below. |
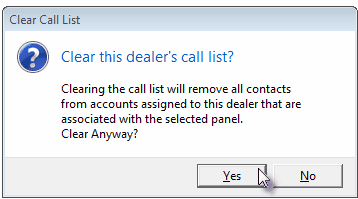
Dealer Form - Clear Call List
| o | Click the Yes button and the CSID (and all of its related Call List Names) will be removed. |
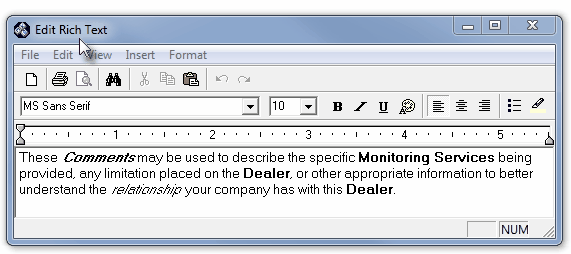
| • | Comments - This field is available for the entry of any additional information about this Dealer, their agreement with you, and any other pertinent comments that may be required. |
| • | Test Note - Enter any Note that is to be displayed for the Operator whenever an Account being monitored for this Dealer is Placed on Test. |
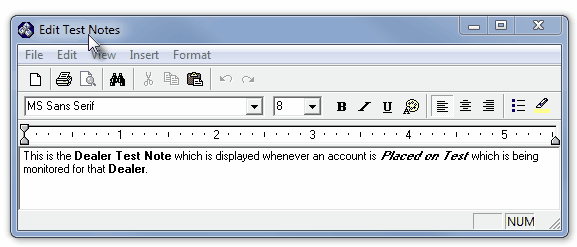
| • | When an Operator is requested to Place an Account on Test, if a Subscriber or Dealer Test Note has been entered, it will be displayed for Him/Her at the time they do so, in a special Test Notes box (as shown in the illustration below). |
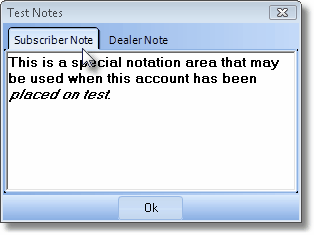
Test Notes box shown as an Account is Placed on Test
| • | Click the  Icon to record this Dealer entry. Icon to record this Dealer entry. |
| • | Repeat this process, as needed, to define each Dealer. |
| ► | Note: Dealer Module Users must first be identified in the Dealer User Maintenance Form to be eligible to be entered here. |
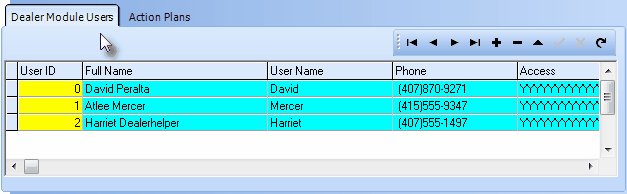
Dealer Module Users tab on the Dealer form
| • | Full Name, User Name, Phone, etc. - This data will be inserted automatically based on the Selected User ID and the information entered for that User ID. |
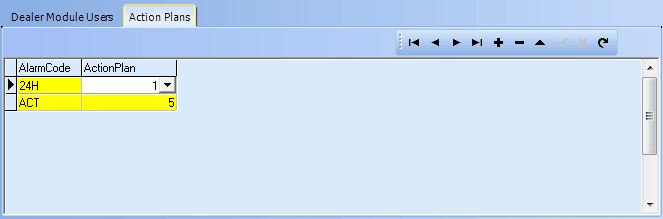
Dealers Form - Action Plans tab
| □ | Taking All of a Dealer's Accounts Off Line at the same time: |
| • | There are times when an Alarm Dealer, for whom you are providing Central Station Monitoring Services, will need to have all of those Accounts taken off line, all at one time. |
| • | Whether for Non-Payment, a Liability Issue, acquisition by a different Central Station, etc., eventually you will almost certainly be faced with this situation. |
| • | There are two ways to do so: |
| b. | Then you would have to lookup each of that Dealer's Accounts on the Subscribers Form. |
| c. | Finally, you would have to Open the Central Station Data Form to set the Off Line Date, as appropriate. |
| a. | Click the Calendar button next to the Off Line Date field |
| b. | Select the Date required using the Drop-Down Date Selection Box provided. |
| ◆ | The Manual method may take days to complete, the Automatic method will take just a few minutes. |
| • | In either case, if certain specific Accounts should Not be taken Off Line, those individual Accounts may easily be put back On Line, as needed, by going to the Central Station Data Form to clear the Off Line Date field for those Accounts, as appropriate. |
| □ | Using the special purpose buttons on the Dealer Form: |

| • | Tech Details - This button opens the Dealer Technicians Form which is used for entering the Names and related information of the Dealer Technicians that are employed by this Dealer, and are therefore are allowed to perform service work on this Dealer's Accounts. |
| • | This button offers the same functionality as the Tech Details button on the Security tab of the Employees Form. |
| • | The Dealer Technician does not need to be entered as an Employee within MKMS to have them entered on the Dealer Technicians Form through the use of the Tech Detail button. |
| • | Click the Tech Details button on the top of the Dealer Form to enter the Dealer Technicians that are allowed to perform service work on this Dealers Accounts. |
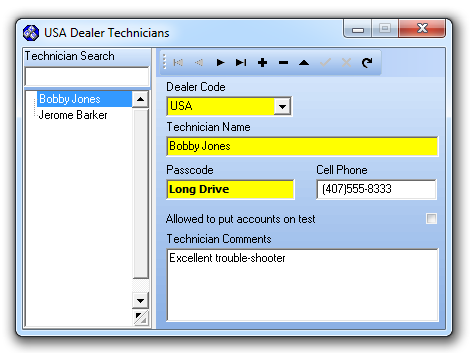
Dealer Technicians Form
| • | Documents - Used to Link pertinent Documents: usually Contracts, Correspondence, or specific Alarm Tickets, etc. from or for this Dealer. |
| • | To Link a Document into MKMS, Click the Documents icon on the top of the Dealer Form. |
| • | Please refer to the full discussion of Documents. |
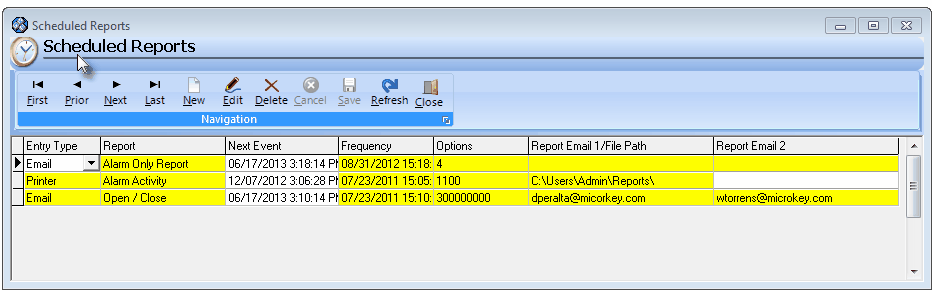
Scheduled Reports dialog available on the Dealers Form
| • | If you want to have your Alarm Dealer(s) receive Periodic Reports of Alarm Activity from their Accounts, their Scheduled Reports Information must be entered. |
| □ | Using the Special Functions on the Navigation Menu at the top of the Dealers Form: |
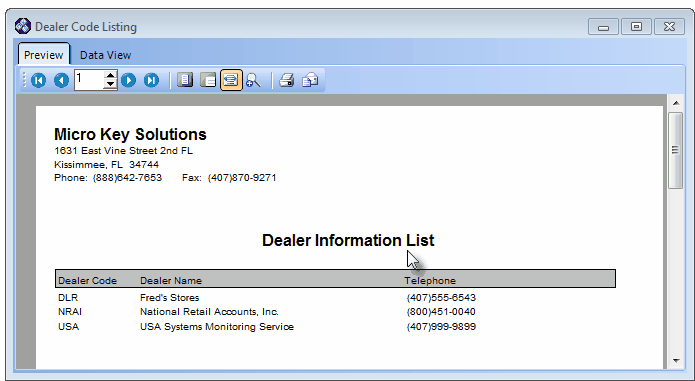
Dealer Information List - Preview tab
| • | Search - Click the Search Icon to open the Search Dealers dialog. |
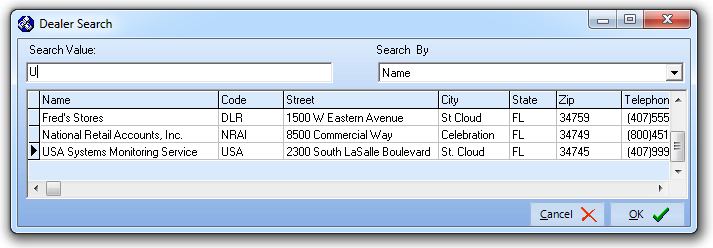
Search dialog
| • | See the "Using the Generic Search dialog" section in the Advanced Search Dialog chapter for more information about this Search dialog. |