| □ | Dispatch - The process of Telephoning a designated Police or Fire Department, an Emergency Medical Response Agency or some other Specialist or Service provider, for the purpose of providing assistance for, or resolution of, the Alarm Signal (the current signal the Operator is processing). |
| • | If a Dispatch is required, the Dispatch dialog will be displayed automatically. |
| • | However, to ensure that the Operator is prepared to read and perform this dispatching operation, they must Confirm they're ready to do so. |
| • | To Confirm, Click Yes, Press the <Space Bar>, or Press 8 Enter and the Dispatch dialog will be displayed. |
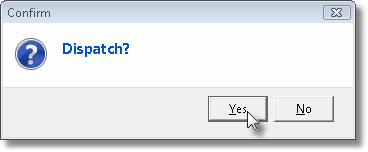
Confirm that a Dispatch may now be executed by the Operator
| ◆ | False Alarm Tracking Review: |
| ▪ | Define the Maximum number of allowable False Alarms for a specific municipality |
| ▪ | Reset the tally annually (or however the municipality tracks them) |
| ▪ | View all (False) Alarm Signals which an Operator had to Dispatch within each municipality. |
| • | Every Alarm Signal that required a Dispatch using a municipality defined in the Town Codes Form, is initially recorded as a False Alarm in that Town Code's False Alarm Tracking counter. |
| ▪ | The False Alarm Dispatch Tracking Form is used to update this False Alarm Tally by identifying which dispatched Alarm Signals were actually a False Alarm, and removing from the Town Code's False Alarm Tally those Dispatched Alarm Signals that were not a False Alarm. |
| • | If a Dispatch is required, and the Number of False Alarms allowed (by the municipality before a punitive action is instituted) has been exceeded (see Town Codes), a special Dispatch Who? Form will be displayed. |
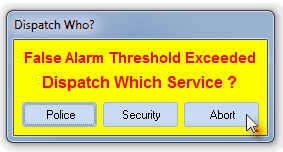
Dispatch Who? False Alarm Threshold Exceeded
| • | Following the Company's Policy associated with its False Alarm Tracking procedures, Choose the appropriate Responding Service. |
| • | Performing a Dispatch - These are the steps generally required to execute a proper Dispatch an Alarm Signal: |
| • | Call - Press the <Space Bar>, or Click the Dispatch button to automatically dial the proper - predefined - Emergency Service Provider (based on the Subscriber's Town Code and the Type of Alarm Signal being processed). |
| ▪ | Once you Click the Dispatch button it changes to a Complete button. |
| • | Dispatch - When the Emergency Service Responder answers, provide your Company's Name and Operator ID, a clear and concise description of the Alarm Signal, the Name and Location of the Subscriber, and if appropriate, the Subscriber's Permit Number and the Verification Response that required this Dispatch. |
| • | Dispatcher - Enter the Dispatcher's ID, (which may be their Badge number, 911 Operator ID, or an event Confirmation number). |
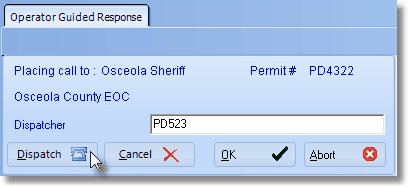
Dispatch button on the Dispatch Information Form
| • | Complete - Press the <Space Bar>, or Click the Complete button to indicate that you have completed the steps outlined above and want to terminate the call and record the steps in the Alarm History for this event.. |
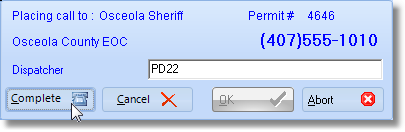
Complete button on the Dispatch Information Form
| • | Cancel - Click the Cancel button to cancel this dispatch. |
| • | Abort - Click the Abort button to stop the dispatch process immediately. |
| ◆ | For UL® 1981 Listed Central Stations Only - If using the Second Edition UL® 1981 Standard version of MKMSCS, and the Operator is processing an Alarm Signal for a UL® Account, and she/he had to perform a Dispatch: |
| • | An Internal Timer will be started automatically as soon as that Dispatch is recorded. |

| • | An Investigated button will then become available next to the other Dispatch Contact buttons. |
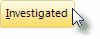
| • | When the Investigator arrives at the premises of that UL® Account, the Operator should Click the Investigated button and briefly record the results in the Investigator Arrival dialog. |
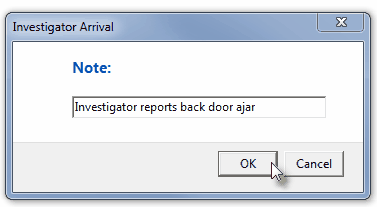
Investigator Arrival
| • | When the OK button is Clicked, the Internal Timer will be stopped, the elapsed time calculated, and the results noted in the Alarm History Detail. |

| ► | Note: As illustrated above, Non UL® 1981 Central Stations will not see the Investigated button. |
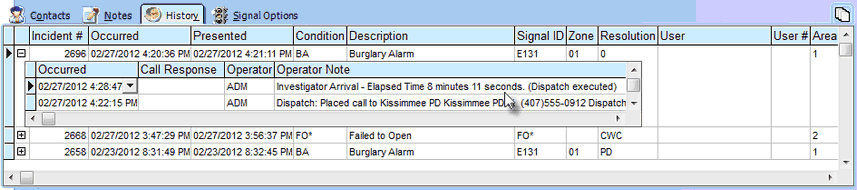
Alarm History Detail of an Alarm Signal for a UL® account showing the elapsed time from Dispatch to Investigator's arrival
| • | Regardless of what version of MKMSCS is in use, once you successfully Dispatch the Alarm Signal, enter a Note or Comment explaining the result of the Dispatch in the Note field provided. |
| • | Quick Notes - Press Shift+F2 to enter a Quick Note and/or any appropriate Comment to help clarify the Dispatching steps that have just been completed. |
| ▪ | Manually entered Notes may also be added at that time, or used instead of any predefined Quick Notes. |
| ▪ | More than one Quick Note may be inserted in the Note box. |
| • | OK - Click the OK button to indicate that you have completed the Note. |
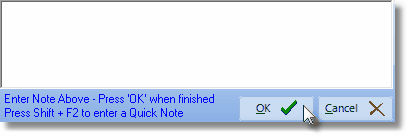
Enter a summary Comment about the Dispatch
| ► | Note: In some cases, a normal Dispatch may not be required, but a special type of response using the Response Ticket process, is needed. |
| • | Notification - If the Operator Guided Response requires a Contact be made for Notification purposes, the Contacts tab will be displayed automatically. |
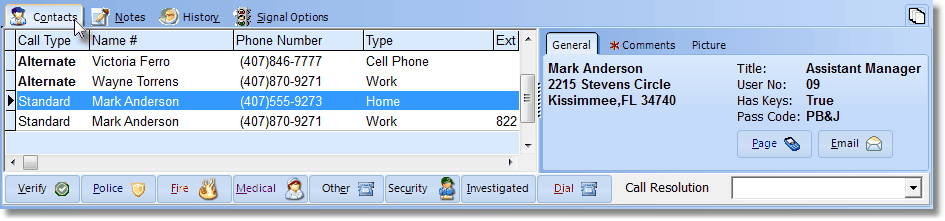
Contacts tab on the Signal Processing screen
| • | Completion - If the Operator Guided Response does not require a Contact be made, or there are no People To Call defined for this event or the Subscriber, then Complete the process or place the signal On Hold, as appropriate. |
| • | If the Operator needs to exit from an Action Plan, Press Ctrl+Shift+M. |
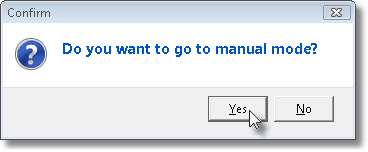
| • | Click the Yes button to Confirm the switch to Manual Mode. |
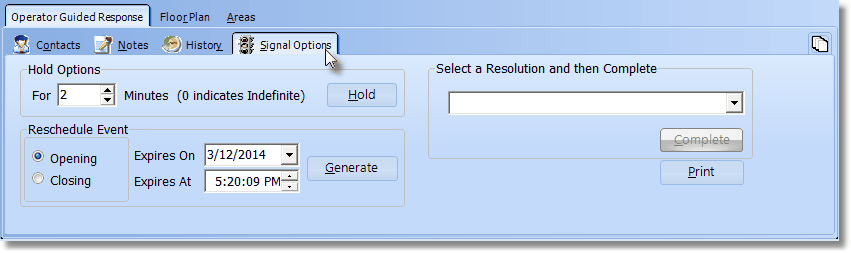
Operator Guided Response view with Signal Options tab activate
| • | The Contacts, Notes, History, Temp Notes and Signal Options tabs may now be accessed, as needed. |

