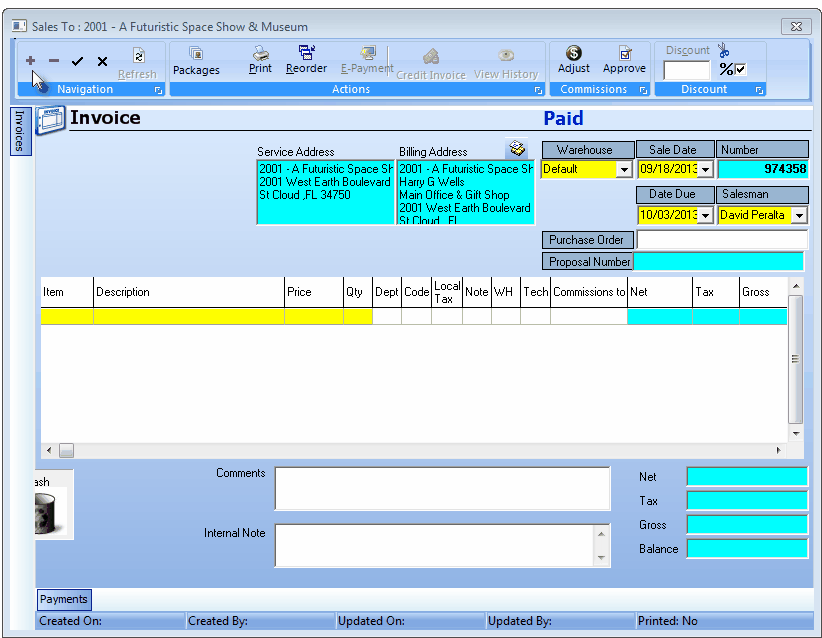
Invoice Form-New Entry defaults
| • | Click Add ("+") to create a new Invoice. |
| • | The Invoice Header fields will be populated as follows: |
| ▪ | The Service Address and Billing Address information will be entered automatically and the next invoice Number assigned. |
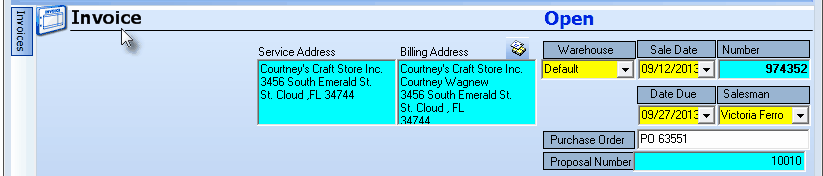
System provided Invoice Header information
| • | The mandatory information that must be entered to complete the Invoice Header is filled in, based on the system defaults (see explanations below), but you may modify any of this information, as needed. |
| • | Completing the Mandatory and Optional fields on the Invoice Header: |
| ii. | That predefined Default Warehouse is automatically assigned when an Inventory Item is entered on an Invoice, but may be changed, if appropriate. |
| iii. | If this Inventory entry creates a Negative On Hand Quantity for the selected Inventory Item, a Negative Inventory Warning message will be displayed. |
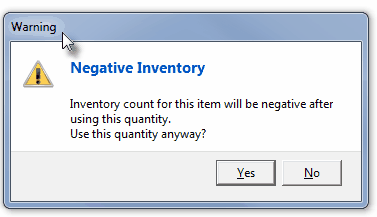
Warning - Negative Inventory
| o | Click the Yes or No button, as appropriate. |
| ▪ | Sale Date - Assigned automatically as the current date (Today). |
| o | This Sale Date may be reset using the Drop-Down Date Selection Box provided. |
| ▪ | Number - This is the Invoice Number assigned by the system. |
| ▪ | Job # - Only Invoices that were created for a Job Task through Job Costing will include a Job # field with the related Job Number inserted automatically. |

Invoice Form - Menu Bar with Job related Icons
| o | When a Job Number is shown, two additional Icons are added to the Invoice Menu Bar. |
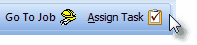
| 1. | Go To Job - Click this Icon to open the associated Job Costing Form for that Job # |
| 2. | Assign Task - If the currently selected Invoice has been assigned a Job #, you may be able to Assign a Task Service Type to a designated Detail Line Item under certain circumstances: |
| o | Click this Assign Task Icon to assign the selected Detail Line Item on this Invoice to a Service Type for a Job Task defined in the Job Costing Form's Job Task tab. |
| a) | Invoices for Tasks that were created within the Job Task tab on the Job Costing Form will have that Task's Service Type already assigned, which cannot be changed. |
| b) | Each additional Task created within the Job Task tab on the Job Costing Form will have that Task's Service Type assigned, which also cannot be changed (except to a Service Type already assigned to a different Job Task for the associated Job Number). |
| ▪ | Due Date - Assigned automatically based on the Terms set in the Company Options section of the Users Options Form. |
| i. | If the (current) Sale Date is modified above, then the Due Date is re-set to match the Company's Terms. |
| ii. | However, you may also re-set the Due Date using its Drop-Down Date Selection Box and that will not affect the Sale Date. |
| ▪ | Salesman - By default, the Salesman will be the one assigned on the Subscribers Form. It may be changed, if required. |
| • | When assigning a Salesperson to an Invoice: only those Employees whose Employee Type is identified as either Sales or All will be available (in the Drop-Down Selection List list) for populating the Salesman (or Commission To) fields. |
| ▪ | Purchase Order - If this Invoice is being created in response to a previously submitted Purchase Order from that Subscriber, enter that Purchase Order Number. |
| o | This is an alpha-numeric field. |
| o | Enter up to 40 upper and/or lower case letters, numbers, standard punctuation marks, and/or spaces. |
| o | This Purchase Order Number will be printed on the Invoice. |
| o | If the Purchase Order Number entry contains more than 13 characters, only the last 13 characters will be printed on an Invoice. |
| • | Entering the Invoice's Detail Line Items: |

| • | Item - Use the Drop-Down Selection List to Choose the Sale-Purchase Item for this line item. |

Sale-Purchase Items list with Item ID, Description, Retail Price and Mark Up Price
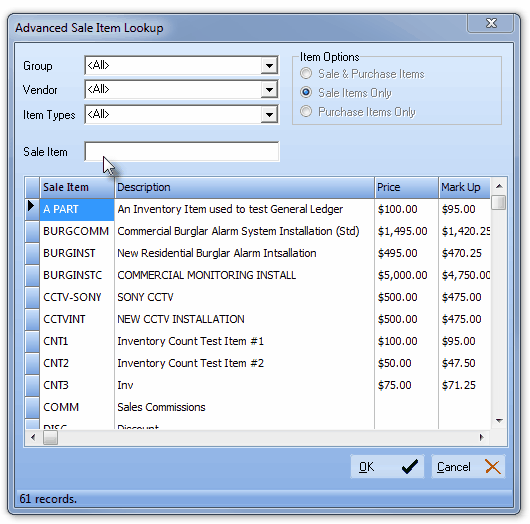
Advanced Sale Item Lookup dialog
| • | Description - By default, the Description entered when this Sale-Purchase item was defined will be inserted. You may revise it or simply add a Note (see below) to clarify this line item. |
| • | Price - By default, the Retail Price, entered when this Sale-Purchase item was defined, will be inserted. |
| ▪ | In either case, you may revise the Price, if required. |
| • | Qty (Quantity) - By default, the Quantity entered will be 1. |
| ▪ | Enter whatever quantity is being charged (decimal values are allowed). |
| • | Dept (Department) - A Department number only needs to be assigned if you are using the General Ledger System, and have indicated you will be using multi-departmental accounting. |
| ▪ | If using the General Ledger module, Click Dept and use the Drop-Down Selection List to Choose the correct Department for this transaction. |
| ▪ | Departments are used to identify a Work Group or Profit-Center within your Company that is responsible for installing, servicing or monitoring your Subscribers. |
| ▪ | They are designed to be a General Ledger itemization and reporting tool. |
Note: If this Subscriber is Taxable and charged a Local Sales Tax, and that information has been properly entered in the Subscriber's Accounting Information tab, and you have Checked Taxable? in the selected Sale-Purchase Item record, the proper Sales Tax Code and % Rate will be inserted automatically.
| ▪ | Code - If there is a Local Sales Tax in effect and there are multiple Sales Tax Rates defined, the correct Subscriber's Sales Tax Code will be inserted automatically. |
| ▪ | % (Tax Rate) - If there is a Local Sales Tax in effect, and there are multiple Sales Tax Rates defined, the correct Subscriber's Sales Tax Rate will be inserted automatically |
| ▪ | You may modify the default Sales Tax Code and Rate information, if required. |
Note: If you must charge a National Sales Tax and have correctly completed the Tax tab in the User Options Form, these fields will appear, otherwise, they will not be displayed.
| ▪ | Code - If there is a National Sales Tax in effect and there are multiple Sales Tax Rates defined, the Sales Tax Code #1 will be inserted. If you have multiple National Sales Tax Rates and this item is charged a Tax Rate other than Tax Rate 1, you must use the Drop-Down Selection List to Choose the correct Tax Rate Code. |
| ▪ | % (Tax Rate) - If there is a National Sales Tax in effect, and there are multiple Sales Tax Rates defined, the correct Subscriber's Sales Tax Rate will be inserted when you select the correct Sales Tax Code. |
| • | Note - If a more detailed explanation for this charge is needed, |
| ▪ | Click OK to save the entry. |
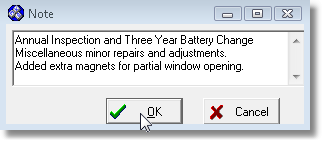
| ▪ | You may Right-Click the Note item to view the contents of any Note you have entered on an Invoice. |
| • | WH (Warehouse) - If the Sale-Purchase Item is an actual Part and you are using the Inventory Tracking System to track this Part, but the default Warehouse is not from where this Part was taken, Click WH and use the Drop-Down Selection List to Choose the correct Warehouse location. |
| • | Tech (Technician) - To enter the Technician who performed this work, Click Tech and use the Drop-Down Selection List to identify the appropriate Technician. |
| • | Commission To - By default, the Commission (if eligible) will go to the Salesperson of record for this Subscriber. |
| ▪ | To change the Salesperson information, use the Drop-Down Selection List provided. |
| ▪ | When assigning a Salesperson to an Invoice: only those Employees whose Employee Type is identified as either Sales or All will be available (in the Drop-Down Selection List list) for populating the Commission To field. |
| ◆ | If a Proposal Package - with Commission Tracking System information defined - has been added, the Selected Package, and the associated Package Points, Assigned Points and Earned Points fields will be created in the Invoice Header and will be populated, as appropriate. |

| • | Totals - Displays the Sales, Taxes and Gross Totals for this Invoice. |
| • | Comments - Enter as desired. |
| ▪ | Enter any additional Comment that will help the Subscriber better understand the charges on this Invoice. |
| ▪ | By default - for Invoices generated automatically for Late Charges, the Comments will be the following (the actual percentage rate is based on what was defined as your Late Fee rules): |
Late Charges are computed at an Annual Rate of
18.00% and subject to a minimum charge of $5.00
| • | Internal Note - This field is used by General Ledger System Users to enter a comment (which is not printed on the Invoice) that will appear in the Internal Note field of each Detail Line Item on the Transaction File Form that lists the Financial Transactions associated with, and therefore posted for, this Invoice. |
| ▪ | This Internal Note may be entered or modified "after the fact" (i.e., even later, after the Invoice was initially saved) in this Invoice Form but cannot be modified in the Transaction File Form. |

| ▪ | If changed, the Internal Note field of each Detail Line Item on the Transaction File Form that was posted for this Invoice, will be updated with the most current version of what is entered in this Internal Note field. |
| • | Trash - Used to delete a Detail Line Item that was entered incorrectly and/or for any other reason, is not needed. |
| ▪ | Drag and Drop the Detail Line Item to be deleted. |
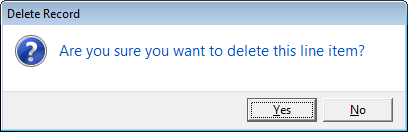
| ▪ | Confirm that this line item is to be deleted. |
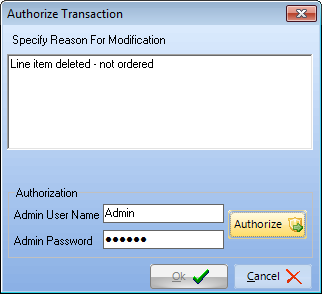
| o | An Accounting Administrator is permitted to make financial transaction reversals, deletions, and other types of Sale and Purchase Invoice changes after entering the appropriate reason. |
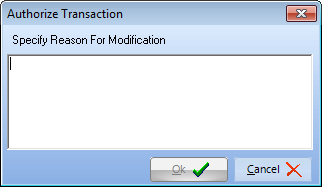
| o | If the User is not an Accounting Administrator, an Invalid Credentials message is displayed |
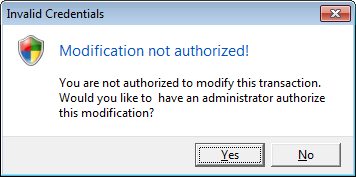
| o | Without this Accounting Administrator right, the Employee will be required to get an Accounting Administrator's permission to do so. |
| o | Delete Security Rights are also required to remove a line item. |
| ▪ | Click Save ("ü") to complete this Invoice. |
| • | Discount - If you are Discounting the Gross Amount of this Invoice from its total original price (whether for a Sales Promotion or some other customer compensation situation): |
| ► | Note 1: The Discount function allows you to apply either a specific "percentage off" value (the default), or a specific "dollar off" amount, both of which will be calculated by the Invoice Form and inserted as a separate Detail Line item. |
| 1. | Do so before you save the Invoice |
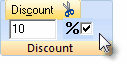
| 2. | Enter a Discount percentage, or a dollar amount. |
| 3. | If this Discount is to be a specific dollar amount, Uncheck the % box (see mouse pointer in the illustration above). |
| 4. | Click the Discount button at the top of the Discount Actions Icon. |
| • | A Line Item - with a negative value - will be calculated based on the percentage or dollar amount entered and inserted as a new Detail Line Item. |

| ► | Note 2: In some States and/or Countries, Sales Tax may not be credited as part of the Discount, but in others it is allowed. |
| a. | If the Sales Tax cannot be credited as part of the Discount, and Sales Tax has been charged on other items, Click the Local Tax Code column and, using the Drop-Down Selection List provided, Select "N" (No). |
| b. | If the Sales Tax may be credited as part of the Discount, and Sales Tax has been charged on other items, Click the Local Tax Code column and, using the Drop-Down Selection List provided, Select the appropriate Sales Tax code and rate. |
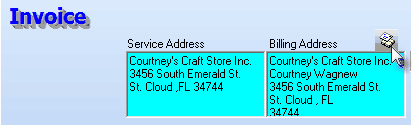
Select Billing Address Icon on the Invoice Form
| ▪ | Click the Select Billing Address Icon to display the Search Billing Address dialog. |
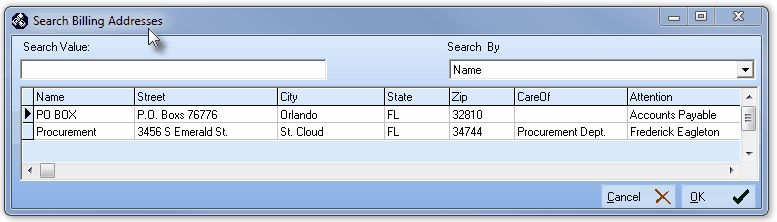
Search Billing Address dialog
| ▪ | Search Billing Address - The Search Billing Address dialog allows the User to Select one of the previously defined optional Addresses as the Billing Address for this specific Invoice. |
| □ | Special Icons on the Actions Menu Bar: |

Invoice Form - Special Icons on the Actions Menu Bar Discount Bar
| • | Not all Action Menu Bar Icons appear (and/or are activated) on all Invoice Forms. |
| • | The Icons only appear (and/or are activated) when appropriate, based on the content and/or status of the Invoice. |
| • | The information relating to the Discount Bar (see the mouse pointer in illustration above) is also explained in the "Understanding the Sales Form" section of the Sales - Understanding the Invoice Form chapter. |
| ◆ | For General Ledger System Users: The General Ledger Transactions (automatically posted in the background) may be displayed for a Selected Detail Line Item of a Sale - whenever required. |
| • | To do so, Double-Click the appropriate Detail Line Item. |
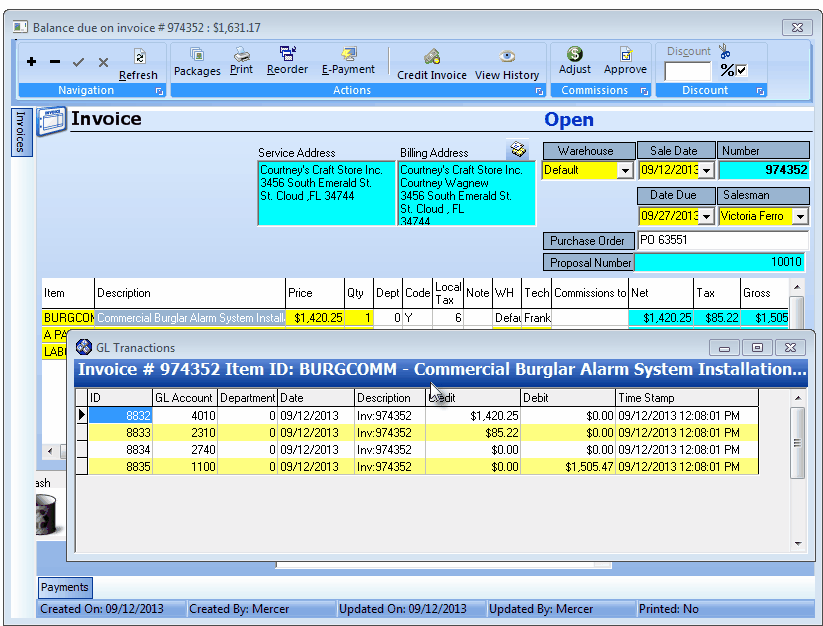
Sales Invoice Form - GL Transactions Pop-Up

