| □ | Departments are used to identify a Work Group or Profit-Center within your Company that is responsible for general operations, installations, and/or the servicing or monitoring of Subscribers. |
| • | The Department Number will be used later to properly Link each Department's transactions to the General Ledger System |
| • | Generally, if not using the General Ledger System - unless there is a specific reason for doing so - Departments do not need to be defined (although the system automatically creates and then assigns a default Department zero ("0") for internal purposes). |
| • | If Departments are defined prior to setting up a General Ledger System, and later a Link is established to the General Ledger System Module, additional Departments may be created, and existing ones modified including the specific Department Names, as may be required. |
| • | The Department assigned to each Sale-Purchase Item becomes the default (but changeable) Department when recording the Sale and/or Purchase line items. |
| □ | Defining the Departments: |
| • | To define your Departments, on the Main Menu Select the Maintenance menu, Choose the General Ledger sub-menu, and then Click Department. |
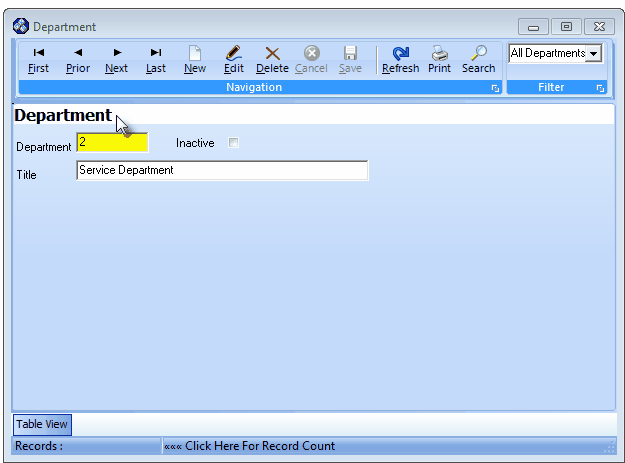
Department Form
| • | This Department Form may be Re-sized by Dragging the Top and/or Bottom up or down, and/or the Right side in or out. |
| • | Navigation Menu - The Navigation Menu is located at the top of the Department Form. |

| • | This Navigation Menu provides the normal Record Movement, New, Edit, Delete, Cancel, Save, and Refresh options; as well as special Print, Search and Filter functions. |
| • | Record Editing section - The details of the currently selected record are displayed below the Navigation Menu at the center (Main Body) of the Department Form. |
| • | Table View tab - A tabular (spreadsheet style) Table View of the currently defined Departments is accessible by Clicking the Table View tab at the bottom of the Department Form. |

| • | To display a specific Department record in the Record Editing section, Click on that record within the Table View section, or use the Search Icon (see the "Using the Special Functions" section later in this chapter). |
| • | This Table View information may be Pinned in Place by Clicking the Pin Icon on the right. |
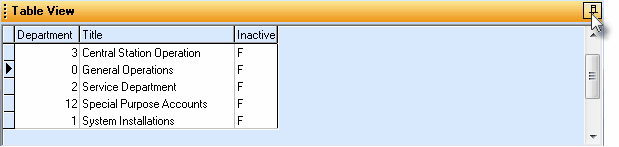
Department Form - with Table View tab Pinned Open
| ▪ | You may Un-Pin this Table View by Clicking the Pin Icon again. |
| ▪ | Click on any listed record to display that information in the center (Main Body) of the Form. |
| • | There are two columns of data in this Department Record Listing: |
| 1) | Department - The Number (1 - 99999) for this Department. |
| 2) | Title - The Department's Title. |
| 3) | Inactive - A True/False column indicating whether this is an Inactive (True), or Active (False) Department. |
| • | Each column's Header Name describes the data contained in that column. |
| ▪ | Clicking on a Header Name will set the order in which the Departments will be listed. |
| ▪ | Clicking on the same Header Name will set the order in the opposite direction (ascending vs. descending). |
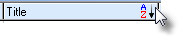
| ▪ | The Header Name that is determining the Order of the list will have an Icon indicating the Order displayed next to that Header Name. |
| • | Click the  Icon to start the Department entry in the Record Editing section. Icon to start the Department entry in the Record Editing section. |
| • | Department - Enter a Department number which may be from 1 to 5 digits in length. |
| ▪ | The Department numbering scheme will be more useful if it is kept simple. |
| o | Understand what Departments are currently analyzed separately, and stick with only those. |
| ▪ | However, in some cases the Company may be required to match an outside entity's departmental number system. |
| o | This is why Departments may be numbered from 1 to 99999. |
| ▪ | Adding additional Departments later is OK, if required. |
| • | Title - Enter a Name for this Department. |
| ▪ | Make this Name as clear and concise as possible. |
| • | Inactive - Check this box only if this Department was originally defined, but will no longer being used. |
| ▪ | A Filter (see "Using the Special Functions" below) may be applied whereby All Departments, only Active Departments, or only Inactive Departments may be viewed. |
| • | Click the  Icon to record this Department entry. Icon to record this Department entry. |
| • | Additional Departments may be defined, as needed. |
| □ | Using the Special Functions - Located on the Navigation Menu at the top of the Department Form: |
| • | Refresh - Click the Refresh Icon if a Filter has been changed (see "Filter" below). |
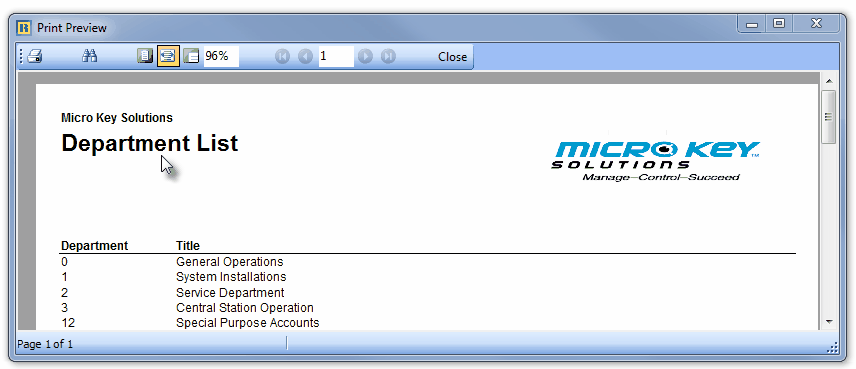
| • | Print - Click the Print Icon to View and/or Print a list of the Departments. |
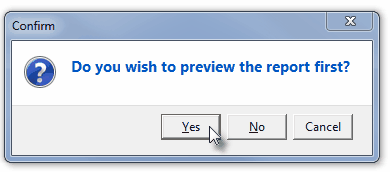
| • | Yes - Click the Yes button to View a copy of the report. |
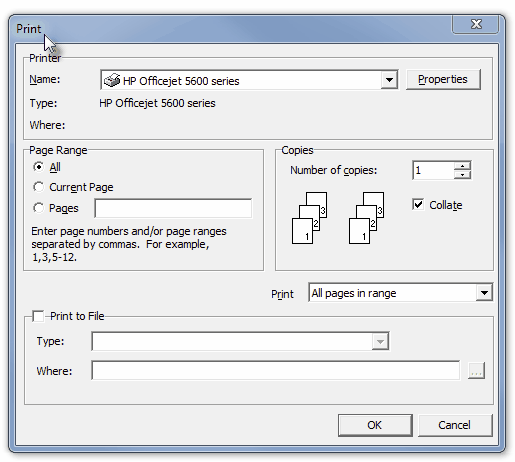
| • | No - Click the No button to open the Windows® Print dialog where a copy of the report may be sent to a selected Printer, or Printed to a File. |
| • | Cancel - Click the Cancel button to close this Print question and return to the Form. |
| • | Search - Click the Search Icon to open the Search Departments dialog. |
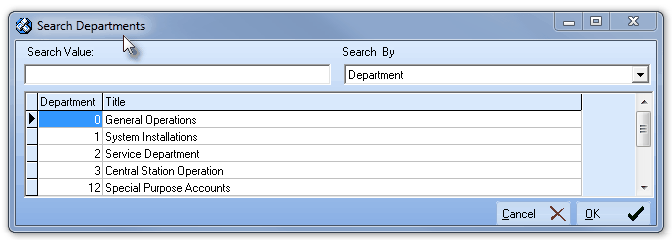
Search dialog
| • | See the "Using the Generic Search dialog" section in the Advanced Search Dialog chapter for more information about this Search dialog. |
| • | Filter - By default, All Departments will be shown. |
| • | Because certain Departments may no longer be used - and have been marked as Inactive (see above) - when viewing this Department Form the User may specify whether to see All Departments, only Active Departments, or only Inactive Departments, as needed. |
| • | Use the Drop-Down Selection List provided to Choose the desired set of Departments to be displayed. |

