| □ | The Proposals Form is available as a selection on the Prospect Form's Receivable Quick Access menu, and on the Subscribers Form's Receivable menu. |
| • | Select the Receivable Quick Access menu and Click Proposal. |
| • | The newest Proposal entered for this Prospect (if any) will be displayed. |
| • | If no previous Proposal has been entered, there will only be one tab displayed on the Proposal Form - the Proposal Items tab. |
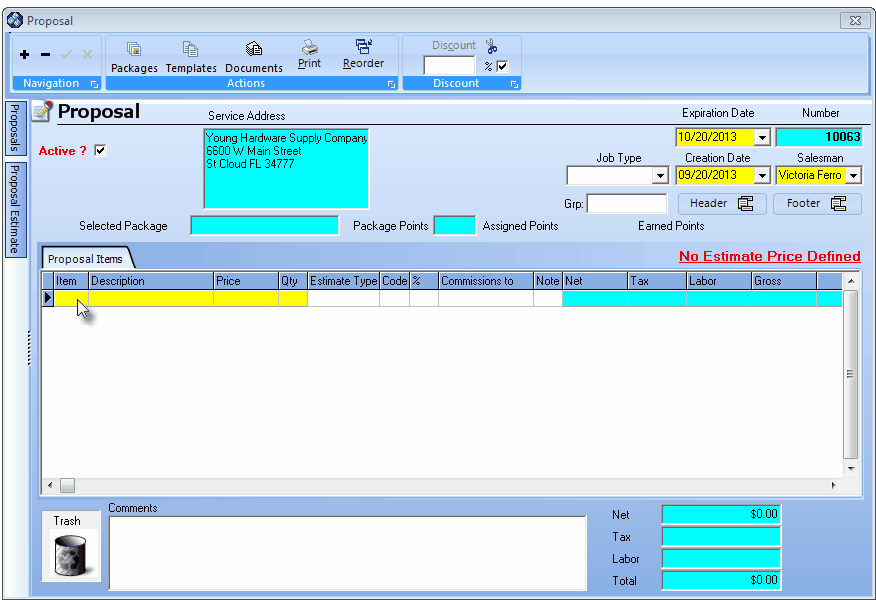
View of a new Proposal Form with the Proposal Items tab (No Billing Address defined)
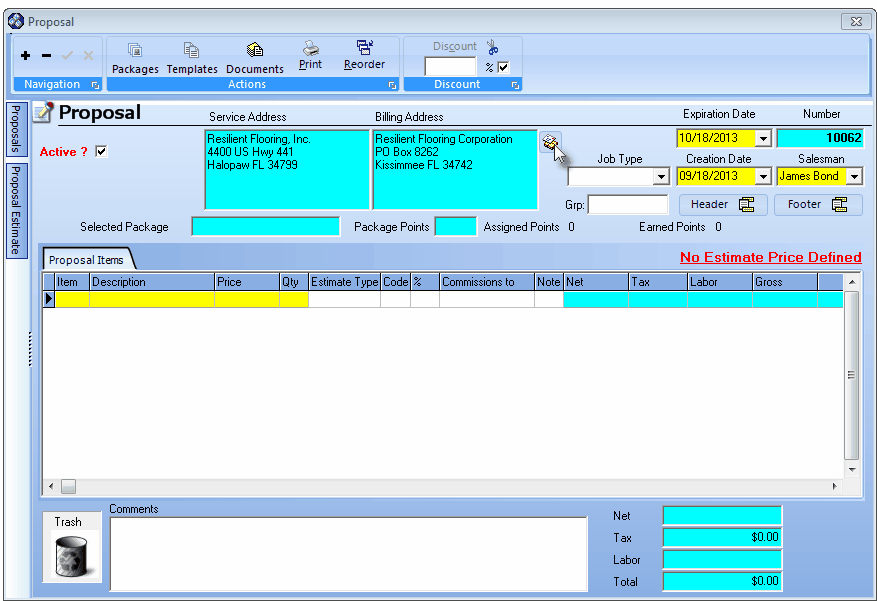
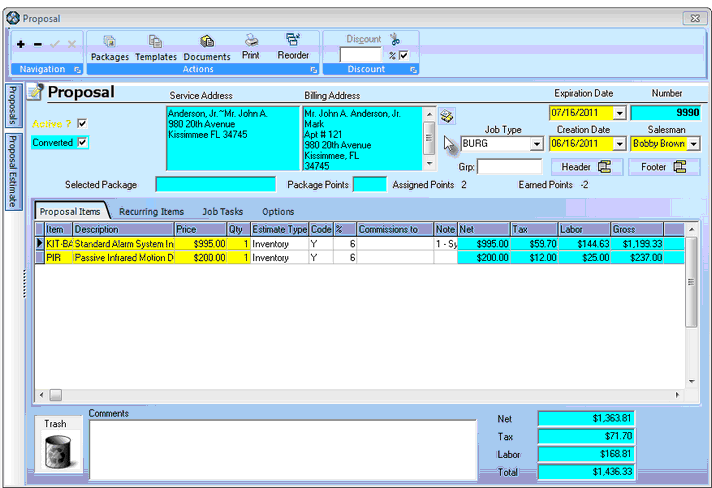
View of a new Proposal Form (that has a Billing Address defined) with the Proposal Items tab shown
| • | Once a Proposal is entered and saved for a Prospect, there will be four tabs available. |
The purpose and/or function for these 4 tabs are listed and illustrated below:
| 2. | Recurring Items - To enter the proposed Recurring Revenue based Services (ex: Monitoring, Service Contract, Open/Close Reporting, etc.). |
| 3. | Job Tasks - To define the Job Tasks that would be required to complete this installation if the Proposal is accepted. |
| 4. | Options - To define additional Options that the Prospect/Subscriber may Choose to add once they accept the Proposal Items on the Proposal. |
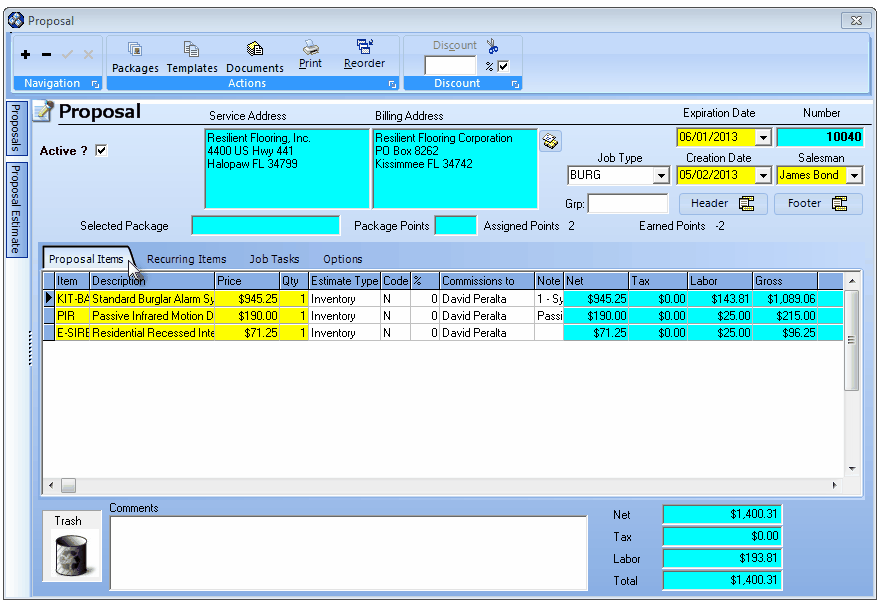
View of the Proposal Form showing its four tabs
| ► | Note 1. If Proposal(s) exist, they'll be listed in Proposal Number order in the Proposals tab which can be viewed by Clicking on the vertical Proposals tab on the left of the Proposal Form |
| ► | Note 2. If Proposal(s) exist, you may view the Proposal Estimate tab for the selected Proposal by Clicking on the vertical Proposal Estimate tab on the left of the Proposal Form. |
| • | Deleting a Proposal - Unfortunately, they don't always buy what your selling. |
| • | Sometimes the Prospect will request a modification to an existing Proposal - which is easy to do by simply adding or removing Detail Line Items, or changing Quantities or Prices for those items. |
| • | However, sometimes a Prospect (or Subscriber) just doesn't want what you're offering - but will remain a Prospect (or Subscriber) for other products or services - so Deleting a Proposal is the only option. To do so: |
| ▪ | Open the Proposal Form and Locate the appropriate Proposal. |
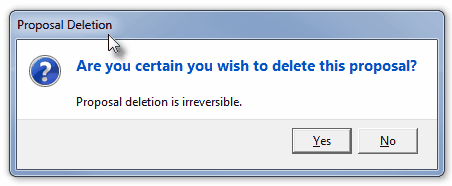
Are you certain you wish to delete this proposal?
| ▪ | Confirm that this is what is wanted by Pressing the Yes button. |
| ▪ | The selected Proposal will be completely removed from the Proposal Form. |
Understanding the Proposal Form's Two Vertical tabs
| □ | (Prior) Proposals tab - Click the Prior Proposals Tab to open the list of Proposals - in the order selected by the user - that were previously entered for this Subscriber or Prospect. |
| • | The Proposals tab is located on the left of the Form and is used open a list of Proposals from which to select and display a specific Proposal previously created for this Subscriber or Prospect. |
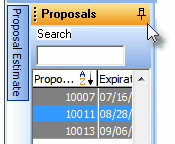
| • | Click on the Proposals Tab (see the mouse pointer on the illustration below) on the Proposal Form to view a list of all of the previously created Proposals. |

Proposal Form - Proposals & Proposal Estimate tabs
| • | You may Click the Pin Pointer (see mouse pointer in illustration below) to keep this list of Proposals displayed. |
| • | Once you have pinned the list open, the Prior Proposal List for each Subscriber and Prospect stays pinned opened until you specifically unpin it. |
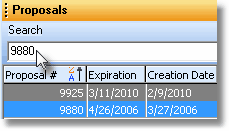
| • | Search - The Proposals list contains a Search box into which you may enter an Proposal Number . |
| • | Click the word Proposal at the top of the Proposal Number column. |
| • | Enter the Proposal Number in the Search field for the Proposal record you want to view. |
| • | That Proposal - as long as it belongs to the currently selected Subscriber or Prospect and has not been deleted - will be instantly displayed on the Proposal Form. |
| • | Sorting the Prior Proposals List - The list of Prior Proposals may be displayed in any order you choose, based on the information in one of the columns. |
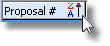
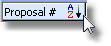
| ▪ | Click the word Proposal at the top of the Proposal Number column to sort the records in Proposal Number Order (newest to oldest). |
| ▪ | Click the word Proposal again to reverse the order (oldest to newest). |
| ▪ | You may sort the Prior Proposal List based on the information in any column simply by Clicking on that column's Name. |

| ▪ | This sorted order remains in effect whenever the Prior Proposals List is displayed, until you choose a different sorting order. |
| • | Generally, it is best to keep the list in Proposal Number Order unless you have a specific need for a different order which may be set when needed, then reset to Proposal Number Order before closing the Proposals Form. |
| □ | Proposal Estimate tab - Click the vertical Proposal Estimate tab to view the summary of costs, based on the Proposal Items, for the currently selected Proposal. |
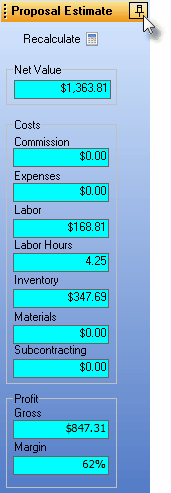
Proposal Estimate tab
| • | The Costs for each Detail Line Item added to the Proposal is calculated, and the results posted to the Proposal Estimate tab. |
| • | The estimated Profit (or Loss) is calculated as well as the percentage of Margin. |
| □ | Starting a new Proposal: |
Proposal Form with sample information
| • | To create a new Proposal, Click Add ("+"). |
| • | Service Address - As shown in the illustration above, this is the actual service address of record for currently selected Prospect or Subscriber. |
Subscriber Proposal Form showing the Service & Billing address information
| • | Billing Address - If this Proposal is being created for an existing Subscriber (not for a Prospect) |
| • | If that Subscriber has a separate Billing Address defined, that address will also be displayed (as shown in the illustration above), otherwise the Billing Address box will not appear at all. |
| • | Alternate Address - The Billing Address information for a Proposal created for an existing Subscriber, may also be one of the Addresses that were previously defined to provide alternate mailing addresses for specific type(s) of Forms. To insert one of these Alternate Addresses: |
| ▪ | Click the Addresses button above the Billing Address information (see the mouse pointer in the illustration above). |
| ▪ | The Search Billing Addresses dialog will be displayed. |
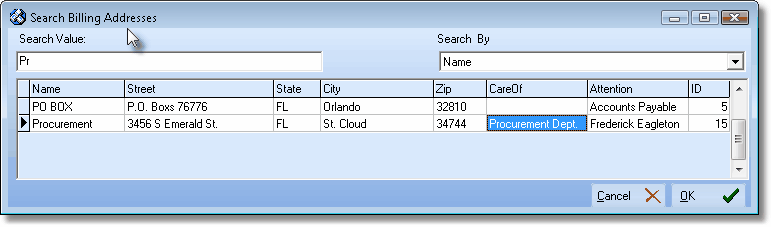
Search Billing Addresses dialog
| ▪ | Select the appropriate address, then Click the OK button. |
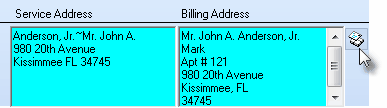
An Alternate Billing Address has been selected
| ▪ | The selected address will replace the Subscriber's original billing address information. |
| • | The Prospect's Proposal Form does not offer this Billing Address feature. |
| • | Expiration Date - By default, it will be one month from Today. |
| • | If you do not want one month from Today as the Expiration Date, you may reset this date using the Drop-Down Date Selection Box provided. |
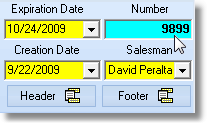
Mandatory Proposal Data
| • | Number - Inserted automatically by the system. |
| • | Creation Date - Confirm the Creation Date (by default Today). |
| • | If you do not want Today as the Creation Date, reset this date using the Drop-Down Date Selection Box provided. |
| • | Salesman - Inserted automatically by the system based on the Salesman entered on the Prospects (or Subscribers) Form. |
| • | An alternate Salesman may be entered by using the Drop-Down Selection List provided. |
| • | When assigning a Salesperson to a Proposal: only those Employees whose Employee Type is identified as either Sales or All will be available (in the Drop-Down Selection List list) for populating the Salesman (or Commission To) fields. |
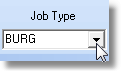
Job Type field
| • | Grp: You may enter a Group Code for this Proposal. |
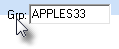
| • | Group Codes are optional, free-form codes a User may assign to any Proposal. |
| • | This Group Code may then be used to "filter" the Proposals included in the Proposals Printing dialog to only those that were assigned a specified Group Code. |
| • | Group Codes are internally converted to UPPERCASE Letters so "Apples33", and "applES33", and "AppLeS33" all represent "APPLES33" to the system. |
| ▪ | Letters, Numbers, Spaces and normal punctuation marks may be used. |
| ▪ | The length may not exceed 15 characters and/or spaces. |
| • | There is no "Maintenance" Form to pre-define these Group Codes and no restrictions as to how many may be used. |
| □ | Headers and Footers for the Proposal: You may add a predefined Header and/or Footer to the Proposal. |
| • | Active? - Check this box to indicate that this is an Active Proposal; or Uncheck this box if the Proposal becomes Inactive. |
| • | A Header Proposal Paragraph is actually a "pre-document" or Cover Page for the Proposal. |
| • | It stands alone and is used generally as an introductory dialog preceding the Proposal itself. |
| • | It only appears on the first page of the Proposal and no sales items are printed on that page with it. |
| • | A Footer Proposal Paragraph is used generally as a "wrap-up" commentary. |
| • | It appears only on the last page of the Proposal. |
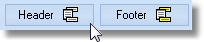
Header & Footer Buttons on Proposal Form
| • | To assign predefined Header and/or Footer to a Proposal, Click either the Header and/or Footer button, as needed (see illustration above). |
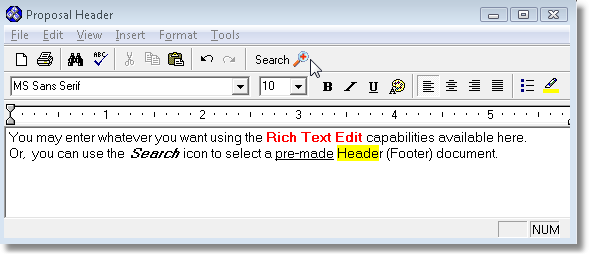
Proposal Header Form (Footer Form is the same) Rich Text Editor
| • | You may create a custom document for this specific Proposal by simply entering what you want, or Click the Search (see mouse pointer in illustration above) to locate the appropriate Proposal Paragraphs. |
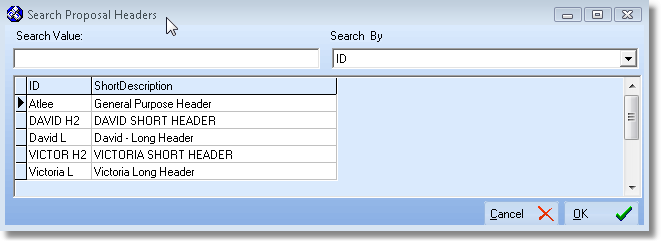
Search Proposal Headers (or Footers) dialog
| ▪ | Search By - Use the Drop-Down Selection List to Choose either the ID or Short Description to Search By. |
| ▪ | Search Value - Enter the appropriate numbers, characters, or value to locate the desired document. |
| ▪ | Select - Click on the desired document. |
| ▪ | Click OK to save this selections and return to the Proposal Header (or Footer) Form. |
| • | When you have finished your entry, or have selected the appropriate Proposal Paragraph, Click File and Select Save and Exit (or Press Ctrl + S) to record the entry and close the Form. |
| • | Although no other indication is presented to show the saved Header or Footer, when you View or Print the Proposal you will see what you've selected. |
| • | If you want to change or edit the selected Header or Footer, just Click the appropriate button to re-open the Proposal header/Footer Rich Text Editor. |
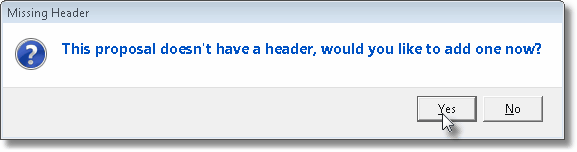
| ► | Note: If the ConfirmHeaderFooter option is set to True ("T") in the Company Settings dialog accessible within the Company tab of the User Options Form, when a Header (and/or a Footer) has not been created for a Proposal, upon exiting the Proposal, you will be asked if you want to do so before exiting the Proposal Form. |
| □ | Proposal Creation Shortcuts: Using the Packages and Templates Icons to speed the Proposal's Creation. |
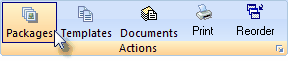
| • | Proposal Package - If this is a Proposal that conforms to a predefined Proposal Package, |
| • | Click the Packages at the top of the Proposal Form (see mouse pointer in the illustration above). |
| • | Using the Search Proposal Package dialog (shown below), Choose the appropriate Proposal Package. |
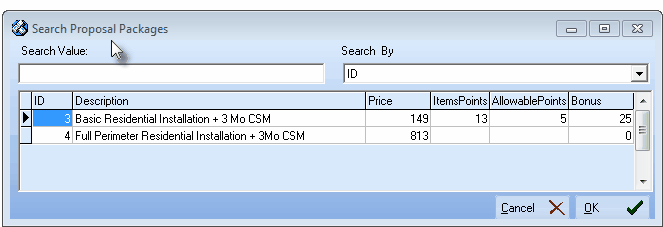
Search Proposal Package dialog
| ▪ | Search By - Use the Drop-Down Selection List to Choose either the Package ID, its Description or a Price to Search By. |
| ▪ | Search Value - Enter the appropriate numbers, characters, or value to locate the desired Proposal Package. |
| ▪ | Select - Click on the desired package.. |
| ▪ | Click OK when you have located the correct package. |
| • | The Detail Line Items for the selected Proposal Package will be automatically inserted into the Proposal Form's Proposal Items tab (see immediately below). |
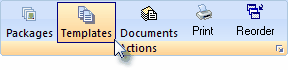
| • | Copy from Template - If this is a Proposal that matches what was created for a previously entered Proposal, you can use that previously created Proposal as a Template for this one. |
| • | Click the Templates at the top of the Proposal Form (see mouse pointer in the illustration above). |
| • | Using the Proposal Search dialog (shown below), Choose the appropriate Proposal. |
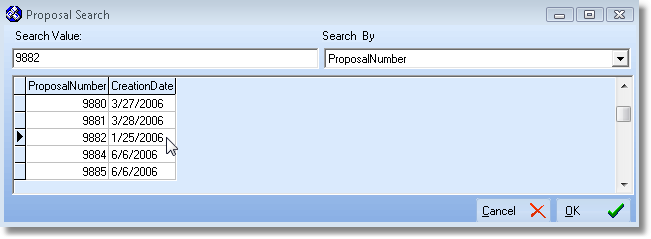
Proposal Search dialog
| ▪ | Search By - Use the Drop-Down Selection List to Choose either the Proposal Number or Creation Date to Search By. |
| ▪ | Search Value - Enter the appropriate numbers, or date to locate the desired Proposal Template. |
| ▪ | Select - Click on the desired template. |
| ▪ | Click the OK button when you have located the correct template. |
| • | The Detail Lines for the selected Proposal Template will be automatically inserted into this Proposal. |
| • | Documents - Click this Icon to open the Documents dialog from which a Document may be attached to the currently selected Proposal. |
| • | Print - Click this Icon to open the Print Proposals dialog which will be defaulted to print the currently selected Proposal. |
| • | Reorder - Click this Icon to open the Reorder Items dialog within which the display and printing order of the Proposal's Detail Line Items may be changed. |
| • | Click the item to be moved |
| • | Click the Up or Down arrow to relocate the item. |
| • | Click the Save button and Confirm that you do want to Reorder the item. |
| □ | Proposal Items tab - Entering the Proposal Items - Entering the details of the Proposal is explained in detail here. |
| • | Even if you used a Template (see Copy from Template above) or Proposal Package (see Proposal Package above), you may need to modify some of the line items or add additional Proposal Items. |
| • | See Proposal Items for complete information on entering Detail Line Items within the Proposal Items tab. |

Proposal Items tab on the Proposal Form
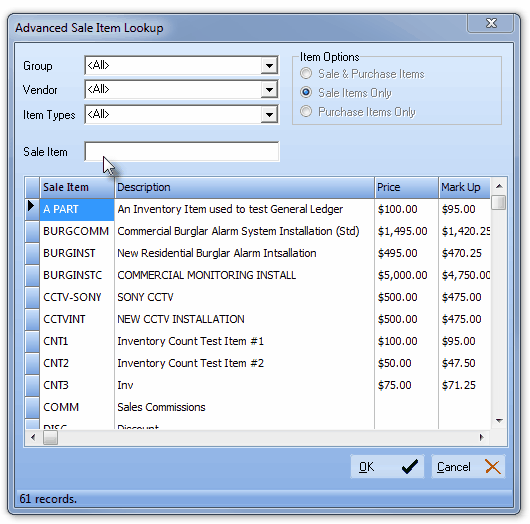
Advanced Sale Item Lookup dialog
| □ | Recurring Items tab - Entering the proposed Recurring Items to (optionally) be included on the Proposal when it is printed. |
| • | Click the Recurring Items tab on the Proposals Form. |
| • | This tab provides a means to define the Recurring Revenue Items - both for Recurring Revenue charges and for Recurring Service obligations - that may be included with this Proposal. |
| • | See the Recurring Items tab chapter for complete information on entering Recurring Revenue Items. |
| • | When you Print Proposals, you will be offered the option to include this Recurring Information on the Proposal. |
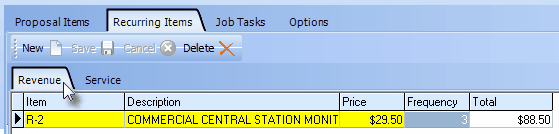
Recurring Items tab - Revenue sub-tab

Job Tasks tab on the Proposal Form
| • | If the Proposal is converted to an Invoice, this Job Task information is not used - it will simply be here for reference. |
| • | See the Job Tasks tab chapter for complete information about this feature. |
| □ | Options tab - Entering the proposed Proposal Options to be included on the Proposal when it is printed. |
| • | Click the Options tab on the Proposals Form. |
| • | This tab provides a means to define any optional features the Prospect may select to include in their system. |
| • | When printing the Proposal, you will be offered the option to include an Additional Option Sheet with the Proposal. |
| • | See the Options tab chapter for complete information abut this feature. |

Options tab on the Proposal Form
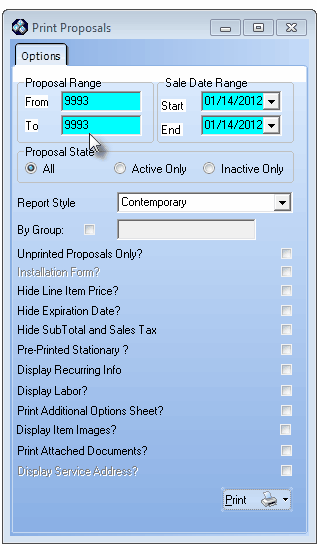
Dialog for Print Proposals from within Proposal Form
| • | Using the vertical Proposals tab, locate the Proposal you want to Print. |
| • | After locating the appropriate Proposal: |
| ▪ | Click Print to make a printed copy of the Proposal. |
| o | If an Alternate Address was selected for a Subscriber's Proposal, that will be the address printed on the Proposal. |
| ▪ | Click the Email Icon when Previewing a Proposal to send the Proposal as an attachment via the Web (see E-mail the Proposal). |

