
Special Icons - Navigation, Actions, Prospect Documents, Form View
| • | Search - Click the Search (see the mouse pointer in the illustration above) at the top of the Form to open the Prospect Search dialog to look up a specific Prospect's record that you need to View or Update (refer to F2 - Subscriber Search for details about this feature). |
| • | Calls - Click the Calls at the top of the Form to open the Calls dialog containing the Calls information for the selected Prospect. |
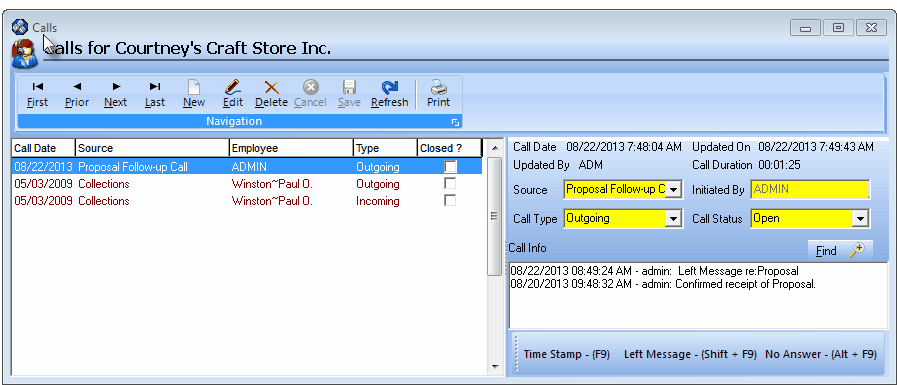
Calls Dialog box with Calls line items and a new Calls entry
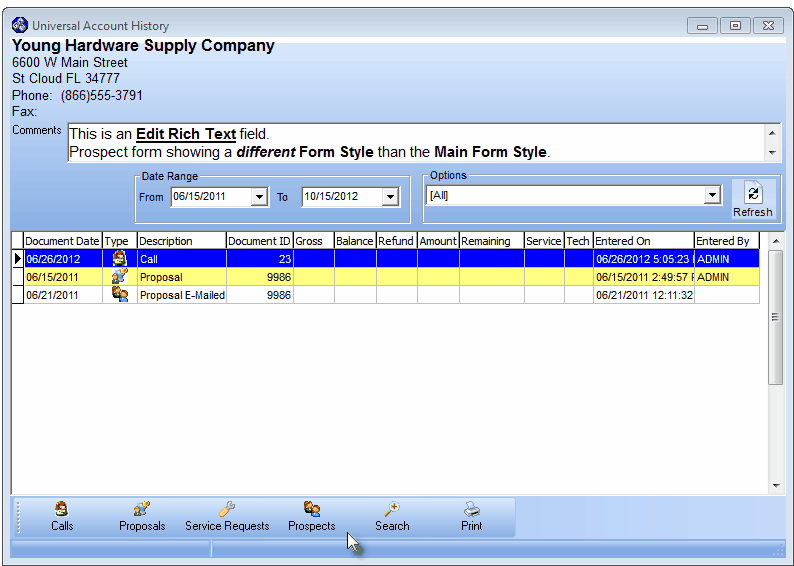
Universal Account History Form for a Prospect - Selected from the General Menu of the Prospect Form
| • | Word Merge - Click Word Merge - W - to open the dialog shown below (only available if Microsoft Word® is installed on your computer). |

| • | New Document - Select New Document and Click OK. |
| ▪ | Word will - by default - open a dialogue box that will allow you to select an existing Template from your Templates folder. |
| ▪ | You will start your document based on that template (see document creation techniques in Edit Document below). |
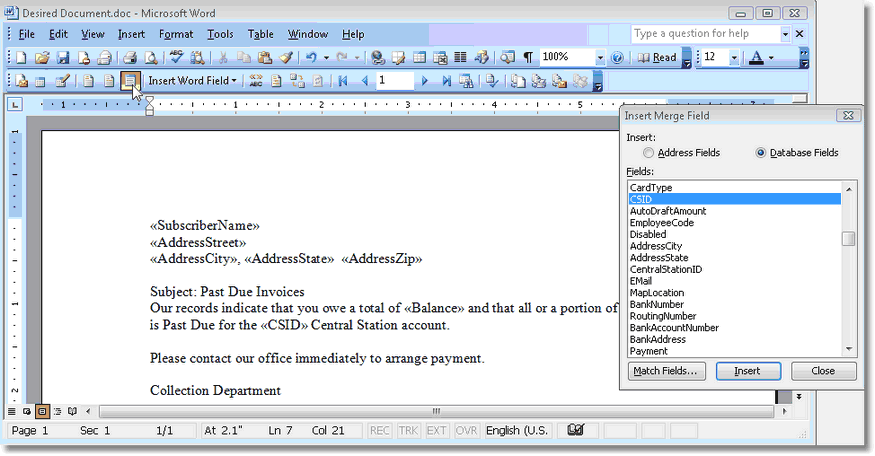
| ▪ | Add database fields using the Insert Merge Fields selection (see mouse arrow below for location), as needed. |
| ▪ | All of the database and mail merge functionality of Microsoft Word® is supported here. |
| ▪ | Consult your Microsoft Word® help files for more information. |
| • | Edit Document - Select Edit Document and Click OK. |
| ▪ | Word will - by default - open a dialogue box that will allow you to select an existing file from your Documents folder. |
| ▪ | Modify the document as needed. |
| ▪ | Add or remove database fields using the Insert Merge Fields selection (see mouse arrow below for location), as needed. |
| ▪ | Merge Fields are represented as follows: <<FieldName>> |
| ▪ | All of the database and mail merge functionality of Microsoft Word® is supported here. |
| • | Merge to document - Select Merge to document and Click OK. |
| ▪ | Word will - by default - open a dialogue box that will allow you to select an existing file from your Documents folder. |
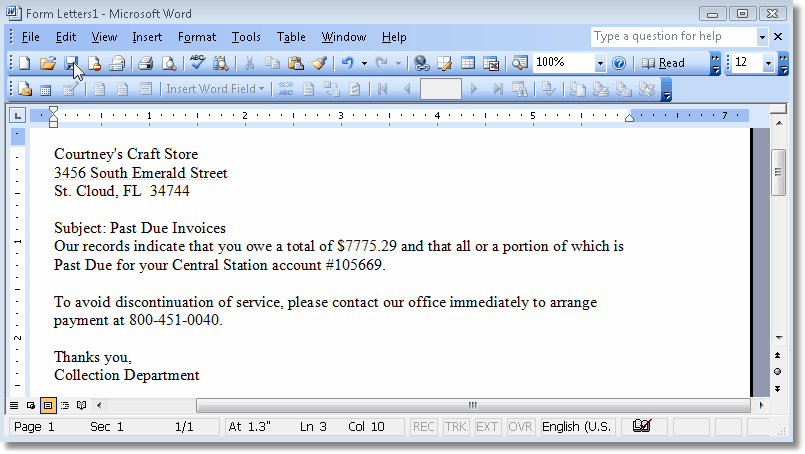
| ▪ | All predefined <<Merge Fields>> in the selected document will be populated automatically with the information from the currently selected Prospect. |
| ▪ | Modify the document as needed. |
| ▪ | The result is a completed document which you may save to disk (do not overwrite the generic document you used to create this current populated version). |
| • | Merge & Print - Select Merge & Print and Click OK. |
| ▪ | As with Merge to document above, Word will - by default - open a dialogue box that will allow you to select an existing file from your Documents folder. |
| ▪ | All predefined <<Merge Fields>> in the selected document will be populated automatically with the information from the currently selected Prospect. |
| ▪ | The completed document will immediately be sent to your default printer. |
| ▪ | Predefined Filter - If you have created predefined Prospect Filters for this selection, Click Predefined Filter and use the Drop-Down Selection List to find the one you need. |
| ▪ | Criteria - simple selection criteria may be used to filter out or filter in a group of Prospects for (among the many reasons) a mail campaign or a special notification. |
| i. | Field - select a Field to compare like Zip or Sort Code. |
| ii. | Operators - select an Operator to evaluate against the Field. |
| iii. | Selection Criteria - specify the Search Criteria (value) based on how the Operator makes a comparison to the Field. |
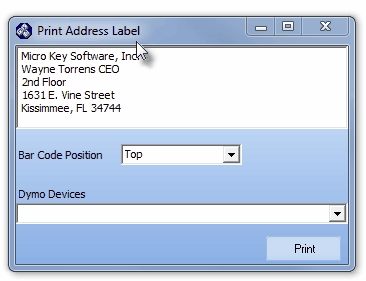
| • | The Label Icon - For users with the DYMO Label interface. |

| • | Viewing all records (No Filter) |
| • | Viewing just those as defined in the Prospect Filter (as in the user defined filter Salesman shown in the illustration below). |

| • | If a Filter is selected: |
| ▪ | It will remain in effect until the Prospect Form is closed |
| ▪ | No Filter is selected using the Filters . |
| ▪ | A different filter is selected using the Filters Icon. |
| • | Favs - To create Favorites which can then be selected using the Main Menu's Favorites option. |

| • | Click the Favorites button to assign favorites status (and insert this Prospect into the Favorites Menu's options). |
| • | Once set, you may immediately access a favorite Prospect record. |
| • | Select the Favorites option on the Main Menu and then Choose the Prospect option. |
| • | The Prospects Form will be opened and the select Prospect Information displayed. |
| • | Services - This Services Icon allows a User to open a Browser (e.g., Explorer®, Chrome®) and display a previously defined Web Site from within the Prospect Form. |
| • | Click the small down arrow 6 on the Services Icon to display the Drop-Down Selection List which list all of the previously defined External Services. |
| • | When finished, Click the Close box (T) at the top right of the Form. |
| • | Alert Triangle - If present, there is a Check in the Alert box on the Comments tab reminding you to review the Comments for important information. |

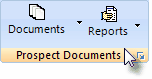
| • | Documents - The Documents Icon provides access to the Documents that were associated with the selected Prospect record. |
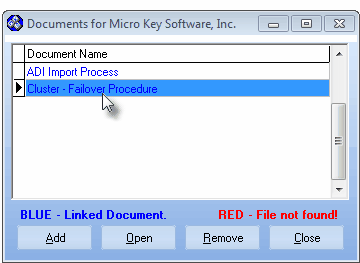
Documents dialog
| ▪ | Click the Documents button to open the Documents dialog (as shown above). |
| ▪ | Click the Documents Down-Arrow ‚ to display a list of those Documents that have been associated with the selected Prospect record. |
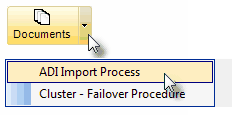
| ▪ | Click on any Document Title on the list to Open that Document. |
| • | Reports Icon - Accesses the Prospect Report options. |
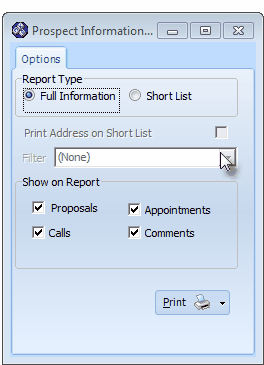
Prospect Information Report - Options
| ▪ | The Filter option (note the mouse pointer in the illustration above) is not available when the Prospect Information Report is selected using the Prospect Form's Reports Icon. |
| • | Form Style - To avoid confusion while viewing a Prospect record and a Subscriber record, you may change the Prospect Form's Form Style. |
| • | Click the small down arrow ‚ on the Form Style button to view the Form Style options. |
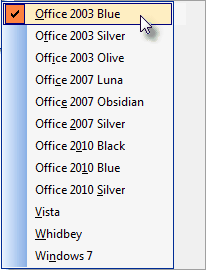
Form Style options
| • | Select the desired Form Style. |
| • | Scale - The Scale Icon - allows you to enlarge or compress the Prospects Form. |
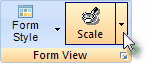
| • | Using the Drop-Down Selection List , Select the desired Form size. |
| • | The Dial Icon - Click Dial to dial the Primary telephone number via your modem. |

| • | You must have a modem attached to your computer and a telephone line connected to the modem. |
| • | Be sure to Click Hang Up to release the modem from the line. |

