| □ | Installing the DYMO Software. |
| • | Insert the CD that came with the DYMO LabelWriter 450 Turbo Printer. |
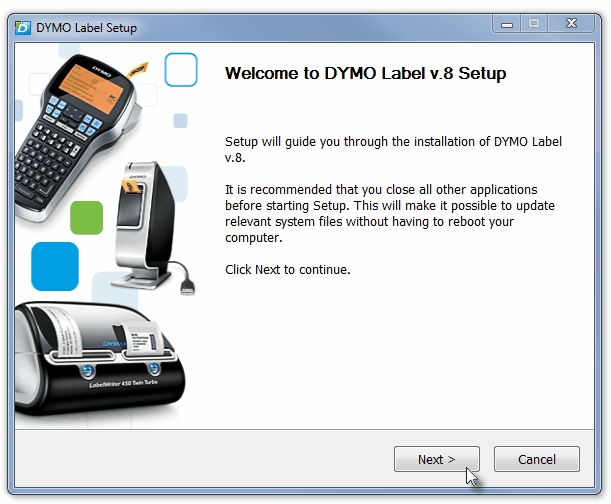
| • | When the Welcome message is displayed, Click Next. |
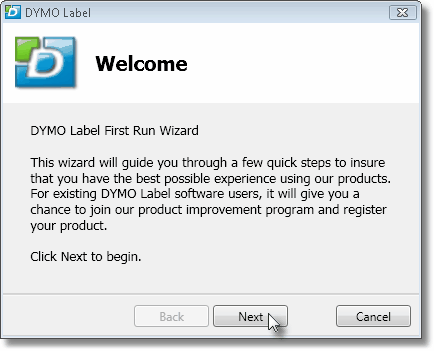
DYMO Label First Run Wizard - Welcome screen
| • | Follow the screen prompts and accept all of the default choices. |
| • | Once the application is installed, run the application using the DYMO Icon that is placed on your Windows® Desktop during installation. |
| • | Once you are sure that the application loaded correctly, Exit the DYMO application. |
| • | Within MKMS, Select File on the Main Menu and Choose Printer Setup. |
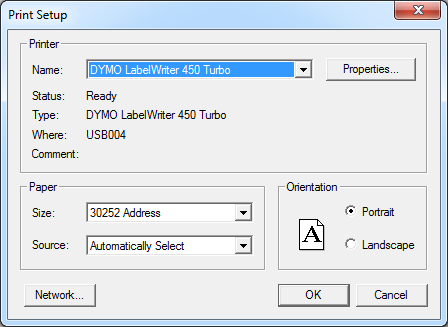
Print Setup dialog
| • | Then Confirm that the DYMO LabelWriter 450 Turbo printer appears in your list of Printers (see Printer below) but do not make it your Default Printer. |
| • | Printer - Allows you to Choose a specific Printer and adjust certain settings. |
| • | Name: Using the Drop-Down Selection List provided, Choose that DYMO LabelWriter 450 Turbo printer. |
Choose the DYMO LabelWriter 450 Turbo
| • | Status - Lists the status of the selected Printer. |
| • | Type - Lists the type of the selected Printer. |
| • | Where - Identifies where the selected Printer is connected. |
| • | Comment - Occasionally, the selected Printer will have additional information noted here. |
| • | Paper - Identify the size and location of the paper this Printer will normally use. |
| • | Size - Using the Drop-Down Selection List provided, Choose the Label format installed in the Label Printer. |
| • | Source - This should read Automatically Select. |
| • | Orientation - Specify whether using a Portrait or Landscape orientation. |
| • | Once you have Confirmed that this DYMO LabelWriter 450 Turbo printer is available: |
| • | Using the Drop-Down Selection List , reset the default printer to the one normally used at this computer. |

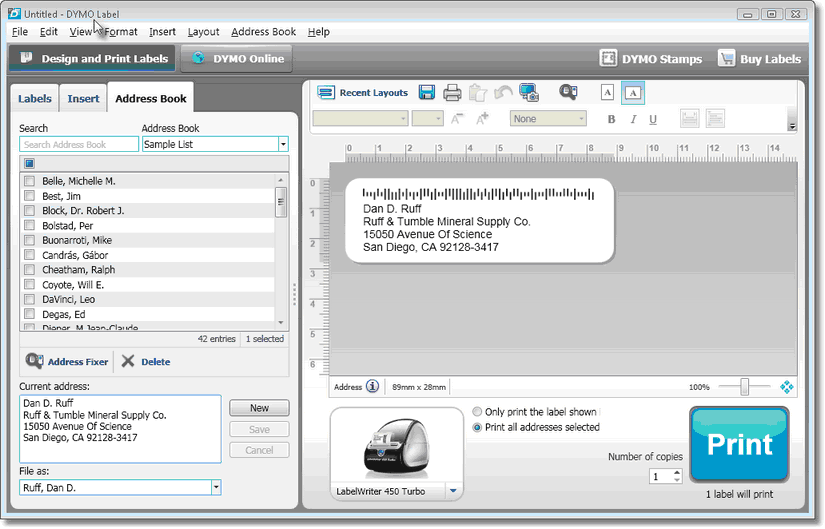
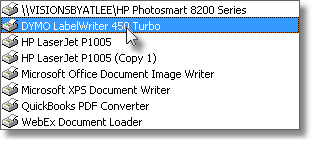
Typical location of the Label Icon on a form

| • | Click the Label Icon at the top of the form to print address labels for the currently displayed record. |
| • | The Print Address Label dialog will be displayed. |
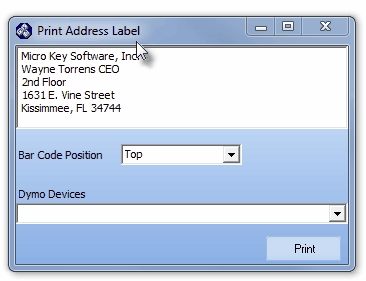
Print Address Label dialog
| • | DYMO Device - Use the Drop-Down Selection List to Choose the desired DYMO Device. |
| • | Print - Click the Print button to produce the Address Label. |
| • | A preview of each of the different label types is displayed in the Label Types section on the Labels tab of the DYMO Software. |
| • | This label printer only prints LabelWriter labels so only LabelWriter labels are displayed. |
| • | These previews help you to visually choose the label that matches the labels loaded in your label printer. |
| • | The label types displayed are based on the type of label printer you have installed in this case the DYMO LabelWriter 450 Turbo printer. |
| • | The name and dimensions for each label Type, Shape and Size of a label are located under the preview for each label type and matches the label packaging for easy reference. |
| • | To find your label type |
| 1. | Find the name and dimensions for your label type on the packaging that your labels came in. |
| 2. | Locate your label in the Label Types list and verify that the name and dimensions match those that appear on your label packaging. |
| 3. | This is the Label Format that should be selected in the Size field in the Printer Setup dialog. |
| □ | Changing the Default Font - Once you have selected and installed your preferred Labels into the DYMO LabelWriter 450 Turbo printer. |
| • | Reset the Default Font that will best allow the address data to be printed properly (and fit the space allowed by the selected Label). |
| • | Print a sample Label and using that Label as a guide. |
| • | To change the default font, run the DYMO Software. |
| 1. | Choose Preferences from the Edit menu. |
| 2. | Select the General tab. |
| 3. | Under Default font, Click Change. |
| 4. | Choose the font type, size, and style to use as the default font, and then Click OK. |
| 5. | Click OK to Close the Preferences dialog box and apply your changes. |

