| □ | There are four sets of Special that are provided on the Subscribers Form are: |
| 1. | Navigation - Provides Add, Edit and Delete functions; the ability to move from one record to another, or to the first or last record, as needed; and a Search function to locate a record using various selectable "Search By" methods. |
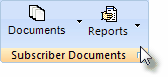
| 3. | Subscriber Documents - Provides access to associated Documents and Reports (see below). |
| 4. | Form View - Allows each User to set the size of the text and formatting displayed within the Subscribers Form. |

Special Icon on the Subscribers Form
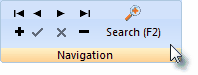
| • | Record Navigation Icons - In the order displayed, they are: |
| • | Beginning record, Previous record, Next record, Last record |
| • | Add a new record, Save the new (updated) record, Cancel changes to the record, Delete the record. |
| • | Search - The Search (f2) Icon is used to look up a specific Subscriber record to which access is required. |
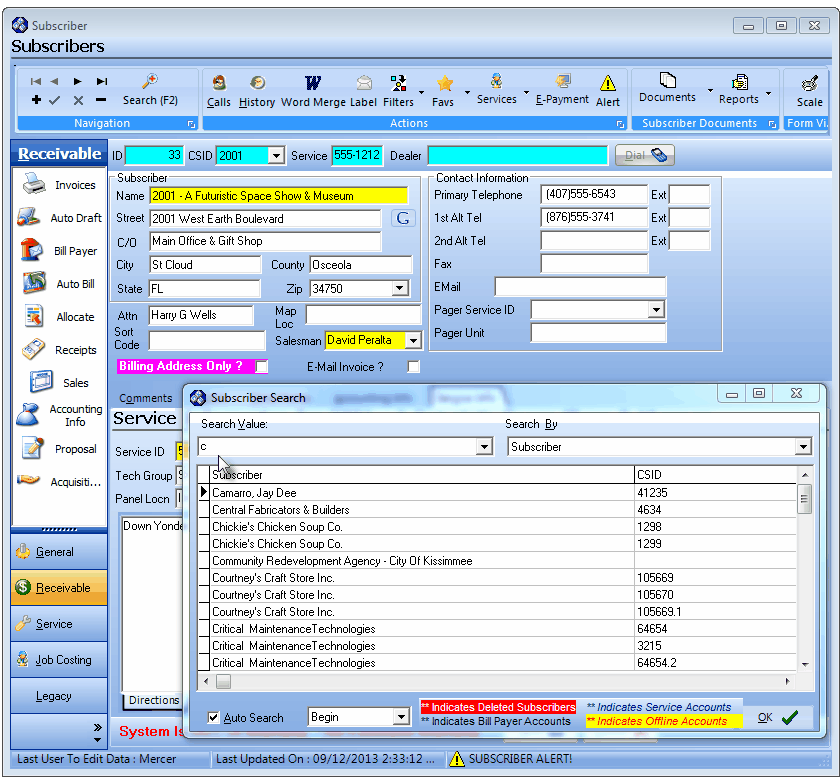
Subscribers Form - Search Icon with Subscriber Search dialog overlay
| • | Using the Drop-Down Selection List on the right, Choose the Search By field on which to make the Search. |
| ▪ | Normally that would be the Subscriber (Name) but there are many other choices available, as well. |
| • | Enter the Search Value by typing the first few letters (numbers, etc.) until the desired record is displayed. |
| ▪ | Click anywhere on the information displayed to select that record. |
| ▪ | The Search dialog will close and the selected Subscriber will be displayed on the Subscriber Form. |

Action Icon on the Subscribers Form
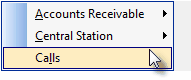
| • | Calls - Click this at the top of the Form to open the Calls dialog containing the Calls information for the selected Subscriber. |
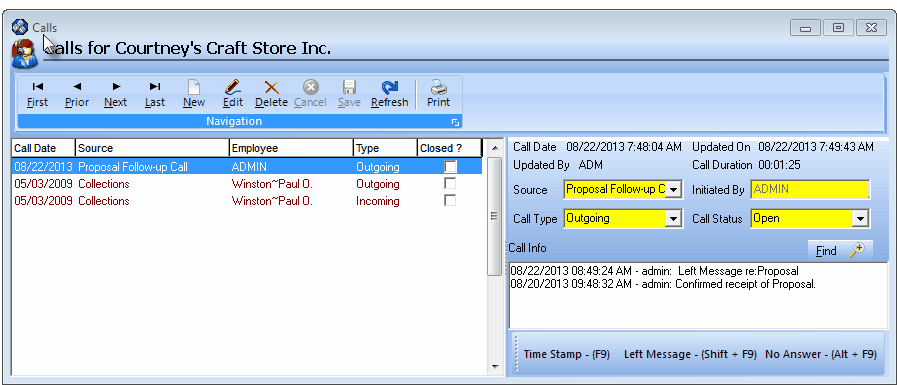
Calls Dialog box with Calls line items and a new Calls entry
| • | History - Click this Icon to open the currently selected Subscriber's History Form. |
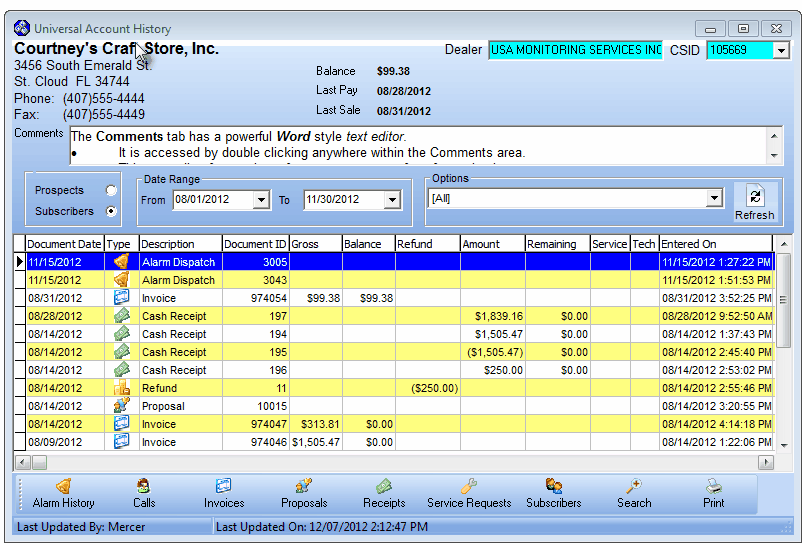
Universal Account History Form - Accessed using the History option on the Accounts Receivable Menu
| • | Word Merge W - Click this Icon to open the dialogue shown below (only available if Microsoft Word® is installed on your computer). |

Word Merge dialog
| • | New Document - Select New Document and Click OK. |
| ▪ | Word will - by default - open a dialogue box that will allow you to select an existing Template from your Templates folder. |
| ▪ | You will start your document based on that template (see document creation techniques in Edit Document below). |
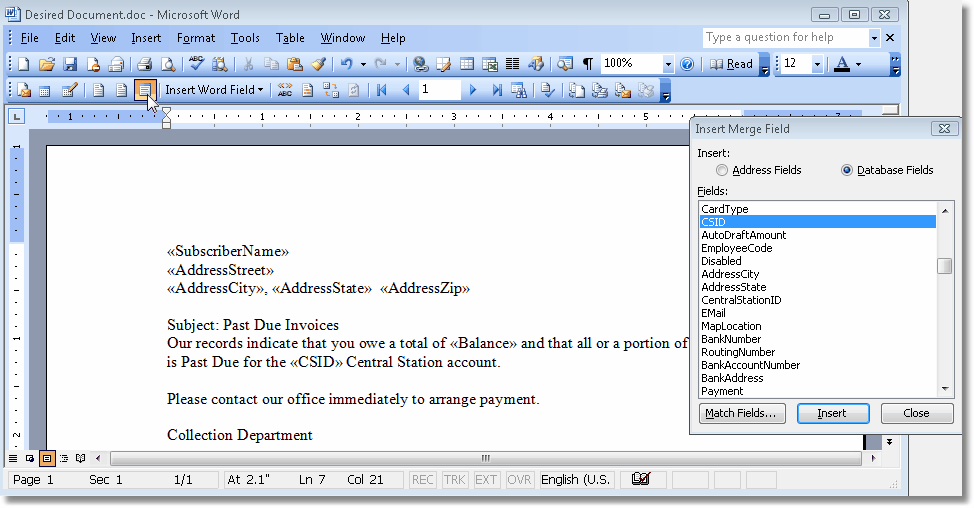
| ▪ | Add database fields using the Insert Merge Fields selection (see mouse arrow below for location), as needed. |
| ▪ | All of the database and mail merge functionality of Microsoft Word® is supported here. |
| ▪ | Consult your Microsoft Word® help files for more information. |
| • | Edit Document - Select Edit Document and Click OK. |
| ▪ | Word will - by default - open a dialogue box that will allow you to select an existing file from your Documents folder. |
| ▪ | Modify the document as needed. |
| ▪ | Add or remove database fields using the Insert Merge Fields selection (see mouse arrow below for location), as needed. |
| ▪ | Merge Fields are represented as follows: <<FieldName>> |
| ▪ | All of the database and mail merge functionality of Microsoft Word® is supported here. |
| • | Merge to document - Select Merge to document and Click OK. |
| ▪ | Word will - by default - open a dialogue box that will allow you to select an existing file from your Documents folder. |
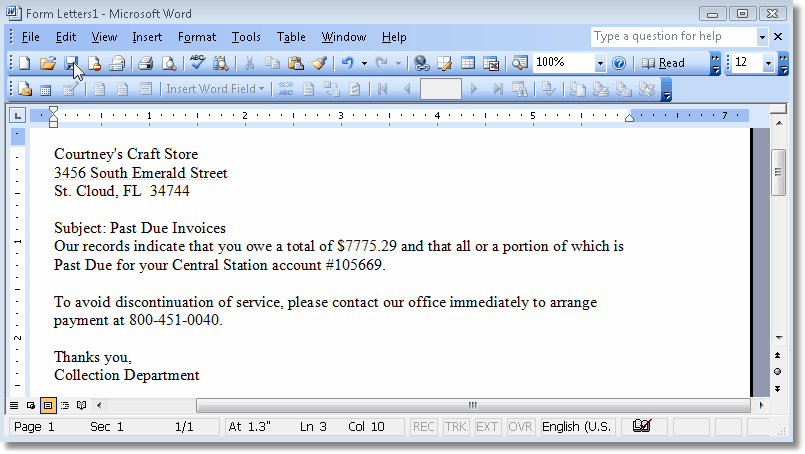
| ▪ | All predefined <<Merge Fields>> in the selected document will be populated automatically with the information from the currently selected Subscriber. |
| ▪ | Modify the document as needed. |
| ▪ | The result is a completed document which you may save to disk (do not overwrite the generic document you used to create this current populated version). |
| • | Merge & Print - Select Merge & Print and Click OK. |
| ▪ | As with Merge to document above, Word will - by default - open a dialogue box that will allow you to select an existing file from your Documents folder. |
| ▪ | All predefined <<Merge Fields>> in the selected document will be populated automatically with the information from the currently selected Subscriber. |
| ▪ | The completed document will immediately be sent to your default printer. |
| ▪ | Predefined Filter - If you have created predefined Subscriber Filters for this selection, Click Predefined Filter and use the Drop-Down Selection List to find the one you need. |
| ▪ | Criteria - simple selection criteria may be used to filter out or filter in a group of Subscribers for (among the many reasons) a mail campaign or a special notification. |
| i. | Field - select a Field to compare like CSID, Balance, Sortcode,DateOfLastSale |
| ii. | Operators - select an Operator to evaluate against the Field. |
| iii. | Selection Criteria - specify the Search Criteria (value) based on how the Operator makes a comparison to the Field. |
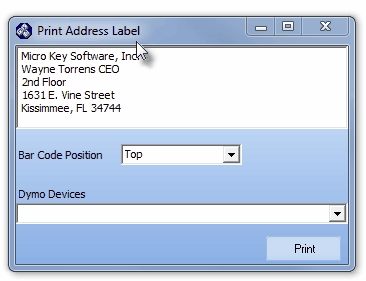
| • | Label - The Label Icon is for those with the DYMO Label interface installed. |

| • | Select the Label to print address labels for the currently displayed Subscriber record (various sizes are supported by DYMO). |
| • | Use the Drop-Down Selection List to Choose the desired Size. |
| • | Consult the DYMO documentation for more details on label sizes. |
| • | Click the Print button to produce the Label. |
Address Label dialog
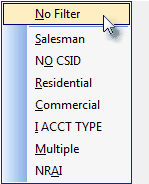
| • | Click the down arrow ‚ on the right side of the Filters Icon to display the available filtering options. |

Filters Icon on the Subscribers Form
| • | This Filters Icon feature allows: |
| ▪ | Viewing of all records (No Filter) |
Sample Filters Icon menu
| ▪ | When a Subscriber Filter is selected, it remains in effect until one of the following occurs: |
| o | The No Filter option is selected using the Filters Icon menu, |
| o | A different filter is selected using the Filters Icon menu. |
| • | Favs - This Icon is used to create Favorites which can then be selected using the Main Menu's Favorites option. |

| • | Click the Favorites button to assign favorites status (and insert this Subscriber into the Favorites Menu's options). |
| • | Once set, you may immediately access a favorite Subscriber record by Clicking the Down-Arrow ‚ and Selecting the desired Subscriber. |
| • | Select the Favorites option on the Main Menu and then Choose the Subscriber option. |

| • | Click on the desired Subscriber. |
| • | The Subscribers Form will be opened and the Selected Subscriber's Information displayed. |
| • | Services - This Services Icon allows a User to open a Browser (e.g., Explorer®, Chrome®) and display a previously defined Web Site from within the Subscribers Form. |
| • | Click the small down arrow 6 on the Services Icon to display the Drop-Down Selections list of previously defined External Services. |

Web Site Example when an External Service is selected using the Services option on the Main Menu of the Subscribers Form
| • | Click the Close box (T) at the top right of the Form when finished. |
| • | E-Payment - This Icon is used to open the E-Payments Form where the User may Validate and Authorize an E Check and/or Credit Card Payment for the currently selected Subscriber. |
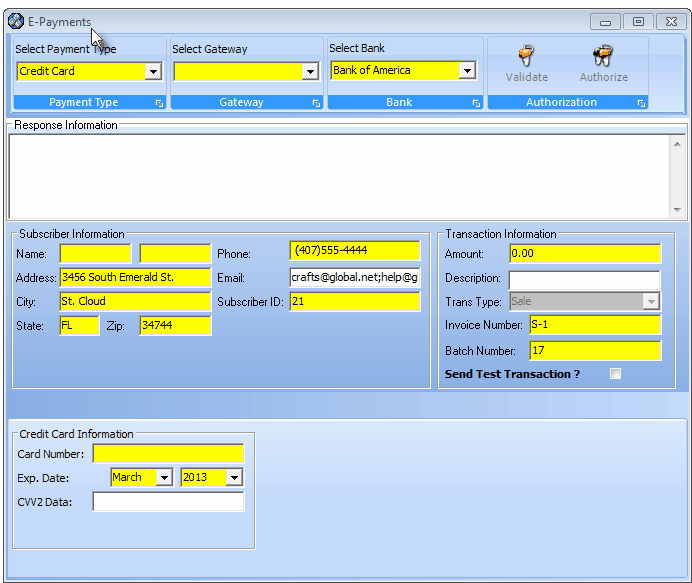
E-Payments Form
| • | Alert Triangle - If present, there is a Check in the Alert box on the Comments tab. reminding the User to review those Comments for important information. |

Alert Icon on the Subscribers Form
| □ | Subscriber Documents Section: |
| • | Documents - The Icon provides access to the Documents that were associated with the current Subscriber. |
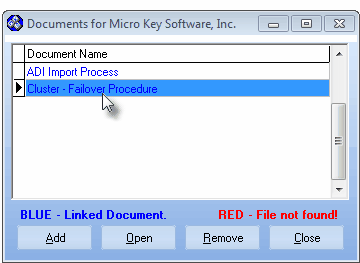
Documents dialog
| • | Click the Documents button to open the Documents dialog (as shown above). |
| • | Click the Documents Down-Arrow ‚ to display a list of those Documents that have been associated with the current Subscriber. |
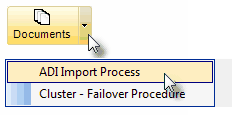
| ▪ | Click on any Document Title on the list to Open that Document. |
| • | Reports - The Icon provides quick access to certain commonly viewed Reports for the current Subscriber. |

| • | Click the down arrow ‚ on the right side of the Reports Icon to display the available menu options. |
Reports Icon menu options
| • | Click the appropriate right arrow „ for the sub-menu's List of Reports available for that option. |
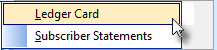
Sample Report options on sub-menu
| 1. | Ledger Card Report- View and/or Print the current Subscriber's Ledger Card. |
| 1. | Alarm Activity - View and/or Print the current Subscriber's Alarm Activity Report |
| 2. | Call List Verification - View and/or Print the current Subscriber's Call List Verification Report "form letter". |
| 3. | Open and Close - View and/or Print the current Subscriber's Open and Close Report for the month (or any month). |
| 4. | Pass Code Labels - View and/or Print the current Subscriber's Pass Code Labels. |
| • | Calls - View and/or Print the current Subscriber's Calls Report. |

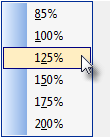
| • | Scale - The Scale Icon allows you to enlarge or compress the Subscribers Form. |
| • | Using the Drop-Down Selection List provided, Select the desired Form size. |
| • | Dial - Click Dial to dial the Primary telephone number via your modem (located below the Form View Section). |

| ▪ | You must have a modem attached to your computer and a telephone line connected to the modem. |
| • | Be sure to Click Hang Up to release the modem from the telephone line connected to the modem. |

