| □ | The Subscribers Form's Filters offers selective viewing of a predefined group of Subscribers; and the Word Merge offers selective printing of a predefined group of Subscribers; both through the creative use of Subscriber Filters. |
| • | This is a very powerful capability allowing for the creation of a highly targeted selection criteria for on screen selective viewing of Subscribers, printing specially defined Subscriber Lists and creating a precise group of Mail Merged documents. |
| □ | The Subscriber Filters Form: |
| • | From the Main Menu Select Maintenance, Select the Accounts Receivable sub-menu and Click Subscriber Filters. |
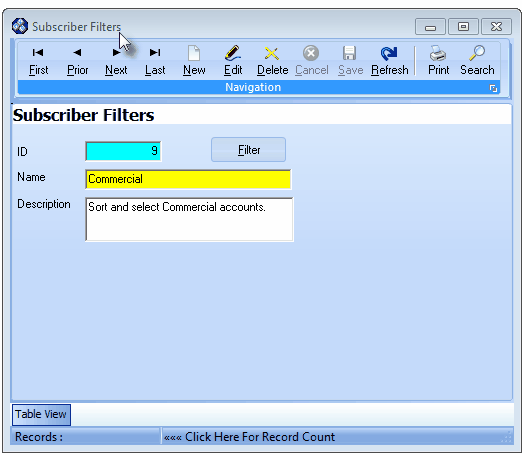
Subscriber Filters Form
| • | This Subscriber Filters Form may be Re-sized by Dragging the Top and/or Bottom up or down, and/or the Right side in or out. |
| • | Navigation Menu - The Navigation Menu is located at the top of the Subscriber Filters Form. |

| • | This Navigation Menu provides the normal Record Movement, New, Edit, Delete, Cancel, Save, and Refresh options; as well as special Print and Search functions. |
| • | Record Editing section - The details of the currently selected record are displayed below the Navigation Menu at the center (Main Body) of the Subscriber Filters Form. |
| • | Table View tab - A tabular (spreadsheet style) Table View of the currently defined Subscriber Filters is accessible by Clicking the Table View tab at the bottom of the Subscriber Filters Form. |

| • | This Table View information may be Pinned in Place by Clicking the Pin Icon on the right. |
| • | To display a specific Subscriber Filter record in the Record Editing section, Click on that record within the Table View section, or use the Search Icon (see the "Using the Special Functions" section later in this chapter). |
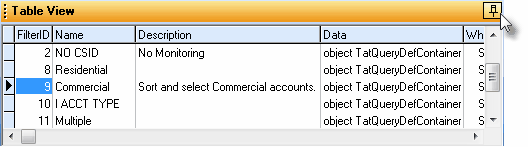
Subscriber Filters Form - with Table View tab Pinned Open
| ▪ | You may Un-Pin this Table View by Clicking the Pin Icon again. |
| ▪ | Click on any listed record to display that information in the center (Main Body) of the Form. |
| • | There are six columns of data in this Subscriber Filter Record Listing: |
| 1) | Filter ID - The record ID Number assigned by the system when the record was initially saved. |
| 2) | Name - The name given to this Subscriber Filter |
| 3) | Description - The detailed description given to this Subscriber Filter |
| 4) | Data - Internal Filter related information stored for this Subscriber Filter |
| 5) | Where Clause - Internal Filter related information stored for this Subscriber Filter |
| 6) | Order Clause - Internal Filter related information stored for this Subscriber Filter |
| • | Each column's Header Name describes the data contained in that column. |
| ▪ | Clicking on a Header Name will set the order in which the Subscriber Filters will be listed. |
| ▪ | Clicking on the same Header Name will set the order in the opposite direction (ascending vs. descending). |

| ▪ | The Header Name that is determining the Order of the list will have an Icon indicating the Order displayed next to that Header Name. |
| • | To define a Subscriber Filter: |
| • | Click the  Icon to start the Subscriber Filter entry in the Record Editing section. Icon to start the Subscriber Filter entry in the Record Editing section. |
| ▪ | ID - A record ID Number will be assigned by the system when the record is saved. |
| ▪ | Name - Enter a brief Name for the Filter. |
| o | The Name assigned here must be a unique filter name and can not be a duplicate of any other filter name used - even within the Prospect Filters Form. |
| ▪ | Description - Enter a detailed Description of this Filter consisting of up to 50 characters of Upper and lower case letters, numbers, spaces and typical punctuation marks. |
| • | Click the  Icon to record this entry. Icon to record this entry. |
| • | The system will assign an ID. |
| • | Any number of additional Subscriber Filters may be created. |
| □ | Defining the Filter: Click the Filter button Record Editing section. |
| • | The Subscriber Filter constructor will be displayed. |
| • | The choices are Filtering and Ordering options. |
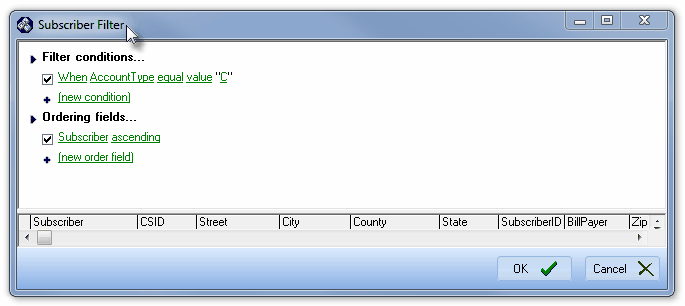
Subscriber Filter design Form
| ◆ | See Prospect Filters for complete information about using this Filtering and Ordering dialog. |
| □ | Applying a Subscriber Filter - These predefined Subscriber Filters may be used in various ways within MKMS: |
| • | Filtering the Accounts available for viewing on the Subscribers Form |
| □ | Using the Special Functions on the Navigation Menu at the top of the Subscriber Filters Form: |
| • | Print - Click the Print Icon to View and/or Print a list of the Subscriber Filters. |
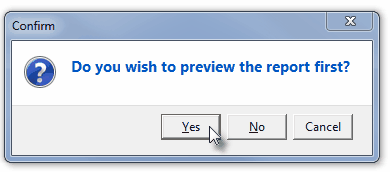
| • | Yes - Click the Yes button to View a copy of the report. |

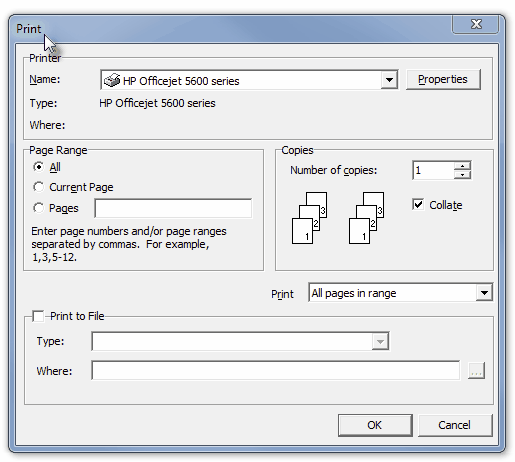
| • | No - Click the No button to open the Windows® Print dialog where a copy of the report may be sent to a selected Printer, or Printed to a File. |
| • | Cancel - Click the Cancel button to close this Print question and return to the Form. |
| • | Search - Click the Search Icon to open the Search Subscriber Filters dialog. |

Search dialog
| • | See the "Using the Generic Search dialog" section in the Advanced Search Dialog chapter for more information about this Search dialog. |

