| • | Those individual Technicians who are to be permitted access to the Dealer Access Connection (the Client) must be identified in the Dealer User Maintenance Form. |
| • | Unlike those who use the Virtual Operator application who must be identified as Employees and provided specific login access information on that form's Security tab, Dealer Module Users only need to be identified here in this Dealer Users Form. |
| • | Within this Dealer Users Form you will be able to establish all of the Access and Reporting Rights that will be permitted for this Technician. |
| □ | Entering a record in the Dealer Users Form: |
| • | On the Main Menu, Select Maintenance and Choose Central Station, then Click Dealer Users. |
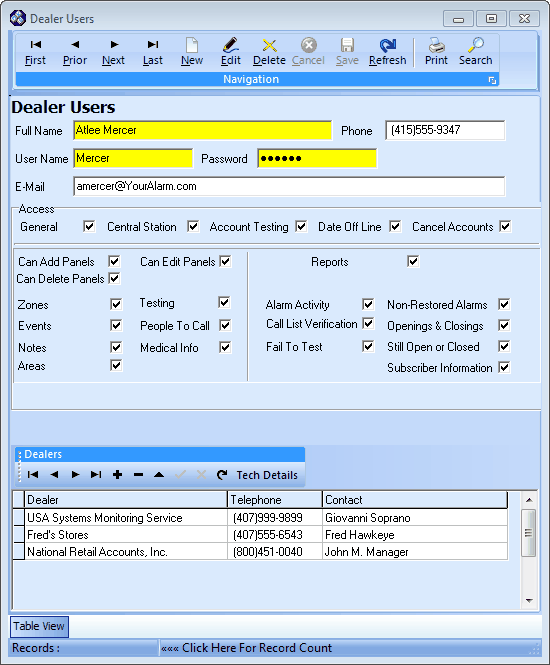
Dealer User Form
| • | This Dealer Users Form may be Re-sized by Dragging the Top and/or Bottom up or down, and/or the Right side in or out. |
| • | Navigation Menu - The Navigation Menu is located at the top of the Dealer Users Form. |

| • | This Navigation Menu provides the normal Record Movement, New, Edit, Delete, Cancel, Save, and Refresh options; as well as special Print and Search functions. |
| • | Record Editing section - The details of the currently selected record are displayed below the Navigation Menu at the center (Main Body) of the Dealer Users Form. |
| • | Table View tab - A tabular (spreadsheet style) Table View of the currently defined Dealer Users is accessible by Clicking the Table View tab at the bottom of the Dealer Users Form. |

| • | To display a specific Dealer User record in the Record Editing section, Click on that record within the Table View section, or use the Search Icon (see the "Using the Special Functions" section later in this chapter). |
| • | This Table View information may be Pinned in Place by Clicking the Pin Icon on the right. |

Dealer Users Form - with Table View tab Pinned Open
| ▪ | You may Un-Pin this Table View by Clicking the Pin Icon again. |
| ▪ | Click on any listed record to display that information in the center (Main Body) of the Form. |
| • | There are several columns of data in this Dealer Users Record Listing: |
| • | Each column's Header Name describes the data contained in that column. |
| ▪ | Clicking on a Header Name will set the order in which the Dealer Users will be listed. |
| ▪ | Clicking on the same Header Name will set the order in the opposite direction (ascending vs. descending). |

| ▪ | The Header Name that is determining the Order of the list will have an Icon indicating the Order displayed next to that Header Name. |
| • | To define the Dealer Users, Click the  Icon to start the Dealer User entry in the Record Editing section. Icon to start the Dealer User entry in the Record Editing section. |
| • | Full Name - Enter the full name of the Dealer User. |
| • | User Name - Enter the User Name with which they will login to the system. |
| • | Password - Enter the Password they will use to login to the system |
| • | Phone - Enter the telephone number that can be used to contact this Dealer User. |
| • | E-Mail - Enter the E-mail address that can be used to contact this Dealer User. |
| • | Access - Define the access rights that will be applied to this Dealer User. |
| ▪ | General - If this box is Checked, general system wide access is permitted. |
| ▪ | Central Station - If this box is Checked, central station related access is permitted. |
| ▪ | Account Testing - If this box is Checked, account testing access is permitted. |
| ▪ | Date Off Line - If this box is Checked, the off line date access is permitted. |
| ▪ | Cancel Accounts - If this box is Checked, the Technician can cancel monitoring for an Account. |
| ► | Important Note: By allowing this Dealer User to Cancel the record, they are disallowing further access to this Subscriber via the Dealer Module. |
| • | Data Management Rights - Indicate which information this Dealer User is granted access to modify. |
| ▪ | Can Edit Panels - If this box is Checked, Subscriber Panels information may be edited. |
| ▪ | Can Delete Panels - If this box is Checked, Subscriber Panels records may be deleted. |
| o | Zones - If this box is Checked, CSID Zones may be edited. |
| o | Notes - If this box is Checked, Temp Notes may be edited. |
| o | Areas - If this box is Checked, the system's Areas may be edited. |
| o | Testing - If this box is Checked, Account Testing information may be edited. |
| o | People To Call - If this box is Checked, People To Call information may be edited. |
| • | Reporting Rights - Indicate what reports this Dealer User is permitted to access. |
| ▪ | Reports - If this box is Checked, the Dealer User has access to view the Reports Menu. |
| o | Alarm Activity - If this box is Checked, the Dealer User may print/view the Alarm Activity Report. |
| o | Call List Verification - If this box is Checked, the Dealer User may print/view the Call List Verification Report. |
| o | Failed To Test - If this box is Checked, the Dealer User may print/view the Failed To Test Report. |
| o | Non-Restored Alarms - If this box is Checked, the Dealer User may print/view the Non-Restored Alarms Report. |
| o | Openings & Closings - If this box is Checked, the Dealer User may print/view the Openings & Closings Report. |
| o | Still Open or Closed - If this box is Checked, the Dealer User may print/view the Still Open or Closed Report. |
| o | Subscriber Information - If this box is Checked, the Dealer User may print/view the Subscriber Information Report. |
| • | Click the  Icon to record this Dealer User entry. Icon to record this Dealer User entry. |
| • | This entry will be automatically inserted into the Dealers Form as an additional Dealer Module User. |
| □ | Assigning the Dealer Users to specific Dealers: |
| 1. | Dealer Users do not have to be, but may also be an Employees. (i.e., if an Employee of your Company also provides emergency services for an Alarm Dealer and therefore needs access to the Dealer Module) |
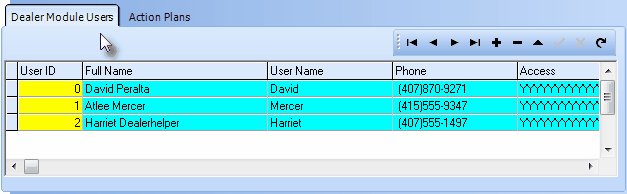
Dealer Module Users tab on the Dealer Form
| • | To add a Dealer assignment for the currently selected Dealer User, on the Dealers section of the Dealer User Form: |
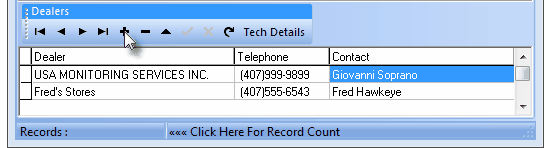
| • | Dealer - Using the Drop-Down Selection List provided, Choose the required Dealer. |
| • | Click the Save ü Icon to record this entry. |
| • | The Telephone and Contact information will be inserted automatically. |

| • | Tech Details - This Tech Details button on the Dealers section of the Dealer User Form opens the Dealer Technician Form for viewing and entering the Names and related information of the Dealer Technicians that are employed by the currently selected Dealer. |
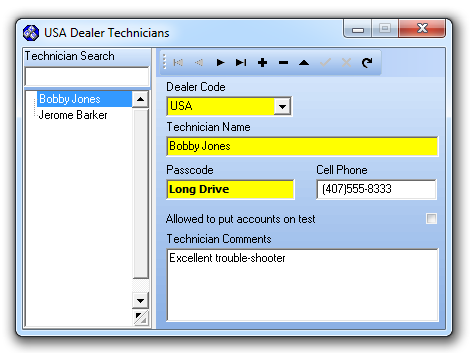
Dealer's Tech Details Form
| □ | Using the Special Functions on the Navigation Menu at the top of the Dealer Users Form: |
| • | Print - Click the Print Icon to View and/or Print a list of the Dealer Users. |
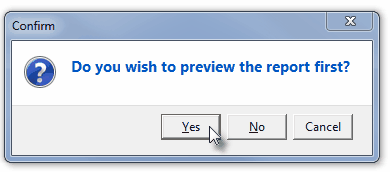
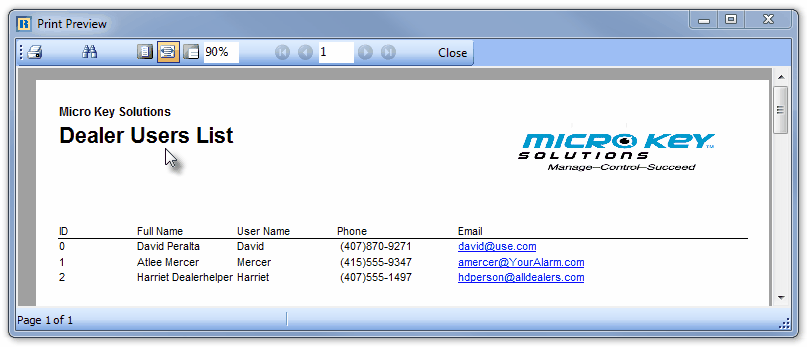
| • | Yes - Click the Yes button to View a copy of the report. |
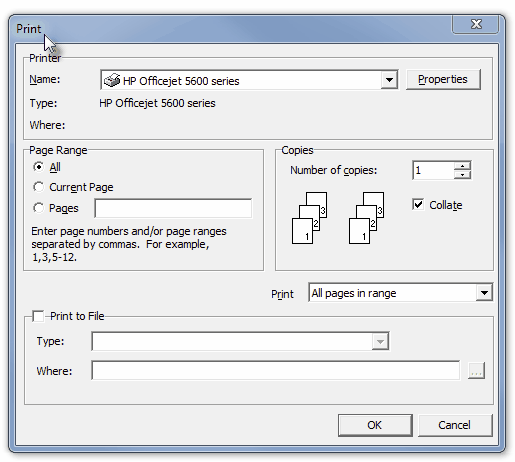
| • | No - Click the No button to open the Windows® Print dialog where a copy of the report may be sent to a selected Printer, or Printed to a File. |
| • | Cancel - Click the Cancel button to close this Print question and return to the Form. |
| • | Search - Click the Search Icon to open the Search Dealer Users dialog. |
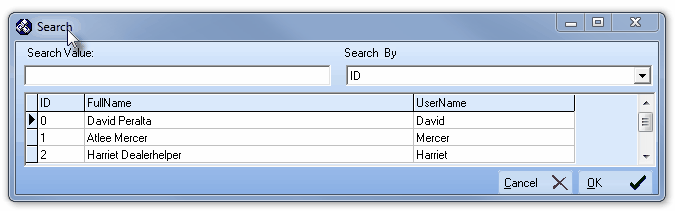
Search dialog
| • | See the "Using the Generic Search dialog" section in the Advanced Search Dialog chapter for more information about this Search dialog. |

