| • | As stated in the How to Setup a Module, any data entered, that would be needed in another module later, will automatically be there and shared with that module when that new module is started. |
| • | To Convert a Prospect to a Subscriber: |
| • | On the Prospect Form's General Quick Access Menu, Click the Convert To Subscriber (see mouse pointer in illustration below). |
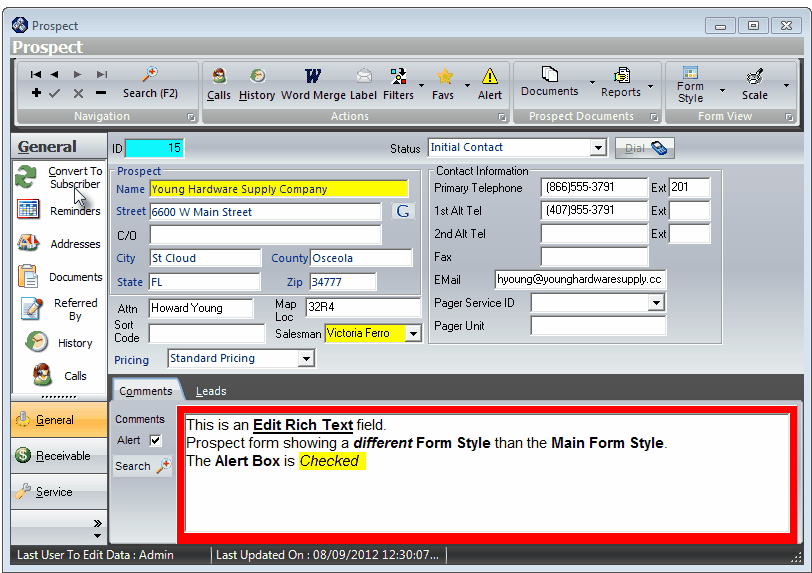
Prospect Form's General menu with Convert to Subscriber Icon
| • | Confirm that you do want to make this conversion. |
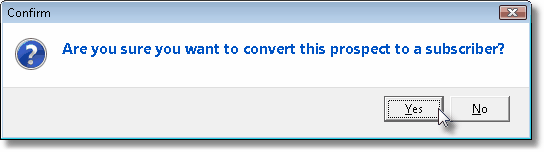
Confirm Prospect to Subscriber Conversion
| • | The Convert Prospect dialog is displayed. |
| □ | Entering the required Prospect Conversion information. |
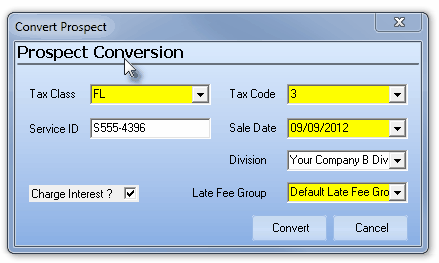
Convert Prospect Form - Completed conversion data
| • | Tax Class - Use the Drop-Down Selection List to Choose the appropriate Sales Tax Class. |
| • | Tax Code - Use the Drop-Down Selection List to Choose the appropriate Tax Code (Y,N,1,2,3) which establishes their Sales Tax Rate. |
| • | Service ID - Accepts all alphanumeric characters (a-z, A-Z, 0-9) and regular punctuation marks - up to a total of 15 characters in length. |
| • | Many users assign the Subscriber's telephone number as the Service Account Number such as "407-870-0040" |
| • | The original sale date plus their primary CSID (or visa versa) is another choice such as "2007-09-24/3277". |
| • | Just be consistent and have your entry actually mean something to your Service Technicians. |
| • | Sale Date - Use the Drop-Down Date Selection Box to enter the Sale Date (or completion date - if you prefer) from which their Warranty Ends date will be set (a one year Warranty is assumed). |
| • | Division - If you have defined Divisions and this Prospect should be assigned to one, use the Drop-Down Selection List to Choose the appropriate Division code. |
| • | Right-Click this field to Choose the Search By method, if desired. |
| • | Charge Interest? - If you charge interest on past due Invoices, and this Prospect - who is now a Subscriber - will be assessed interest charges for late payments, Check this box. |
| • | Late Fee Group - If you Checked the Charge Interest? box, use the Drop-Down Selection List to Choose the appropriate Late Fee Group. |
| o | Right-Click this field to Choose the Search By method, if desired. |
| • | Convert - Click the Convert button to execute the move. |
| • | Cancel - Click Cancel to abort the conversion process. |
| • | Take a moment and review the information that was transferred. |
| • | Update any of these tab's information items (perhaps an additional Comment on the conversion, and update of the Service Information tab with Directions, Contract Type, etc.), as needed. |

