| • | Part of setting up this process is to identify the Banks into which your Receipts will be deposited. |
| • | To create a Bank Account, from the Main Menu select Maintenance and Click Bank Maintenance. |
| • | The Bank Info Form will be displayed with the Edit View tab as the default view. |
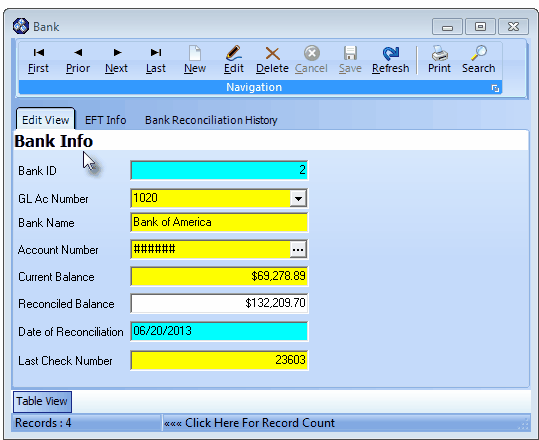
Bank Form
| • | This Bank Form may be Re-sized by Dragging the Top and/or Bottom up or down, and/or the Right side in or out. |
| • | Navigation Menu - The Navigation Menu is located at the top of the Bank Info Form. |

| • | This Navigation Menu provides the normal Record Movement, New, Edit, Delete, Cancel, Save, and Refresh options; as well as a Print and Search function. |
| • | Record Editing section - The details of the currently selected record are displayed below the Navigation Menu at the center (Main Body) on the Edit View tab of the Bank Info Form. |
| • | Table View tab - A tabular (spreadsheet style) Table View of the currently defined Bank Info records is accessible by Clicking the Table View tab at the bottom of the Bank Info Form. |

| • | To display a specific Bank Info record in the Record Editing section, Click on that record within the Table View section, or use the Search Icon (see the "Using the Special Functions" section later in this chapter). |
| • | This Table View information may be Pinned in Place by Clicking the Pin Icon on the right. |
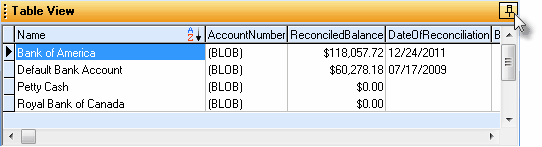
Bank Info Form - with Table View tab Pinned Open
| ▪ | You may Un-Pin this Table View by Clicking the Pin Icon again. |
| ▪ | Click on any listed record to display that information in the center (Main Body) of the Form. |
| • | There are many columns of data in this Bank Info Record Listing. |
| • | Each column's Header Name describes the data contained in that column. |
| ▪ | Clicking on a Header Name will set the order in which the Banks will be listed. |
| ▪ | Clicking on the same Header Name will set the order in the opposite direction (ascending vs. descending). |

| ▪ | The Header Name that is determining the Order of the list will have an Icon indicating the Order displayed next to that Header Name. |
| □ | Edit View tab - This is the area within which a Bank record is defined. |
| • | To define a Bank Info record: |
| • | Click the  Icon to start a Bank entry in the Record Editing section. Icon to start a Bank entry in the Record Editing section. |
| ▪ | Bank ID - The system will assign a Bank ID number. |
| ▪ | Bank Name - Enter the name (up to 30 characters) of this Bank or what ever other Financial Institution you are defining. |
| ▪ | Account Number - Enter the actual Account Number assigned by the Bank. |
| o | For the Subscriber's protection, once entered and saved, all Account Number information is hidden from view (replaced with multiple pound signs) and actually encrypted within the database itself. |
| ▪ | Reconciled Balance - Enter the most recent Reconciled Balance (if you have not done a Bank Reconciliation or this is a new Bank account, enter 0.00). |
| ▪ | Date of Reconciliation - The Date of Reconciliation will be provided by the system after you initially Reconcile the Account within MKMS. |
| ▪ | Last Check Number - Enter the Last Check Number issued from this Bank Account. |
| ▪ | If you have not yet Issued any Checks, set the Check Number to the number that is immediately before the First Check Number that you will be starting with. |
| • | Click the  Icon to to record this Bank entry. Icon to to record this Bank entry. |
| • | Any number of additional Banks may be identified, as required. |
| ► | Note 1: If you have used the Void Unused Checks Form to identify certain Check Number(s) that should be skipped, or not ever used again, you must reset this Last Check Number field. |
| • | To reset the Last Check Number (in the event that one or more have been destroyed, sent as samples for setting up automatic deductions, etc.), Click on the Last Check Number field and replace the currently displayed Check Number, as appropriate. |
| ► | Note 2: If you be using Electronic Fund Transfers for the direct deposit of Receipts from your Subscribers: |
| • | Also see the EFT Info tab section below. |
| □ | EFT Info tab - If you (will) use Electronic Funds Transfer to Auto Draft your Subscribers (usually for Recurring Revenue related Payments), complete the information on the EFT Info tab of the Bank Info Form for the Bank/Agency/Company that provides this service. To do so: |
| • | From the Main Menu select Maintenance and Click Bank Maintenance. |
| • | The Bank Form will be displayed with the Edit View tab (see above) as the default. |
| • | Click the Search Icon on the Navigation Menu (see the "Using the Special Functions on the Navigation Menu at the top of the Bank Form" section below). |
| • | Click on the Bank Name to be updated with EFT Information. |
| • | Once the required Bank is located, Click the EFT Info tab |
| ◆ | See the "Special EFT Options tabs" section below for specific information about entering each EFT information. |
| • | Complete the fields as required by that EFT Processor: |
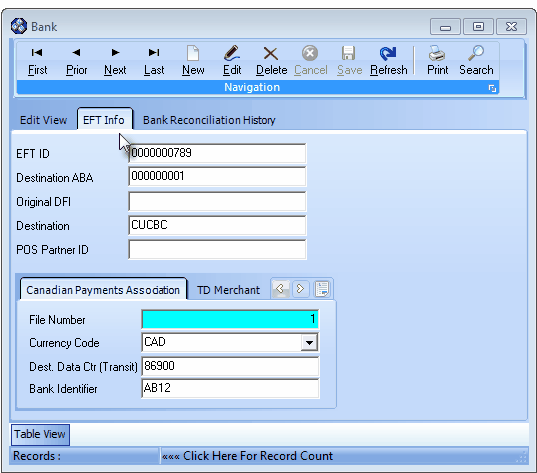
Bank Form - EFT Info tab
| ▪ | EFT ID - Enter the EFT ID specified by the EFT Processor. |
| ▪ | Destination ABA - Enter the EFT Processor's Bank's Routing Number. |
| ▪ | Original DFI - This is an optional field that may be required by your EFT Processor. It may be up to 10 characters in length. |
| ▪ | Destination - Data required in the ACH format specifications. |
| o | It will be specified by the EFT Processor. |
| ▪ | POS Partner ID - This is a special purpose ID that will be specified by your Point of Sale system provider. |
| • | Click the Icon to to record this Bank - EFT Info entry. |
| □ | Special EFT Options tabs: Select the appropriate sub-tab and complete the additional information, as needed: |
| • | Canadian Payments Association Options - Our Canadian Customers may need to enter this information: |
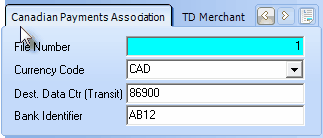
Bank Form - Canadian Payments Association tab
| • | EFT ID - Enter the Originator's ID specified by the CPA Processor. |
| • | Destination - Enter the CPA's Institutional ID Number for Returns. |
| • | File Number - This is a read only field. |
| ▪ | Each time the Auto Draft process is executed for this bank, the number will be incremented by +1. |
| ▪ | This value cannot exceed 9999. and will be reset to 1 automatically, if it does. |
| ▪ | If a file is submitted to the processing institution, and a number was skipped, the file will be rejected. |
| ▪ | If Auto Draft must be reset, this number must also be reset to 1. |
| • | Currency Code - Use the Drop-Down Selection List and choose either CAD or AFT. |
| • | Dest. Data Ctr. - Referred to as the Destination data Center, this unique number is assigned by the processing institution. |
| • | Bank Identifier - Enter the four character ID assigned by the Bank. |
| • | Click Save ("ü") to record these entries. |
| • | TD Merchant - Enter the Terminal Number assigned by this service provider. |
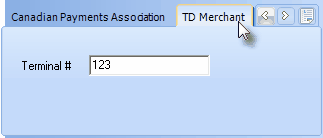
| • | Terminal # - This three character entry will be required by this service provider. |
| • | Click Save ("ü") to record these entries. |
| • | Hong Kong - Our Customers requiring this information will self identify: |
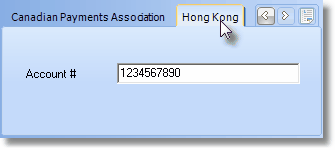
| • | Account # - This Special Purpose Information will be supplied by Micro Key Technical Support for those needing the information. |
| • | Click Save ("ü") to record these entries. |
| • | Wells Fargo - Our Customers requiring this information will self identify: |
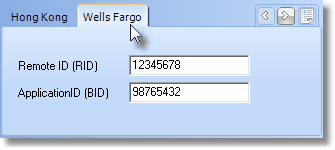
| • | Remote ID (RID) - Enter the required (up to) 8 digits. This Special Purpose Information will be supplied by Wells Fargo Bank. |
| • | Application ID (BID) - Enter the required (up to) 8 digits. This Special Purpose Information will be supplied by Wells Fargo Bank.
|
| □ | Bank Reconciliation History tab - This tab displays a summary of each previously completed Bank Reconciliation for the currently selected Bank. |
| • | To view all of the available information, Drag the right border of the Bank Form to the Right. |
| ► | Note: This tab is not retroactively populated with Bank Reconciliations which were completed prior to the installation of MKMS NEO Version 5.1.34.2. |
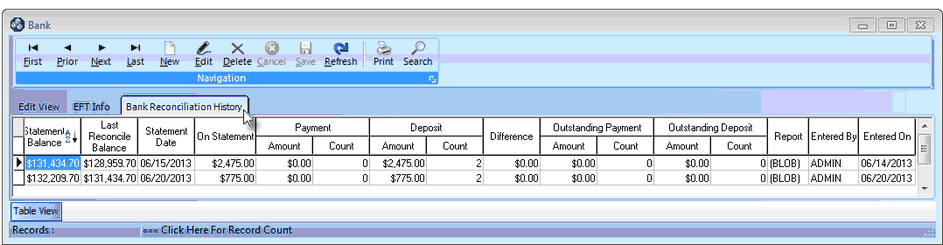
| • | Report - The Bank Reconciliation Summary report created at the completion of each procedure may be viewed. |
| • | In the Report column, Double-Click {Blob} on the record line representing the Bank Reconciliation Summary report tat is to be displayed/re-printed. |
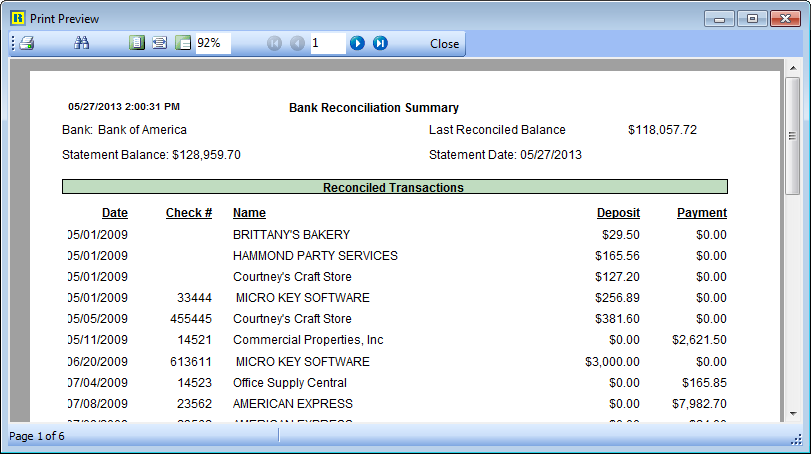
Bank Reconciliation Summary
| □ | Using the Special Functions on the Navigation Menu at the top of the Bank Form: |
| • | Print - Click the Print Icon to View and/or Print a list of the Banks. |
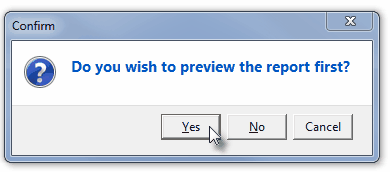
| • | Yes - Click the Yes button to View a copy of the report. |
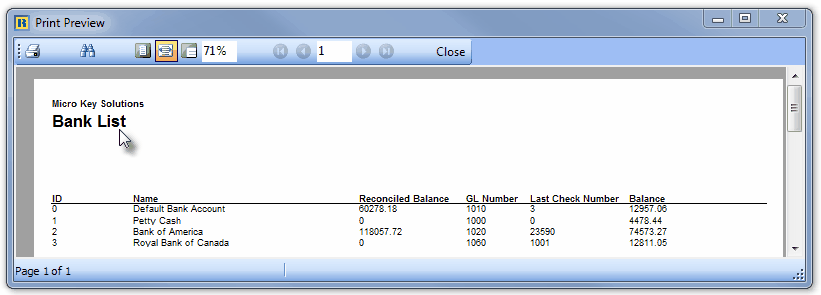
| • | No - Click the No button to open the Windows® Print dialog where a copy of the report may be sent to a selected Printer, or Printed to a File. |
| • | Cancel - Click the Cancel button to close this Print question and return to the Form. |
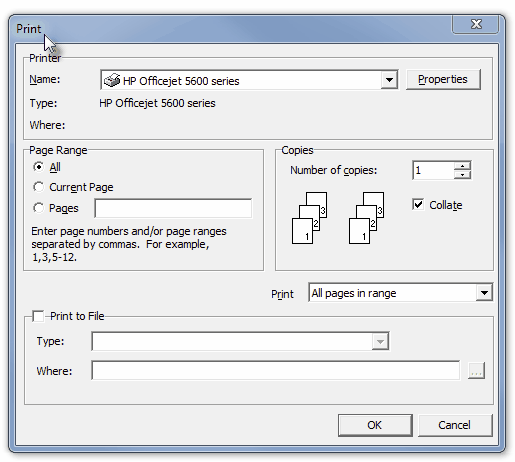
| • | Search - Click the Search Icon to open the Search Banks dialog. |
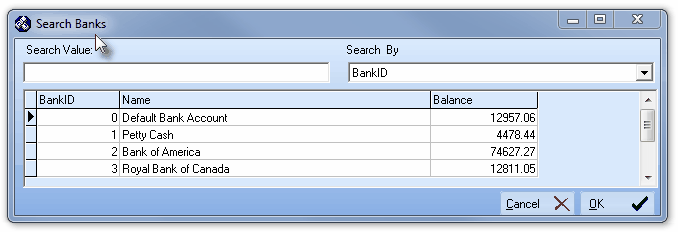
Search dialog
| • | See the "Using the Generic Search dialog" section in the Advanced Search Dialog chapter for more information about this Search dialog. |

