| □ | Expenses - In most cases, if you are doing Job Costing, you will have miscellaneous Expenses charged against a Job that were not specifically identified as part of the original Proposal but arise as the Job's installation progresses. |
| • | To record an Expense, on the Main Menu, Select the Maintenance menu and Choose Job Costing. |
| • | Locate the Job to which you need to record an Expense. |
| • |  Click the Search icon at the top of the Job Costing Form to open the Search Jobs dialog. Click the Search icon at the top of the Job Costing Form to open the Search Jobs dialog. |
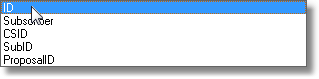
| • | Search By - Use the Drop-Down Selection List to Choose your desired search method. |
| • | Search Value - Enter the characters that will best locate the desired Job. As you enter information, the record pointer4will be continually relocated based on your entry. |
| • | OK - Click OK ü when you have the correct Job located. |
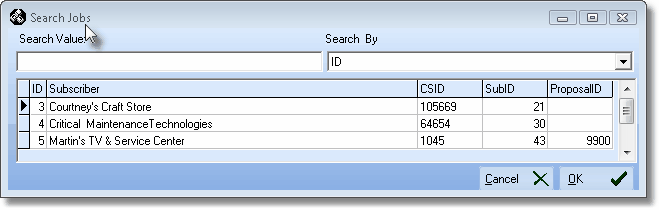
Search Jobs dialog
| • | Click the New Bill icon at the top of the Job Costing Form. |
| • | Using the Select Vendor dialog, locate the appropriate Vendor (the individual or organization to which you must pay for these Expenses). |

Select Vendor Dialog
| ▪ | Search By - Using the Drop-Down Selection List to Choose the preferred Search method. You may search by the Vendor Name (the default), or the Vendor ID. |
| ▪ | Search Value - Enter the appropriate Search phrase. As you enter characters, the pointer „ relocates to the most appropriate Vendor record. |
| ▪ | Once the pointer is at the correct record, To Select that Vendor record, Click OK. |
| • | Click Add ("+"), and the appropriate Job Number is inserted automatically. |
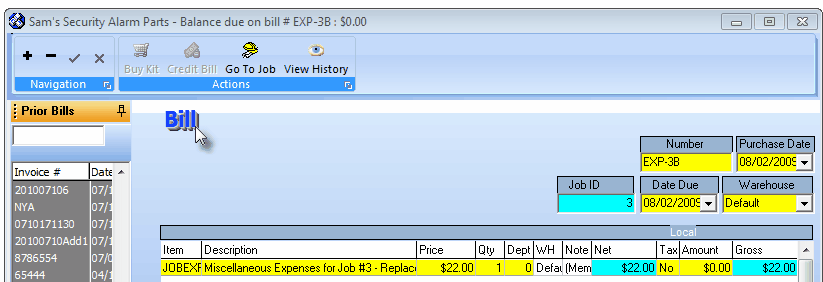
Job Costing Expenses sample Bill
| • | First, you must enter an Invoice Number. |
| ▪ | Hint: Follow a regular pattern for creating these Invoice Numbers for Expenses. |
| ▪ | Example: EXP-3B - This pattern uses an abbreviation for Expense - "EXP-", and then the Job number "4", and a letter - this is the second miscellaneous Expense charged to this Job so we used "B" - so multiple expenses can be paid as the Job progresses and additional miscellaneous expenses are incurred |
| ▪ | You may also change the Purchase Date and Due Date, if needed. |
| • | Enter a Detail line item for the Expense that is to be paid. |
| ▪ | Description - Double-Click to Modify the default Description entered for this Sale-Purchase Item to include the Job Number (shown in the Job ID field above) and any other relevant information. You may also Double-Click (Memo) in the Note column to expand your explanation (see Note below). |
| ▪ | Price - Enter the amount of the Expense to be paid. |
| ▪ | Qty - By default, this should be the number 1. |
| ▪ | Dept - If using the General Ledger module, use the Drop-Down Selection List to Choose the appropriate Department to be charged for this Expense. |
| ▪ | Note - You may want to Double-Click (Memo) in the Note field to enter an explanatory Note about this Expense. |
| • | Click Save ("ü") to record the Invoice (Bill). |

Expense entry within the Expenses tab of the Job Costing Form
| • | You will be returned to the Expenses tab on the Job Costing Form.  Click the Refresh icon to update this information. Click the Refresh icon to update this information. |
| • | An Expenses entry will be made which (in addition to the Date, Description, and Amount) will include the Bill ID for the new Invoice you've created - thereby indicating that this Expense was entered as an Invoice. |

