|
Print Checks This Help File Page was last Modified on 07/18/2013 |

|

|
|
|
Print Checks This Help File Page was last Modified on 07/18/2013 |
|
|
Print Checks
This Help File Page was last Modified on 07/18/2013
|
Print Checks This Help File Page was last Modified on 07/18/2013 |
|
|
|
|
Print Checks This Help File Page was last Modified on 07/18/2013 |
|
|
| □ | Once you've made Payments and Allocated them to Bills, and/or used the Disbursements Form to streamline that process, and/or run your Automatic Recurring Payments process, it's time to Print Checks. |
| • | On the Main Menu, Select Reports and Choose the Accounts Payable sub menu, then Click Print Checks. |

Print Checks dialog
| • | Bank - As Payments are posted and Allocated, and/or when you use the Disbursements Form, you must identify the Bank from which those Paymentsa are to be withdrawn. |
| • | Therefore when it's time to Print Checks, you must use the Drop-Down Selection List to Choose the Bank from which you will withdraw these Payments. |
| • | Print For - If you have a Vendor Information Form open, the system assumes the currently selected Vendor is the one for whom you want to Print Checks. |
| • | All Vendors - This is the default if you do not have a Vendor Form open (see illustration above). |
| • | Current Vendor - This is the default if a Vendor Form is currently open (see illustration below). |
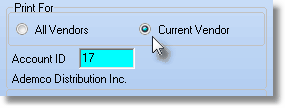
| ▪ | The Account ID and Vendor Name will be displayed automatically. |
| ▪ | If a Vendor Form is currently open, you may, if necessary, Click on the All Vendors button. |
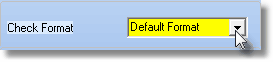
| • | Check Format - The Default Format is for most users in the USA and elsewhere. |
| • | Use the Drop-Down Selection List to Choose Canadian Format, if required. |
Check Format field
| • | Starting Check Number - The next available check number to be used will be displayed automatically by the system. |
| • | Adjust Top Margin - If you are using a custom printed form that requires a Top Margin adjustment, Check this box. |
| • | Print Position - Enter the required adjustment . |
| • | Print - Click the Print button to Preview or Print these Checks. |
| • | If there are no Unprinted Checks, a message indicating that will be displayed. |
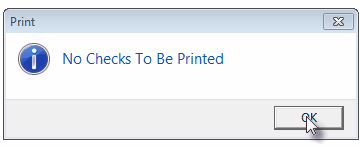
No Checks To Be Printed
| • | Confirm that you do want to continue the Check Printing process. |
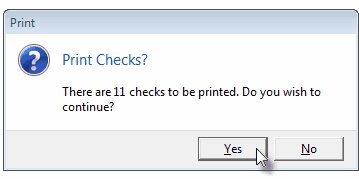
Print Checks?
| • | You may Preview the Checks on screen prior to actually printing them. |
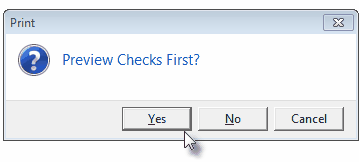
Preview Checks First?
| • | Yes - The selected Checks will be displayed on screen for you to Preview. |
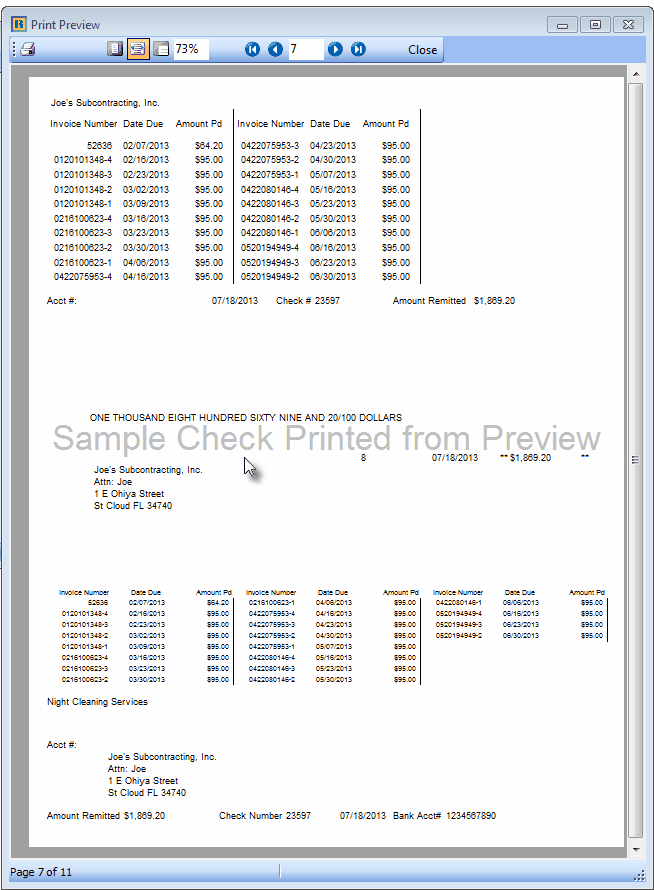
Sample Check printed from Preview
| ▪ | Click the Print Icon on the top left of the display to Print a Sample of these Checks. |
| ▪ | Do not put the real Check documents in the Printer. |
| ▪ | Once you have viewed the Checks, Click the Close button. |
| ▪ | This will return you to the Print Checks dialog. |
| • | Choose Print again - but this time do not request a Preview!. |
| ▪ | This will Print the actual Checks to the selected Printer in which you have inserted your Check forms. |
| • | No - The selected Checks will be printed once you Choose the appropriate Printer. |
| • | Cancel - The Print Checks process will be aborted. |
| • | Select the appropriate Printer in which you have inserted the correct set of blank Checks (there is no Print To File option available). |
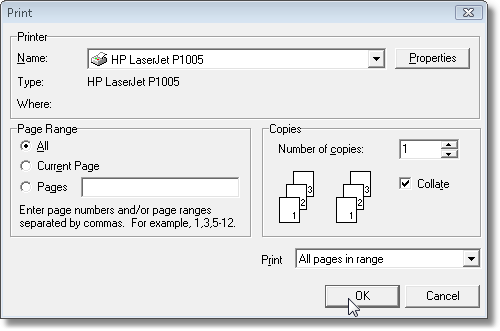
Printer Selection Dialog
| • | Once they are Printed, you will be asked to Confirm that all of the Checks have printed correctly. |
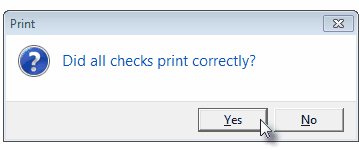
Did all checks print correctly?
| • | If you answer Yes, the transactions will be internally finalized. |
| • | Reprinting Checks using the Void Bad Checks dialog: |
| • | If you answered No - some or all of the checks did not print correctly - you must identify which check numbers must be Voided (identifying, by number, which ones were not printed correctly). |
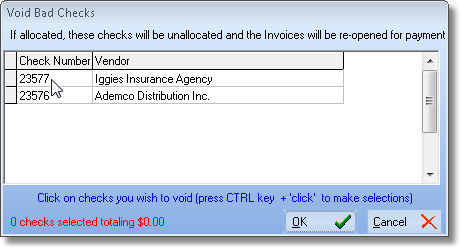
Void Bad Checks dialog
| ▪ | Press Ctrl+Left-Click to Choose each check number that must be Voided. |
| ▪ | When you have Selected which check numbers must be Voided, Click OK to proceed. |
| ▪ | The check numbers will be inserted into the Voided Check Numbers list. |
| ▪ | The Payments for these Voided Checks may be Reprinted (with new check numbers), whenever required. |
| ▪ | However, if no Checks were actually destroyed (Perhaps you forgot to put check paper in the printer? Again?), simply Click the Cancel button at the bottom of the dialog. |
| • | Are there any Checks to be Reprinted? - If you did Choose Cancel, but need to reprint one or more of the checks: |
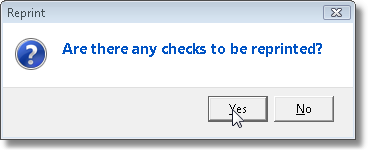
Are there any checks to be reprinted?
| ▪ | Answer Yes |
| • | Select the the Check Number(s) to be reprinted using the Select Checks For Reprint dialog: |
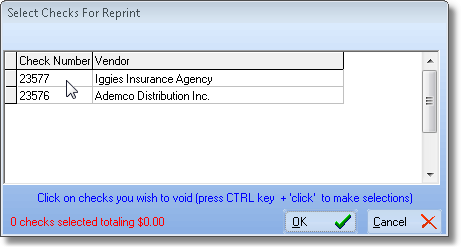
Select Checks For Reprint dialog
| ▪ | Press Ctrl+Left-Click to Choose the check numbers that must be Reprinted. |
| ▪ | Click OK to proceed. |
| ▪ | Click the OK button to Confirm that the Checks are ready to be Reprinted. |
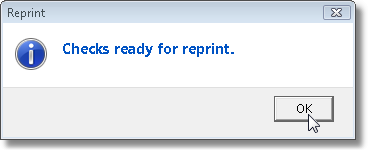
Checks ready for reprint.
| • | Select the appropriate Printer to Reprint the Checks that you have Selected. |
Printer Selection Dialog