|
Checking In Inventory This Help File Page was last Modified on 08/30/2013 |

|

|
|
|
Checking In Inventory This Help File Page was last Modified on 08/30/2013 |
|
|
Checking In Inventory
This Help File Page was last Modified on 08/30/2013
|
Checking In Inventory This Help File Page was last Modified on 08/30/2013 |
|
|
|
|
Checking In Inventory This Help File Page was last Modified on 08/30/2013 |
|
|
| □ | The requested items on your Purchase Order have been delivered, |
What Do You Do?
| 1. | Locate the Purchase Order |
| 2. | Check in those Items that were delivered (see the instructions below). |
| 3. | Create a Vendor Bill for these items. |
| □ | Locate the specific Purchase Order for the items that were delivered in MKMS: |
| • | Press F4 to open a Vendor Information Form. |
| • | Press F2 to locate the Vendor to whom you issued the Purchase Order, |
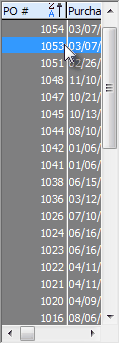
| • | Click the Prior POs tab on the Purchase Order Form. |
![]()
| • | Click on the required Purchase Order Number. |
| • | The Selected Purchase Order will be displayed. |
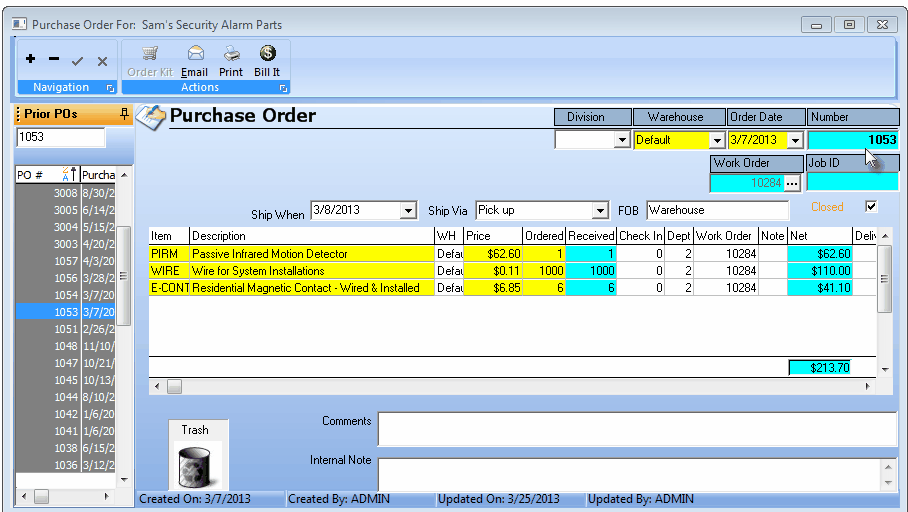
Purchase Order after selection from Prior POs list
| □ | Check In - In the Check In field, enter the Quantity of each Item that was delivered. |

Purchase Order Form - Check In the delivered item(s)
| • | Check In - For each item that was delivered, in the appropriate Check In box, enter the quantity of that Item that was delivered. |
| • | Save - Click the Save button ("ü") to ensure that your Check In entries are posted. |

Bill It Icon on Actions Menu
| • | Bill It - Once all of the delivered items have been Checked In, Bill this Purchase Order. |
| • | You should not Close a Purchase Order until all of the expected Ordered Items have been Received and Checked In, and the completed Purchase Order has been recorded as a Bill from the Vendor using the Bill It button on the Purchase Orders Form. |
| ◆ | For General Ledger System Users: The General Ledger Transactions (automatically posted in the background) for a Selected Detail Line Item of a Closed Purchase Order may be displayed whenever required. |
| ▪ | To do so, Double-Click the appropriate Detail Line Item. |
| ▪ | The GL Transactions Form will list each Debit and Credit required to post the Selected Detail Line Item. |
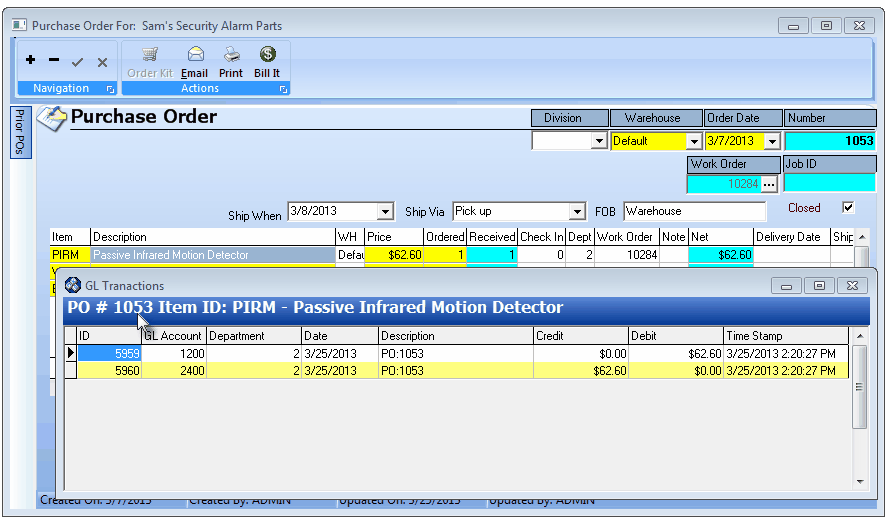
Purchase Order Form - Detail Line Item - GL Transactions