| • | To implement this automatic payment collection feature, follow the steps outlined below: |
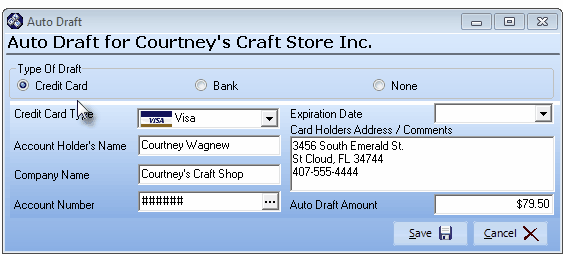
Auto Draft Form's Credit Card information
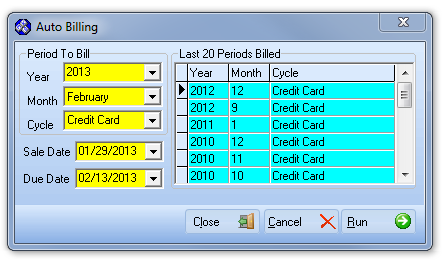
Auto Billing dialog
| • | The Recurring Revenue Invoices created with the Auto Billing procedure may then be viewed based on the predefined Auto Draft information using the Auto Draft Preview Form (see the "Understanding the Auto Draft Preview Form" section below). |
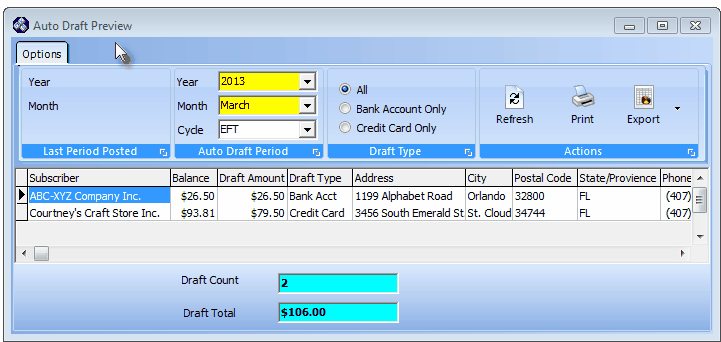
Auto Draft Preview Form - Lists the Auto Draft rules
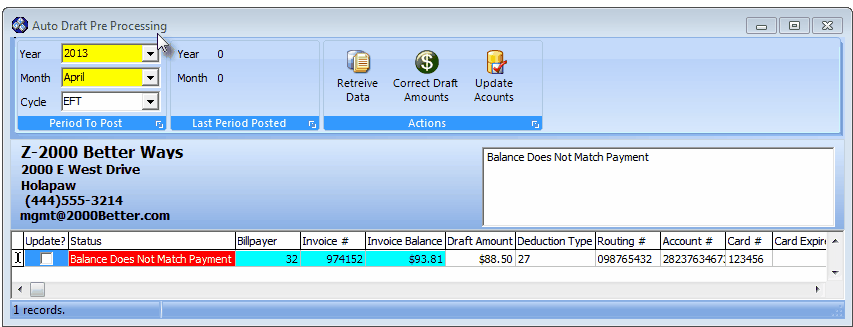
Auto Draft Pre Processing Form - Validate predefined Auto Draft rules
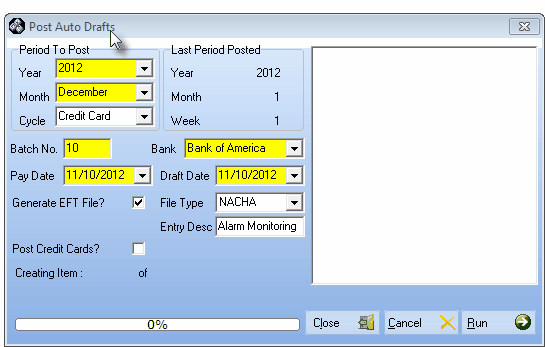
Post Auto Drafts for Electronic Funds Transfer
| □ | Understanding the Auto Draft Preview Form |
| • | You have questions, this Auto Draft Preview Form provides answers: |
| 1. | How much is the Value of the Auto Drafts which will be posted this month? |
| 2. | How much is the Value of the Auto Drafts which will be posted next month? |
| 3. | How much of that Value will be from Credit Card payments? |
| 4. | How much of that Value will be from EFT payments? |
| 6. | Can I export a list to Excel®? |
| • | From the Main Menu Select Maintenance and Choose Accounts Receivable then Click the Auto Draft Preview option. |
Auto Draft Preview Form - Validates predefined Auto Draft rules
| • | Setup for the Auto Draft Preview Form |
| • | Last Period Posted - This section identifies the most recently (selected) Posted Period. |
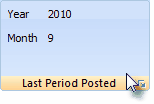
| ▪ | Year - This is a system maintained field which displays the Year of the Last Period that was posted. |
| ▪ | Month - This is a system maintained field which displays the Month of the Last Period that was posted. |
| • | Auto Draft Period - This section identifies the Billing Period and Billing Cycle to be viewed. |

| ▪ | Year - Using the Drop-Down Selection List provided, Choose the Year in which these predefined Auto Drafts will be posted. |
| ▪ | Month - Using the Drop-Down Selection List provided, Choose the Month in which these predefined Auto Drafts will be posted. |
| ▪ | Cycle - If the multiple Billing Cycles feature has been implemented, using the Drop-Down Selection List provided, Choose the Billing Cycle for which these predefined Auto Drafts will be posted. |
| • | Draft Type - Specify which type of Transactions to list. |
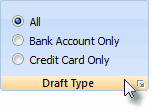
| ▪ | Bank Account Only - Click the button to limit the Auto Drafts that are listed to only those that are EFT Payment Transactions |
| ▪ | Credit Card Only - Click the button to limit the Auto Drafts that are listed to only those that are Credit Card PaymentTransactions |
| • | Actions - This section identifies the Options available to Refresh the list. Print a list of, or Export the selected list of Auto Draft Payment Transactions |
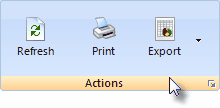
| ▪ | Refresh Icon - Click the Refresh button to update the list to only include the Auto Draft record(s) specified above. |
| ▪ | PrintIcon - Click the Print Icon to Preview and/or Print a list of the selected Auto Draft record(s) within a Preview tab. |
| o | Up Arrow/Down Arrow - hi - Moves the report one line up, or one line line down, respectively. |
| o | Page Up/Page Down - Moves the report to the previous or next page, respectively. |
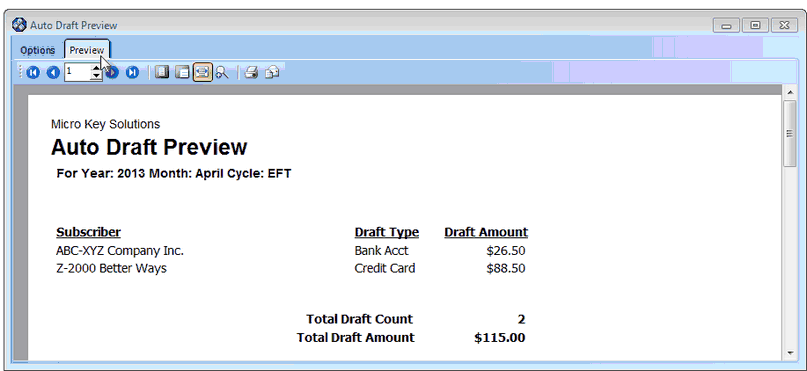
Auto Draft Preview Form - Preview tab
| o | Home -  - Using either the screen or your Keyboard's Home key, moves the report to the top of the first page. - Using either the screen or your Keyboard's Home key, moves the report to the top of the first page. |
| o | End -  - Using either the screen or your Keyboard's End key, moves the report to the bottom of the last page. - Using either the screen or your Keyboard's End key, moves the report to the bottom of the last page. |
| o | Arrows - The arrows allow you to move back and forth, from page to page. |
| o | Number - Indicates the page number you are viewing. |
| i. | You may also type in a specific page number, Press 8 Enter and that page will be displayed immediately. |
| ii. | If you enter an invalid page number, it will be ignored. |
| o | Fit To Page - Click the first button after the arrows to size a full page of the report to fit the screen. |
| o | Zoom To 100% - Click the second button after the arrows to display the page at 100% (of the printed view). |
| o | Fit To Page Width - Click the third button after the arrows to size the page of the report to fit the full width of the screen. |
| o | Print - Click the Print button to Print (to a File or a Printer)  the displayed Auto Draft Preview. the displayed Auto Draft Preview. |
| o | Email - Click the Email button  to send the Report to an Email Address of your choosing. to send the Report to an Email Address of your choosing. |
| o | To Exit the Preview tab and Close this Report dialog Form, Click the Close button x on the right at the top of the Preview tab. |
| o | To return to the Auto Draft Preview Options tab, Click that tab. |
| ▪ | Export Icon - To copy the selected Auto Draft record(s) to a file (in one of three formats), Click the Export Icon. |

| o | Using the Drop-Down Selection List provided, Choose the desired File Format. |
| • | Click the Close box (T) at the top right of the Auto Draft Preview Form when finished. |

