| □ | The Subscriber Quick Data Entry Form is accessed from the Main Menu by Choosing Maintenance and then Selecting Quick Data Entry, and from there, Choosing the Data Entry option. |
| • | This entails a simple, three step process: |
| 1. | Open the Subscriber Quick Data Entry Form and select a Template for a list predefined Templates. |
| 2. | Add as many Subscriber records as needed using the Subscriber Quick Data Entry dialog. |
| □ | The Subscriber Quick Data Entry Form - Select a Template - The User must first select a Template. |
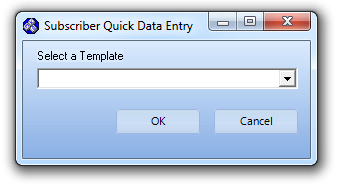
Subscriber Quick Data Entry - Select a Template
| • | To set the order in which the data is displayed in the Drop-Down Selection List: |
| ▪ | Right-Click within the Select a Template field |
| ▪ | Choose either Template's ID or it's Description. |
| • | The selected Template may identify any, or all, of the following: |
| ▪ | What Fields will be Mandatory, |
| ▪ | What data may be entered optionally, |
| ▪ | What data, if any, will be inserted automatically. |
| • | As each Subscriber Quick Data Entry record is defined, all data will be contained locally in a temporary table until the User Selects ‘Post Records' |
| □ | The Subscriber Quick Data Entry - Data Entry Dialog - with the Fields identified in the selected Subscriber Quick Data Entry Template - is displayed with those Mandatory and optional Fields that were predefined in the selected Template, some or all of which are required to complete the entry of one (or more) new Account(s). |
| • | The Subscriber Quick Data Entry Data Entry Dialog will be displayed with the predefined mandatory fields included. |
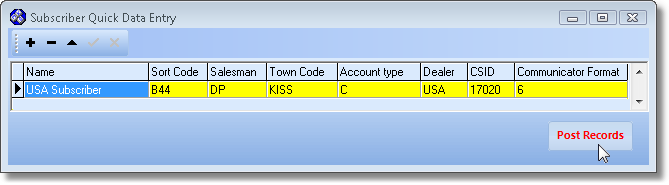
Subscriber Quick Data Entry Form
| • | All Fields which were identified in the General and Custom Fields tabs on the selected Subscriber Quick Data Entry Template will be displayed as mandatory fields in this Subscriber Quick Data Entry Form. |
| • | Any Fields that have predefined data (based on the specific Template selected) will have that data inserted automatically. |
| ▪ | This predefined data may be modified, if appropriate. |
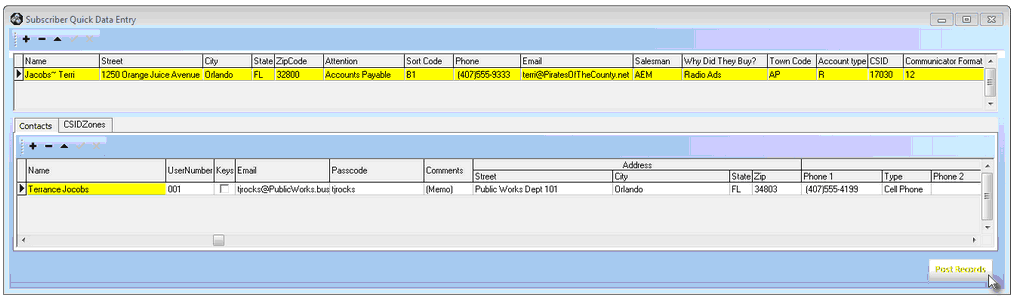
Subscriber Quick Data Entry Form with Contacts and CSID Zones tabs
| ▪ | The Contacts and/or CSID Zones tab(s) will also be visible on this Subscriber Quick Data Entry Form, |
| ▪ | With the exception of the Name Field on the Contacts tab, and unlike the mandatory fields noted above, the Contacts and/or CSID Zones tab's Fields will be available for data entry - and so displayed as optional (white not yellow) Fields. |
| • | Repeat this data entry process (Click Add, complete Data Entry, Click Add, complete Data Entry, etc.) until all of the required Subscriber records have been entered. |
| ▪ | The data in the records entered above are held in a temporary table until all of the required data entry is completed. |
| □ | Post Records - Click the ‘Post Records' button to send the temporary table records to the Subscribers table. |
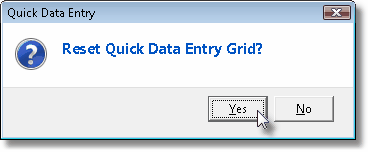
| • | Reset Data Entry Grid? - To clear all of these posted records from the Subscriber Quick Data Entry Form and enter additional Subscribers using the selected Template, answer Yes. |
| • | Otherwise, Answer No and Close the Subscriber Quick Data Entry Form (see below). |
| • | Close - When completely finished, Click the Close T Icon to return to the Main Menu. |

