| □ | It is recommended that you create a Windows® Desktop Shortcuts folder to meet the needs of the user(s) actually running each workstation. |
Because you will probably be using just a few MKMS related applications on the machine that runs the Communications Module, creating a special folder on your Windows® Desktop with Shortcuts for just those Micro Key Millennium Series programs that this workstation will be running provides a much easier interface for the user.
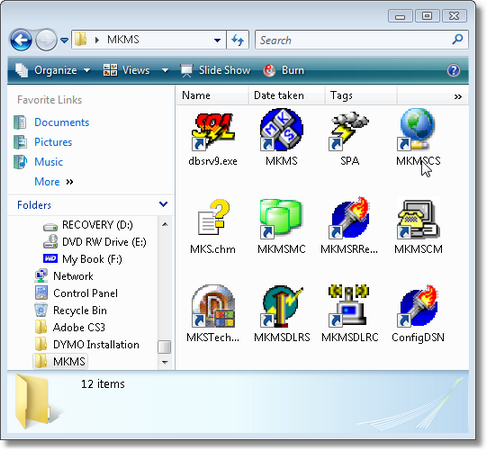
User created MKMS Desktop folder with Application Shortcuts
| • | Once all of the data entry steps have been completed, start the MKMSCM application which should be located in the same folder as your other MKMS applications. |
| • | You will see the screen illustrated below. |
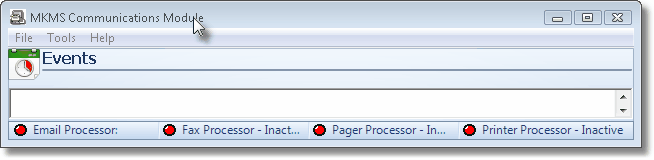
Communication Module dialog
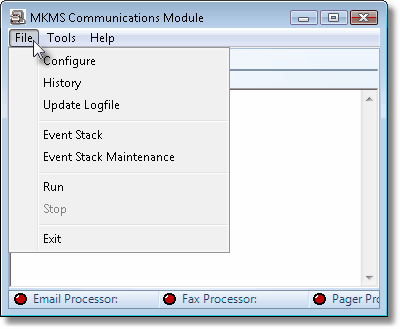
File menu on the Communication Module dialog
| • | Configure - Select Configure to setup the way you want the MKMSCM application to run on the current computer. |
| • | MKMSCM Engine tab - This tab allows you to define which of the functions provided by the Communications Module will be performed at this Workstation. |
| ► | Note: Whether or not you will be using Windows® Services to distribute the workload of the Communications Module across the Network: |
| 2. | You must run MKMSCM at least once on each PC Workstation that will perform Communications Module related services to configure those services. |
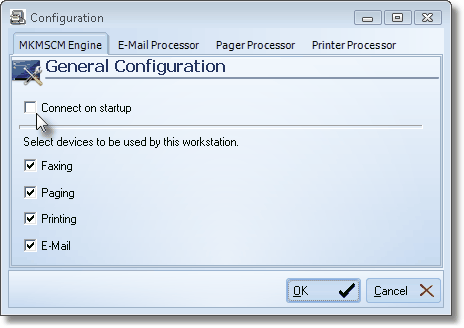
MKMSCM tab on Configuration form
| ▪ | Connect on startup - Check this box to have the MKMSCM Engine start running automatically as soon as the application is started. By doing so, the User will not have to open the File Menu and Choose the Run option whenever the application is started. |
| ► | Note: The Connect at Startup option does not apply if you are implementing this module as a Windows® Service. |
| ▪ | Select devices to be used by this workstation - Check those boxes for the Communications Module processes that are to function on this Workstation. |
| • | E-mail Processor tab - Define the specifications for E-Mail processing (an example of Email Processor configuration is shown below): |
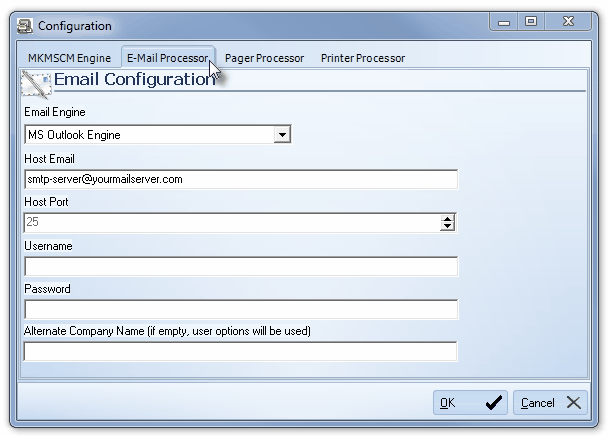
Email Configuration - E-mail Processor
| ▪ | Email Engine - Use the Drop-Down Selection List provided and Choose the appropriate E-Mail Engine to be used to transmit these Email messages. |
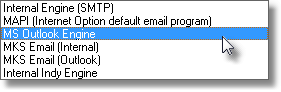
Email Engine options list
| ▪ | Host Email - Enter the Host E-Mail Address to which theses messages will be transmitted. |
| o | Based on the Email Engine selected above, enter the address of your Email Host. |
| ▪ | Username - In some cases a Username must be entered. |
| o | This field will only become available when needed, otherwise it is inaccessible. |
| ▪ | Password - In some cases a Password must be entered. |
| o | This field will only become available when needed, otherwise it is inaccessible. |
| ▪ | Alternate Company Name - Enter the "From" name top be used (the default is that name entered in the Company tab of the User Options Form). |
| o | This field is only accessible for certain Email Engines. |
| • | Pager Processor tab - Define, from the Available Ports on this machine, the Serial Port that will be used for Paging. |

Pager Processor tab on Configuration form
| ▪ | Available Ports - Use the Drop-Down Selection List provided to Choose the Port to be used by the Pager Processor. |
| o | Baud - Data - Stop - Parity - Enter these values as required. |
| ▪ | Available Devices - Use the Drop-Down Selection List provided to Choose the Modem to be used by the Pager Processor. |
| ▪ | Digital Pager - Define the required parameters for your Digital Paging . |
| o | Pre Dial - Start - End - Dash - Enter these values as required. |
| o | Wait Before Dial (sec) - Enter the number of seconds to wait prior to dialing. |
| o | Wait After Dial (sec) - Enter the number of seconds to wait after dialing and before the actual page is sent. |
| • | Printer Processor tab - Select from the available Printers, the one that will be used for Printing Scheduled Reports. |
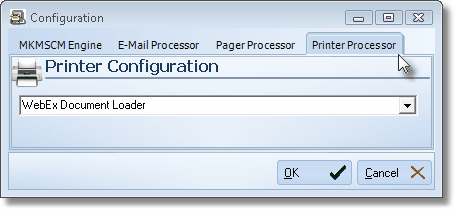
Printer Processor tab on Configuration form
| ▪ | Select the Print Processor - Use the Drop-Down Selection List provided to Choose the Printer to be used by the Printer Processor. |
| • | Fax Processing Implementation - In lieu of Printing a document, you may select a Fax device as your "Printer Processor". |
| • | History - Select History to see a listing of all completed Communication Events displayed, as they occur, in the Event Messages box. |
| • | Update Log - Select Update Log to post the most recent Event Messages to the Communication Module's Log File. |
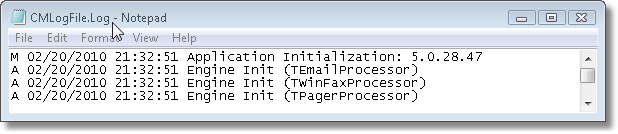
Communication Module Log File sample
| • | Event Stack - Select this option to view the Event Stack which lists the Communication Events |
| • | Display - Use the Drop-Down Selection List to Choose the type of communication events that you want displayed. |
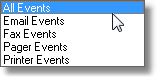
Events to be Displayed
| • | Run - Select Run to start the Communications Module Engine (to start actually processing events in the Event Stack on this machine). |
| • | Stop - Select Stop to halt the Communications Module Engine (from actually processing communication events in the Event Stack on this machine). |
| • | Exit - Select Exit to Close the Communications Module application. |
| □ | Windows® Services - The Communications Module may be run as a stand-alone program, or as a Windows® Service. |
| • | Why use Windows® Services? The advantage of assigning one or more of the Communications Module processes to a Windows® Service are: |
| • | The process runs in the background using less system resources. |
| • | More than one Workstation may perform the same process to speed up delivery (the "next" task does not have to wait as long to be executed). |
| • | All Workstations access the central MKMS database for their instructions. |
| • | No separate Login is required. |
| • | If a Workstation must be restarted, the Service may be set to re-start automatically. |

