| □ | Filter buttons - There are four Filter options on the Sale-Purchase Items Form. |
| • | These Filter buttons may be used individually, or together, to limit which Sale-Purchase Items are available for review. |

Group, Vendor and Clear Filter buttons on the Sale Purchase Items Form
| 1. | Group - Click the Group button to limit the Sale-Purchase Items listed on the Table View tab, and therefore available to be seen on the Edit View tab, to only those that are assigned to the selected Sale Item Group(s). |
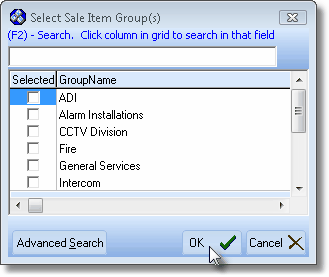
Select Sale Item Group(s) dialog
| • | Using the Select Sale Item Group(s) dialog, Check one or more Group Names, that the Sale-Purchase items you want to view, are assigned. |
| • | Click the GroupName header bar to re-order the list, alphabetically (first Click displays last to first, second Click returns it to first to last - alphabetically). |
| • | (F2) - Search - If the complete list of names cannot be seen on this screen: |
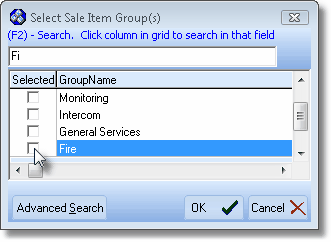
(F2) Search function on Select Sale Item Group(s) dialog
| ▪ | Click on any name within the GroupName list. |
| ▪ | Type the first few letters of that desired Group Name. |
| ▪ | Based on your entry, the record will be highlighted so that you may easily Check it. |
| • | Advanced Search - You may also use the Advanced Search dialog to Select a specific Group Name. |
| • | Click the OK ü button to save your Group filter selection(s). |
| 2. | Vendor - Click the Vendor button to limit the Sale-Purchase Items that are available for viewing to those whose preferred Vendor matches (one of) the Selected Vendor(s). |
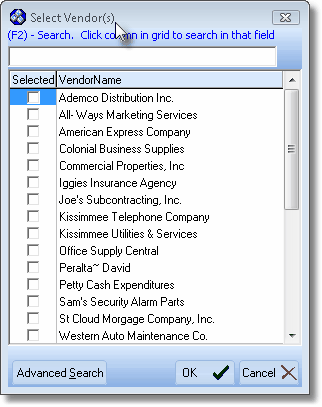
Select Vendor(s) dialog
| • | Using the Select Vendor(s) dialog, Check one or more Vendor Names, that the Sale-Purchase items you want to view, are assigned as their preferred Vendor. |
| • | Click the VendorName header bar to re-order the list, alphabetically (first Click displays last to first, second Click returns it to first to last - alphabetically). |
| • | (F2) - Search - If the complete list of names cannot be seen on this screen: |
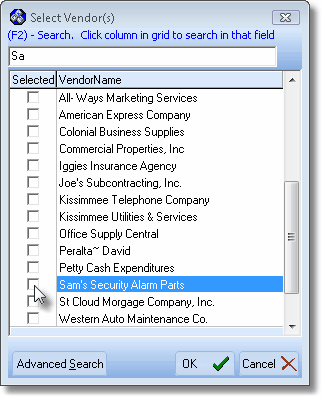
(F2) Search function on Select Vendor(s) dialog
| ▪ | Click on any name within the VendorName list. |
| ▪ | Type the first few letters of that desired Vendor. |
| ▪ | Based on your entry, the record will be highlighted so that you may easily Check it. |
| • | Advanced Search - You may also use the Advanced Search dialog to Select a specific Vendor. |
| • | Click the OK ü button to save your Vendor filter selection(s). |
| 3. | Clear Filter(s) - You may use these Filter buttons individually, or together. |
| • | Once a filter has been set, the Clear Filter(s) button is displayed (see mouse pointer in illustration above). |
| • | If you want to be able to view all of the Sale Purchase Item records you must Click the Clear Filter(s) button (which is only activated when a Filter has been set). |
| ◆ | Even if the Sale-Purchase Items Form is Closed and Opened again later, the Filter is still active until the Cleared! |
| 4. | Hide Inactive Items? - Check this Hide Inactive Items? box to prevent the display of records marked as Inactive. |

| • | If Checked, the Hide Inactive Items? message is displayed in Red to remind the User that Inactive Items will not be displayed,. |

