|
Invoices Listing This Help File Page was last Modified on 09/12/2013 |

|

|
|
|
Invoices Listing This Help File Page was last Modified on 09/12/2013 |
|
|
Invoices Listing
This Help File Page was last Modified on 09/12/2013
|
Invoices Listing This Help File Page was last Modified on 09/12/2013 |
|
|
|
|
Invoices Listing This Help File Page was last Modified on 09/12/2013 |
|
|
| □ | Those using the Accounts Receivable System frequently need to quickly view all, or a specific set of the Sales made to a selected Subscriber. |
| • | Ideally the basic Invoice information, the detail line items of those Invoices, the ability to print a list - all with the ability to make a selection based on Dates, Paid or Unpaid status - would be required to make this Invoice Listing really be User Friendly. |
| • | Of course, this Invoice Listing provides these features. |
| • | Also, if the selected Subscriber is the Bill Payer for other Accounts, all of the Sales Invoices for these Service Only Accounts will be included. |
| • | On the Subscribers Form's Receivables Quick Access Menu, Select the Invoices option to access the Invoice Listing Form, an example of which is shown below. |
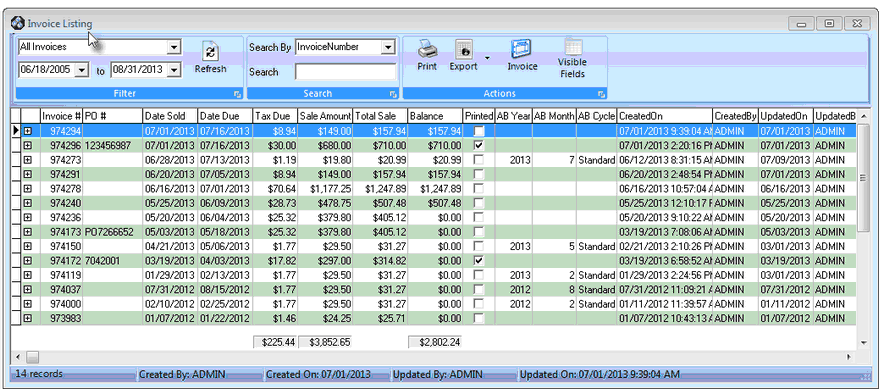
Invoice Listing Form
| • | Each Column on the Invoice Listing Form may be relocated by using the Windows® Drag & Drop operation on the Header Name. |
| • | The Columns that are displayed may be chosen by using the Visible Fields Icon (see Item #4 in the "Working with the Actions button Icons" section below). |
| • | The Invoices that are listed are determined by using the Filter and Search choices explained below. |
| □ | Understanding the Filter and Search choices: |
| • | Filter - The Invoice Listing Form offers a set of selection criteria that allow the User to Choose which Invoices they want to examine. |
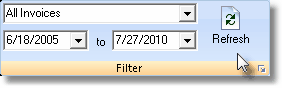
| • | Which Invoices - Use the Drop-Down Selection List to Choose whether to view: All Invoices (the default), just Paid Invoices, or just Unpaid Invoices. |
| • | Date Range - By default, the Date Range offered will be from the first date, up until the last date, of any Invoice recorded for this Subscriber but you can use the Drop-Down Date Selection Boxes provided to reset this Date Range, as needed. |
| • | Refresh - When the viewing options are changed, Click the Refresh button to update the Invoice Listing based on the new selection criteria. |
| • | Search - You may also locate a specific Invoice, or a group of Invoices, in the Invoice Listing based on the content of the field names listed below: |
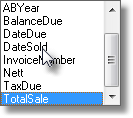
| • | Search By - Use the Drop-Down Selection List to Choose the field on which you want to execute the search. |
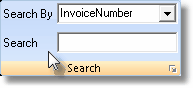
| • | Search - Enter the characters required to identify - based on the Search By method selected - the Invoice record you want to locate. |
| ▪ | The record pointer4will indicate which line has been identified as the Invoice you are attempting to locate. |
| • | Expand - Click the Expand |
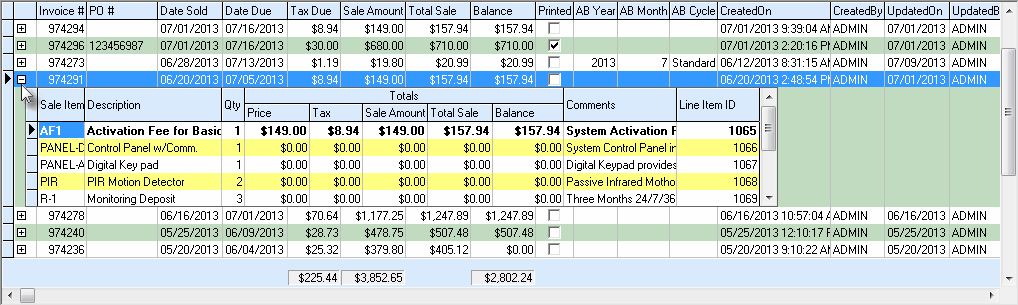
Invoice Detail Information box on the Invoice Listing Form
| • | The Status Bar at the bottom of the Invoice Listing Form displays information related to the currently selected Invoice. |
![]()
| □ | Working with the Actions button Icons: |
| • | Actions - There are three action buttons on the Invoice Listing Form: |
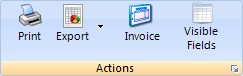
Invoice Listing - Action Icons
| 1. | Print - Click the Print button to View and/or Print this Invoice Listing Report. |
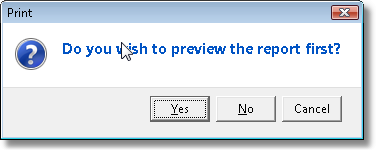
| ▪ | Answer Yes to view the report with the option to print it, or No to go directly to the Print dialog. |
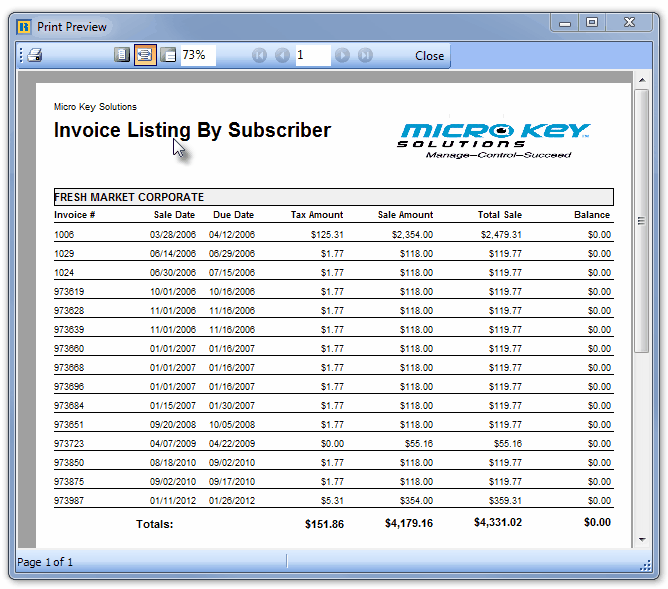
Invoice Listing by Subscriber - Print Preview
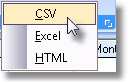
| 2. | Export - Click the down arrow on the Export button to Select the file format for the data that is to be exported. |
| 3. | Invoice - Click the Invoice button to open the Sales Form for the Invoice that is currently Selected . |

Invoice Form displayed for a selected Invoice when the Invoice button is Clicked
| 4. | Visible Fields - Click this Icon to display the Select Fields Drop-Down Check Boxes Listing Of Fields then Check which Fields should be Visible (columns of data that will be displayed). |
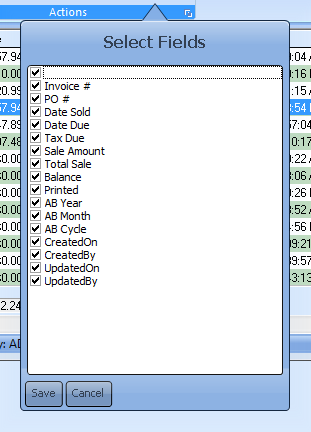
Select Fields - Drop-Down Check Boxes List
| ▪ | The "blank" line at the top of the Select Fields list is the choice for including the Expand |
| ▪ | By default, all Field Names will be Checked. |
| ▪ | Un-Check any Field Name(s) which are not required. |
| ▪ | Click the Save button to finish the selection. |