| □ | Credit Memos may be received from a Vendor for a Bill that the Vendor has agreed to adjust - whether because of price disagreements, product quality issues, or missing deliveries - or for any other reason as a resolution to a business dispute. |
| • | You must first enter the Credit from the Vendor as a Credit Note. |
| • | Then these Credits must be applied to specific Invoice(s) using the Allocate Form to apply the credit to a specific outstanding Bill. |
| • | Print this Credits Issued report to see what Credits were Applied to which Bills within the Date Range you've specified. |
| • | To print the Credit Issued report, on the Main Menu Select Reports, Choose the Accounts Payable sub-menu and Click Credits Issued. |
| □ | Credits Issued Report tabs - There are three tabs on the Credits Issued dialog. |
| • | Options - Initially only the Options tab is shown (until you make your Options selections and Select Print). |
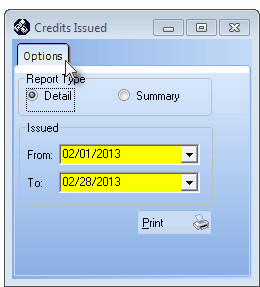
Credits Issued dialog
| ▪ | Detail - By default, Detail is selected. |
| ▪ | Summary - Click Summary if you want to view the brief version. |
| • | Issued: - Specify the Date Range for this report using the Drop-Down Date Selections Box provided. |
| ▪ | From: - By default, the first day of the most recently completed month. |
| ▪ | To: - By default, the last day of the most recently completed month. |
| • | Print - Click the Print button to Preview and optionally, to Print (to a File or a Printer) this Credits Issued report. |
| • | Preview - The Preview tab presents the report which resulted from the Options you've selected. |
| • | Up Arrow/Down Arrow - hi - Moves the report one line up, or one line line down, respectively. |
| • | Page Up/Page Down - Moves the report to the previous or next page, respectively. |
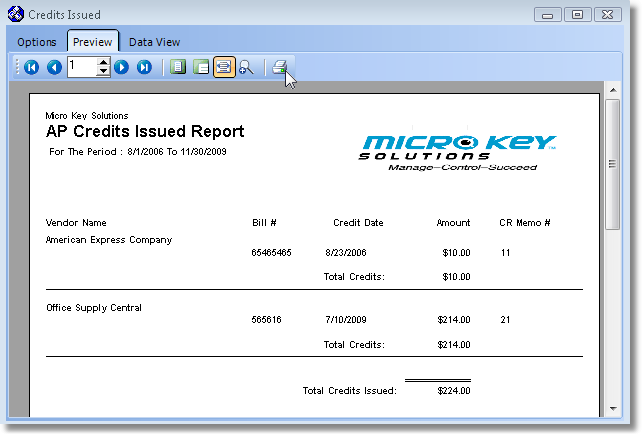
Credits Issued Report - Preview
| • | Home -  - Using either the screen or your Keyboard's Home key, moves the report to the top of the first page. - Using either the screen or your Keyboard's Home key, moves the report to the top of the first page. |
| • | End -  - Using either the screen or your Keyboard's End key, moves the report to the bottom of the last page. - Using either the screen or your Keyboard's End key, moves the report to the bottom of the last page. |
| • | Arrows - The arrows allow you to move back and forth, from page to page. |
| • | Number - Indicates the page number you are viewing. |
| ▪ | You may also type in a specific page number, Press 8 Enter and that page will be displayed immediately. |
| ▪ | If you enter an invalid page number, it will be ignored. |
| • | Fit To Page - Click the first button after the arrows to size a full page of the report to fit the screen. |
| • | Zoom To 100% - Click the second button after the arrows to display the page at 100% (of the printed view). |
| • | Fit To Page Width - Click the third button after the arrows to size the page of the report to fit the full width of the screen. |
| • | Zoom To Percentage - Click the fourth button after the arrows to re-size the page of the report by percentage. |

| ▪ | When you Click the Zoom To Percentage button, the Percentage selector will be displayed. |
| ▪ | You may then Click the Up or Down ‚ arrows to set the exact amount of Zoom you want. |
| • | Print - Click the Print button to Print (to a File or a Printer)  the displayed Credits Issued Report. the displayed Credits Issued Report. |
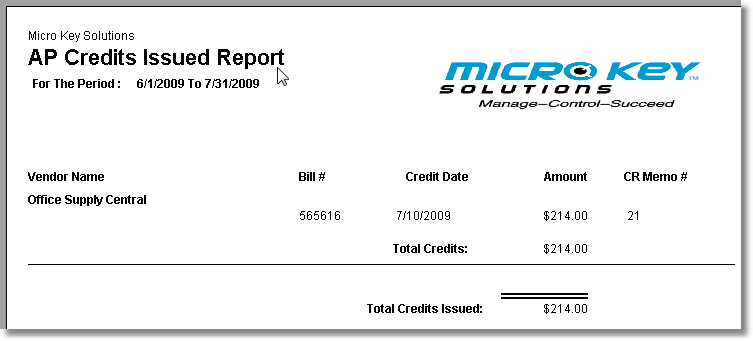
Sample printed Credits Issued Report
| • | Data View - This view provides a tabular (spreadsheet style) presentation of the selected data. |

Credits Issued Report - Data View
| • | Arrows - Click the arrows to move through the record. |
| • | Export - Exporting the data from this Data View Form (note the "fly-over" help available on these buttons): |
| ▪ | Export to CSV - Click the first button after the arrows to export the data to a Comma Separated Values (CSV) file format. |
| ▪ | Export To Excel - Click the second button after the arrows to export the data to an Excel (.xls) file format. |
| ▪ | Export To Html - Click the third button after the arrows to export the data to an HTML formatted file. |
| • | Exit the Form by Clicking the Close button x on the right at the top of the Form. |

