|
Wells Fargo Positive File This Help File Page was last Modified on 10/08/2013 |

|

|
|
|
Wells Fargo Positive File This Help File Page was last Modified on 10/08/2013 |
|
|
Wells Fargo Positive File
This Help File Page was last Modified on 10/08/2013
|
Wells Fargo Positive File This Help File Page was last Modified on 10/08/2013 |
|
|
|
|
Wells Fargo Positive File This Help File Page was last Modified on 10/08/2013 |
|
|
| □ | Under Development |
| □ | The Wells Fargo Positive File procedure is used to create: |
| □ | Accessing the Wells Fargo Positive File procedure: |
| • | On the Main Menu, Select Maintenance and then Choose the Accounts Receivable sub-menu. |
| • | Click Pay Import, then Choose Regulus/Wells Fargo Import and Click on the Wells Fargo Positive File option. |
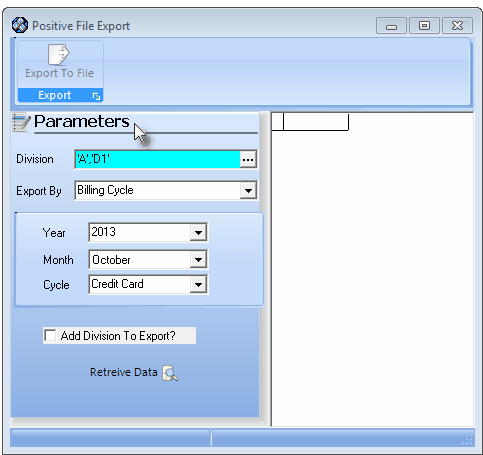
(Wells Fargo) Positive File Export - Export By Billing Cycle
| • | Parameters - Identify while Recurring Revenue Invoices will be included in the Export File. |
| • | Division - Click the Division field's Ellipse to open the Select Division dialog. |
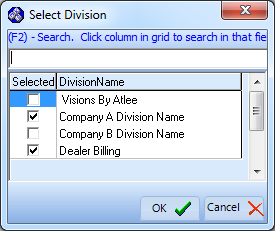
Select Division dialog
| ▪ | Check the Selected box for each Division whose Subscribers may have the desired Recurring Revenue Invoices |
| ▪ | Click the OK button to Close the Select Division dialog and insert the Selected Division Code(s) in that field. |
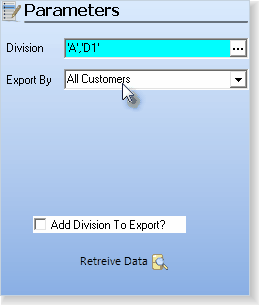
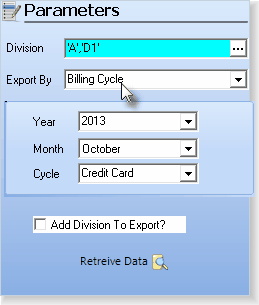
| • | Export By - Using the Drop-Down Selection List provided, Choose the method to be used to specifically identify those Subscribers. |
| ▪ | All Customers - As shown in the illustration immediately below, when this option is selected, no additional information is required. |
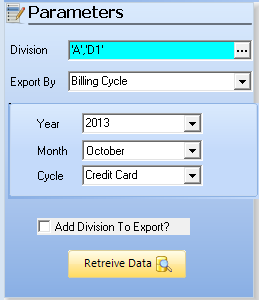
| ▪ | Billing Cycle - As shown in the illustration below, the Year, Month and Billing Cycle used to create the required Recurring Revenue Invoices has been specified. |
| ▪ | Specific Dates - As shown in the illustration below, the From and To Date Range have been selected using the Drop-Down Date Selection Box es provided. |
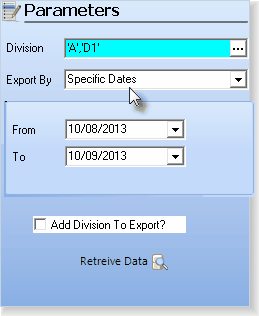
Export By - Specific Dates option
| • | Add Division To Export? - If one Division Code has been selected, Check this box to have that Division Name added to each data line that is exported. |
| • | Retrieve Data - Click the Retrieve Data Icon to locate the required Recurring Revenue Invoices. |
Retrieve Data Icon
| • | The Invoices for those Subscribers that match the selected Division, and/or Export By parameters will be displayed. |

Positive File Export - Retrieved data sample
| • | Export To File - Once it is determined that the Retrieved Data is OK, Click the Export To File Icon at the top of the Positive File Export Form |
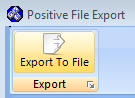
Export To File Icon
| • | The standard Windows® Save As dialog will be displayed. |
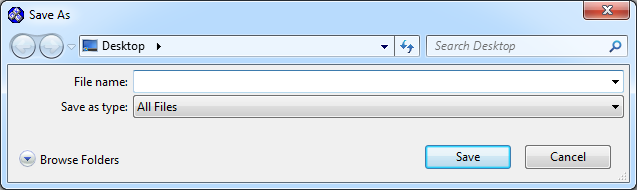
| • | Select the Location, enter the File Name, and identify the File Type (Txt) using the Drop-Down Selecting List provided. |
| • | Save - Click the Save button to create the file. |