| □ | The Loss Prevention application may not be used until certain Loss Prevention Maintenance Items are predefined by the End-User. |
| • | The Loss Prevention Categories Form is used to define the types of Incident Categories which will be tracked by the Loss Prevention application. |
| • | Certain of these Incident Categories are predefined and will be present when the Loss Prevention Categories Form is first accessed. |
Loss Prevention Categories - Defaults
| • | Additional Incident Categories may be added as necessary. |
| □ | Entering the Loss Prevention Categories: |
| • | From the Main Menu by Selecting Maintenance and Choosing Loss Prevention: and Select the Incident Categories option. |
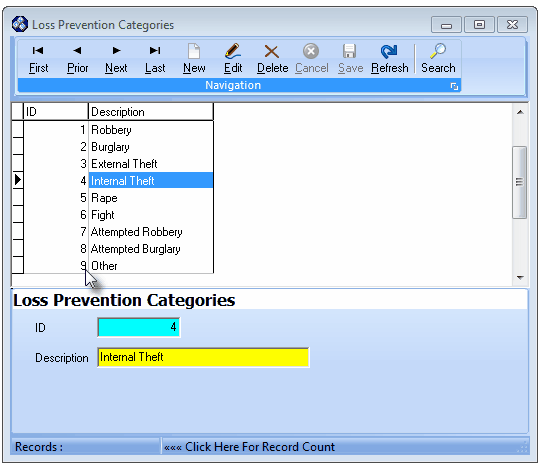
Loss Prevention Categories Form
| • | This Loss Prevention Categories Form may be Re-sized by Dragging the Top and/or Bottom up or down, and/or the Right side in or out. |
| • | Navigation Menu - The Navigation Menu is located at the top of the Loss Prevention Categories Form. |

| • | This Navigation Menu provides the normal Record Movement, New, Edit, Delete, Cancel, Save, and Refresh options; as well as a Search function. |
| • | A tabular (spreadsheet style) Record Listing of the currently defined Loss Prevention Categories is displayed in the section immediately below the Loss Prevention Categories Form's Navigation Menu. |
| • | There are two columns of data in this Loss Prevention Categories Record Listing: |
| 1) | ID - The record ID assigned by the system when the entry is originally saved. |
| 2) | Description - The actual explanation for the addition of, or loss of an Account. |
| • | Each column's Header Name describes the data contained in that column. |
| ▪ | Clicking on a Header Name will set the order in which the Loss Prevention Categories will be listed. |
| ▪ | Clicking on the same Header Name will set the order in the opposite direction (ascending vs. descending). |
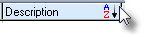
| ▪ | The Header Name that is determining the Order of the list will have an Icon indicating the Order displayed next to that Header Name. |
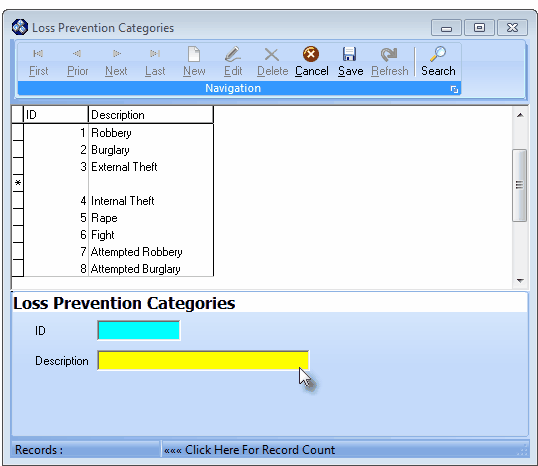
| • | To define the Loss Prevention Categories: |
| • | Click the  Icon to start the Loss Prevention Categories entry in the Record Editing section. Icon to start the Loss Prevention Categories entry in the Record Editing section. |
| • | ID - This is the system assigned record number which is inserted automatically when the record is initially saved. |
| • | Description - Enter a brief Description for this Loss Prevention Categories entry. |
| ▪ | The Description may up to 20 characters in length and include upper and/or lower case letters, numbers, spaces and normally used punctuation marks. |
| • | Click the  Icon to record this entry. Icon to record this entry. |
| • | The system will assign an ID. |
| • | Do not Delete the original nine (9) Incident Categories. |
| □ | Using the Search function on the Navigation Menu at the top of the Loss Prevention Categories Form: |
| • | Search - Click the Search Icon to open the Search dialog. |
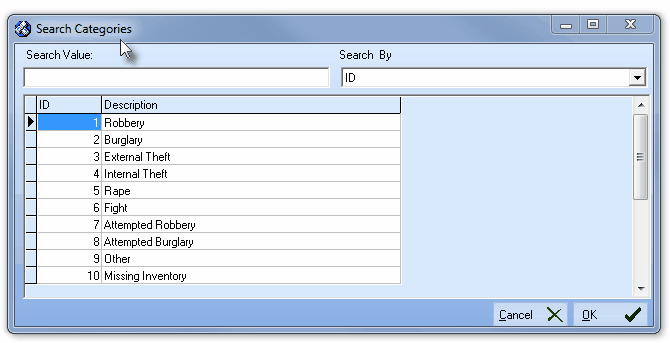
Search Categories dialog
| • | See the "Using the Generic Search dialog" section in the Advanced Search Dialog chapter for more information about this Search dialog. |

