|
Logo This Help File Page was last Modified on 02/01/2012 |

|

|
|
|
Logo This Help File Page was last Modified on 02/01/2012 |
|
|
Logo
This Help File Page was last Modified on 02/01/2012
|
Logo This Help File Page was last Modified on 02/01/2012 |
|
|
|
|
Logo This Help File Page was last Modified on 02/01/2012 |
|
|
| □ | Installing your Company's Logo: |
| • | Many of the reports and Forms produced by MKMS including Invoices, and other Subscriber related Forms, can have your Company Logo automatically printed on them. |
| • | The Company Logo file you choose must be a ".BMP" file saved with 256 colors (or Less) and be no larger than 64K. |
| • | The file representing your logo must be on your Computer (or on the File Server, if you using a Network) where the MKMS database is installed. |
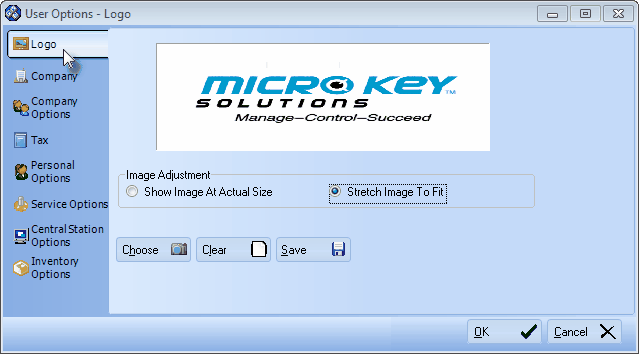
User Options - Logo tab
| • | To install your Logo: |
| 1. | On the Main Menu, Select Maintenance and Choose User Options. |
| 2. | Click on the Logo tab. |
| 3. | Click Choose and, using the standard Windows® dialogue box provided, locate the desired file. |
| 4. | Once the Logo's BMP file is selected, choose the Image Adjustment method that best displays your logo in the logo display box by alternately Clicking Show Image At Actual Size and Stretch Image To Fit. |
| 5. | Click Save once you are satisfied with the Image Adjustment setting and click OK to exit. |
| • | If you want to re-do this process, Click Clear and repeat the steps above. |
| □ | Next, complete your Company Information. |